
Build and organize a mind map
Learn step by step how to create a mind map, add nodes and branches, and keep its structure and look tidy and readable.
Building a mind map in Taskie is simple: you have one central node and grow branches from there. Most of the work takes just a few keys and clicks, so you can get ideas onto the canvas as fast as you think, without breaking your flow.
This guide starts from scratch: first you create a new map, then add and edit nodes, then tidy up the structure and look, and finally see how changes are saved and versioned automatically. If you're not sure yet what a mind map is or where it helps, start with What a mind map is and why it helps.
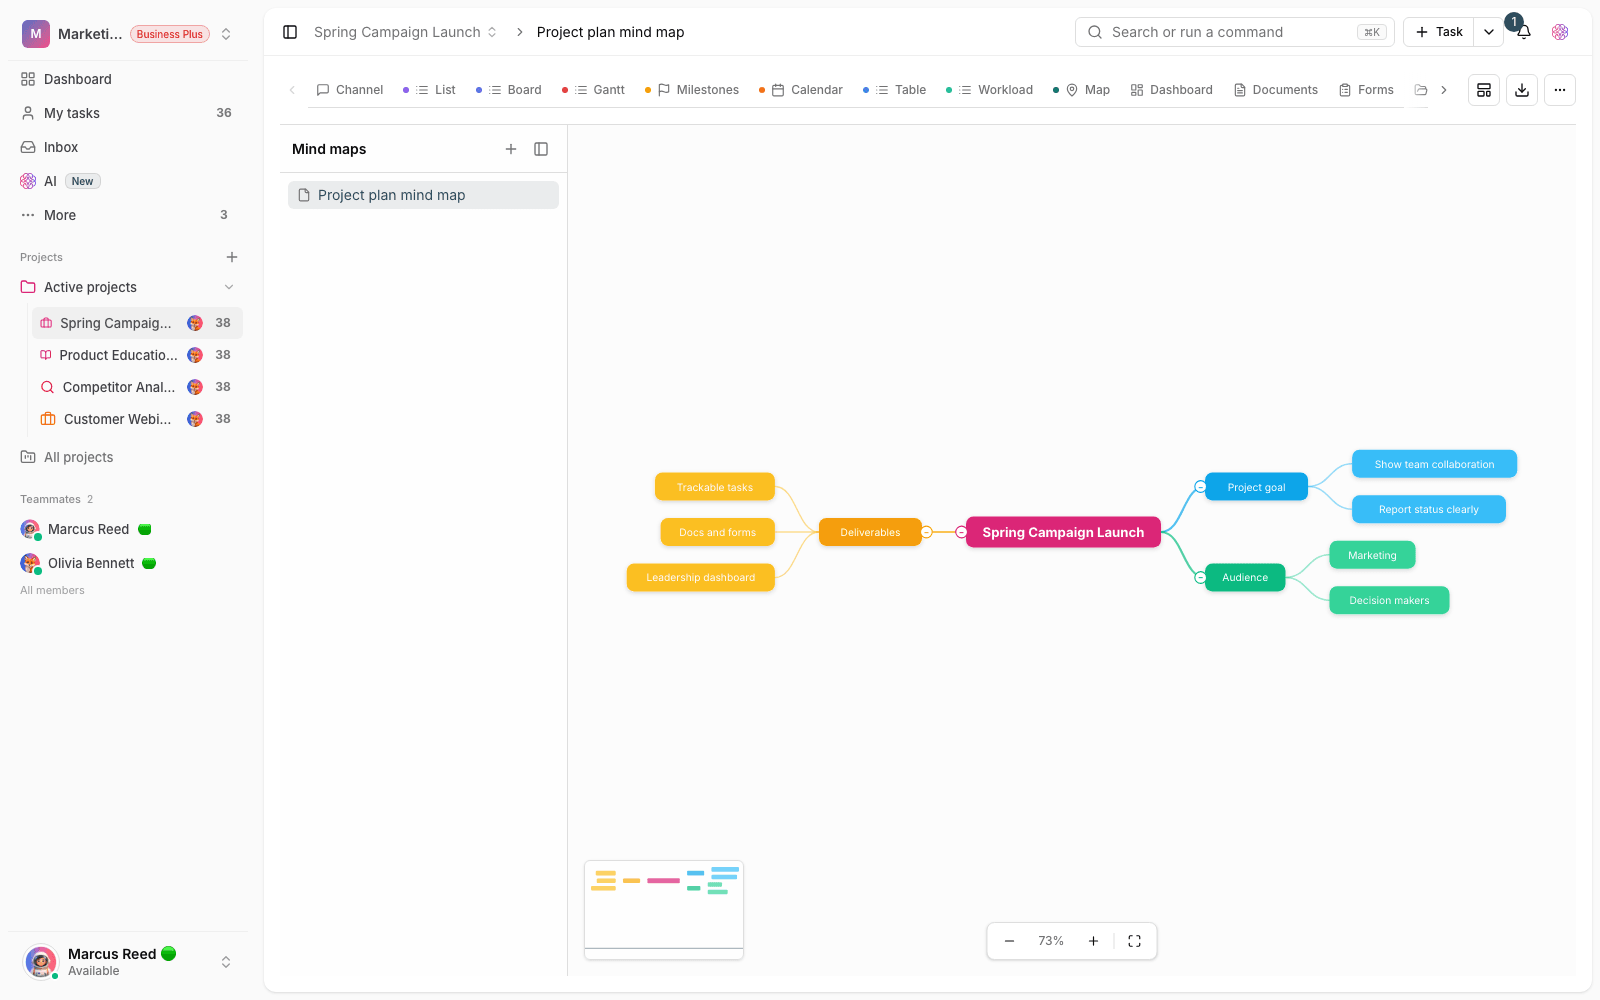
Create a new map
Once you've added the mind map view to your project, creating a new map takes seconds:
- Open the project's Mind map tab.
- If you don't have a map yet, click the create button. Otherwise, add a new map from the maps sidebar.
- Choose a ready-made template to start with a prebuilt structure, or choose Blank map to start with just a central node.
- Name the map and create it. The map opens right away, ready to edit.
Add and edit nodes
Nodes are the backbone of every map. Select a node and a small action bar appears next to it. From there you can add a child, copy the node, give it an icon, or delete it. To edit a node's text, double-click it or press F2. There are two main relationships between nodes: a "child" creates a level below, and a "sibling" adds a new node next to the current one.
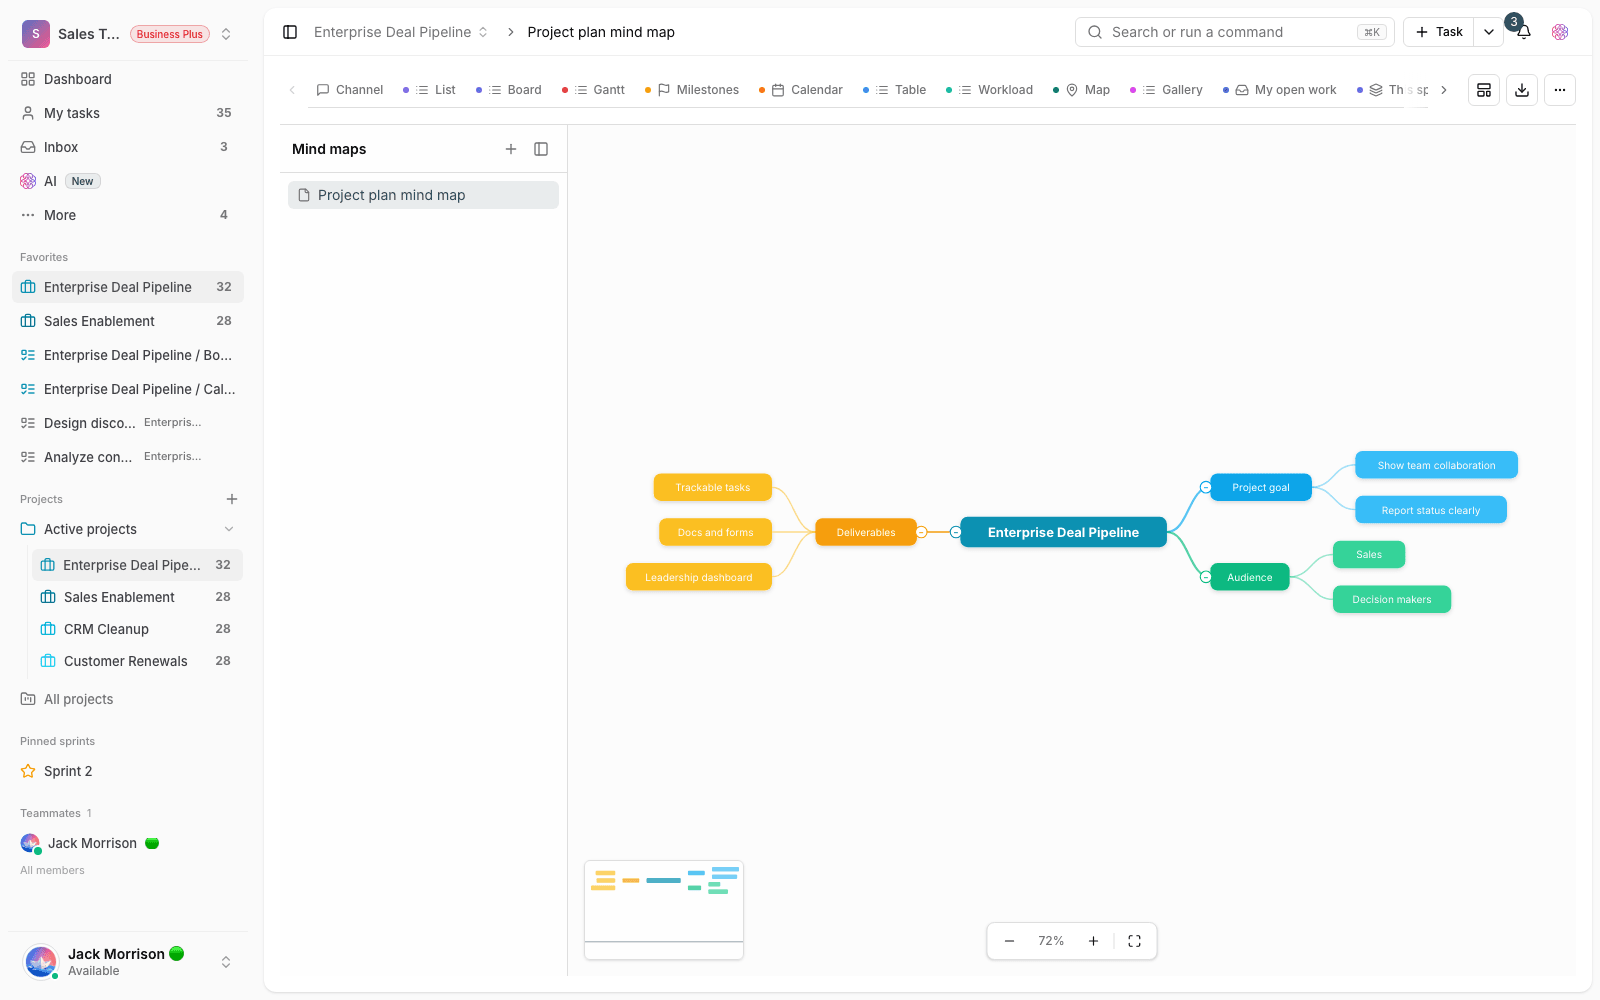
Keyboard shortcuts
Keyboard shortcuts are the fastest way to build structure:
- Tab: add a child node to the selected node.
- Enter: add a sibling node (this shortcut doesn't work on the central node).
- F2: edit the text of the selected node.
- Ctrl+C and Ctrl+V: copy and paste a node together with its sub-branches.
- Delete: delete the node (the central node can't be deleted).
You can also right-click any node to get the same actions in a context menu.
Branch and organize the structure
Once your ideas are on the canvas, it's time to tidy up so the map stays readable:
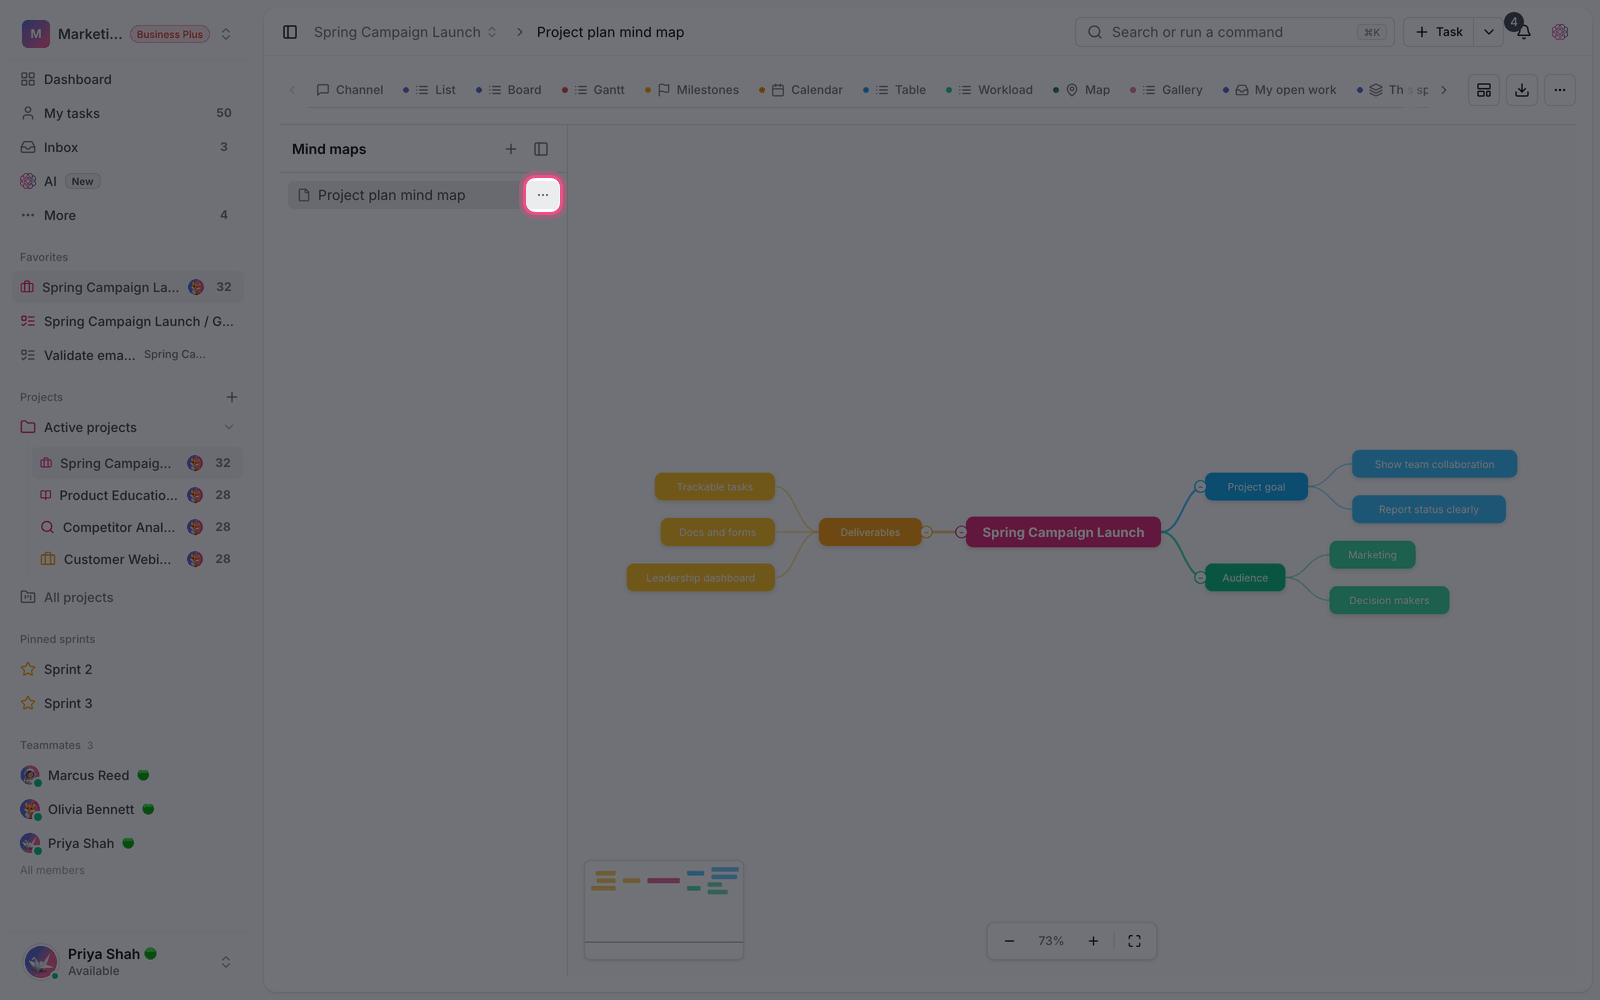
- Style: change a node's background color, shape (rounded, rectangle, or ellipse), and font size so important nodes stand out.
- Icon: give each node an icon so you can tell categories apart faster.
- Connector line type: show the lines between nodes as curved, straight, or stepped.
- Layout direction: change the direction the map grows in (for example, top to bottom).
- Collapse branches: collapse busy branches so only the headings show, and expand them again whenever you need to.
If a project has several mind maps, you can move and nest them in the sidebar so related maps sit together under one parent.
Autosave and version history
You don't need to worry about saving: changes to the map are saved automatically. On top of that, Taskie takes a backup of the map every few minutes so you can go back to an earlier state if needed. Open History from the map menu to see earlier versions and restore one if you need to. History is especially valuable when several people work on the same map.
AI, import, and export
A few helper tools let you start fast or clean up a map:
- Draw with AI: describe a topic and get a first draft of a map.
- Improve with AI: ask AI to expand an existing map or organize it better.
- Import and Export: import a map, or export the current map to share it.
- Node comments: leave comments on any node so team feedback stays next to the idea it's about.
AI features use the workspace's AI credits, so how much you can use depends on your plan's allowance.
Tip: Finish the structure before you make the map pretty. Get every idea out as a node first, then move on to colors, icons, and layout. That way you don't get caught up in visual details and your train of thought stays intact.
Next step: now that your map is built, it's time to put the ideas into action. See Turn mind map nodes into tasks and projects. To review the basics, go back to What a mind map is and why it helps.