
Turn whiteboard ideas into tasks
Learn how to turn the output of a whiteboard session into trackable work by creating tasks and adding live task cards to the canvas.
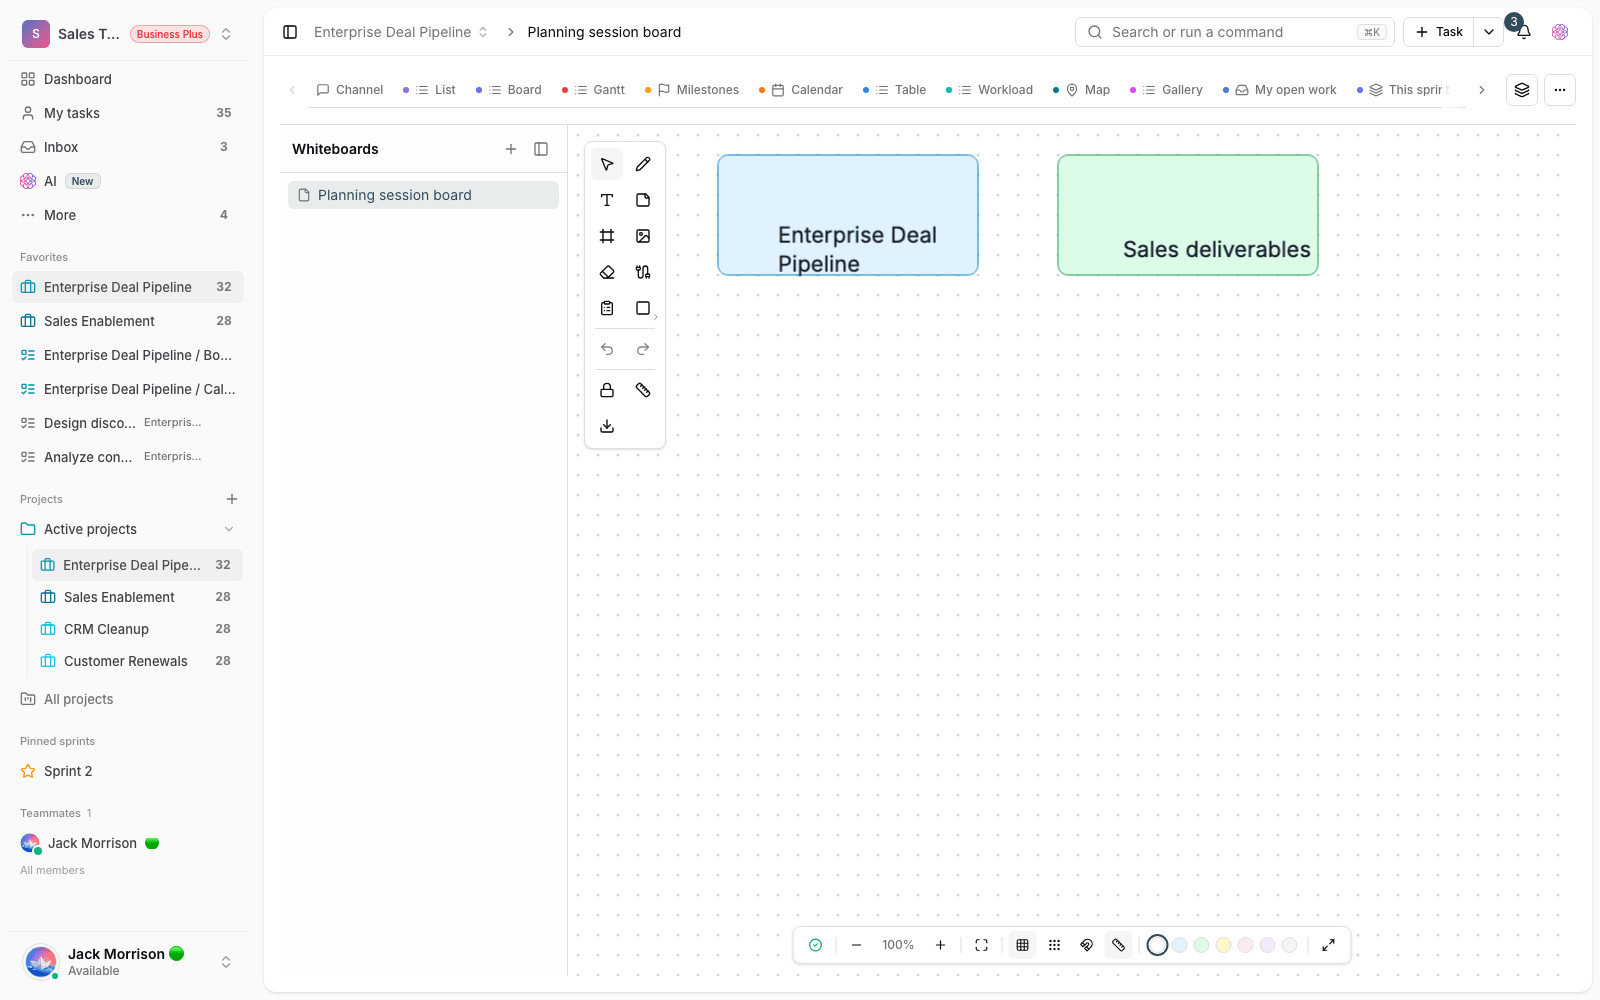
A whiteboard canvas is a place for thinking, not for tracking. When a brainstorm or workflow-mapping session ends, the canvas is full of ideas, arrows and notes — but until those ideas become specific tasks with an assignee and a status, none of them really move forward. This page shows how to connect the output of a whiteboard session to trackable work in your project.
The key point is that the whiteboard doesn't build your task list automatically. Instead, with the Task card tool you can bring the project's real tasks onto the canvas and build a live visual map of the work. Below, we walk through that bridge step by step.
Why should ideas on the canvas become tasks?
An idea that only lives on the canvas is quickly forgotten, because it has no assignee, no deadline and no status. A real task in the project has all of these and can be tracked in other views such as the list, board and calendar. The aim is to keep the canvas for thinking and hand serious decisions over to tasks, so nothing gets lost between the meeting and the work.
Task cards: the bridge between the canvas and real work
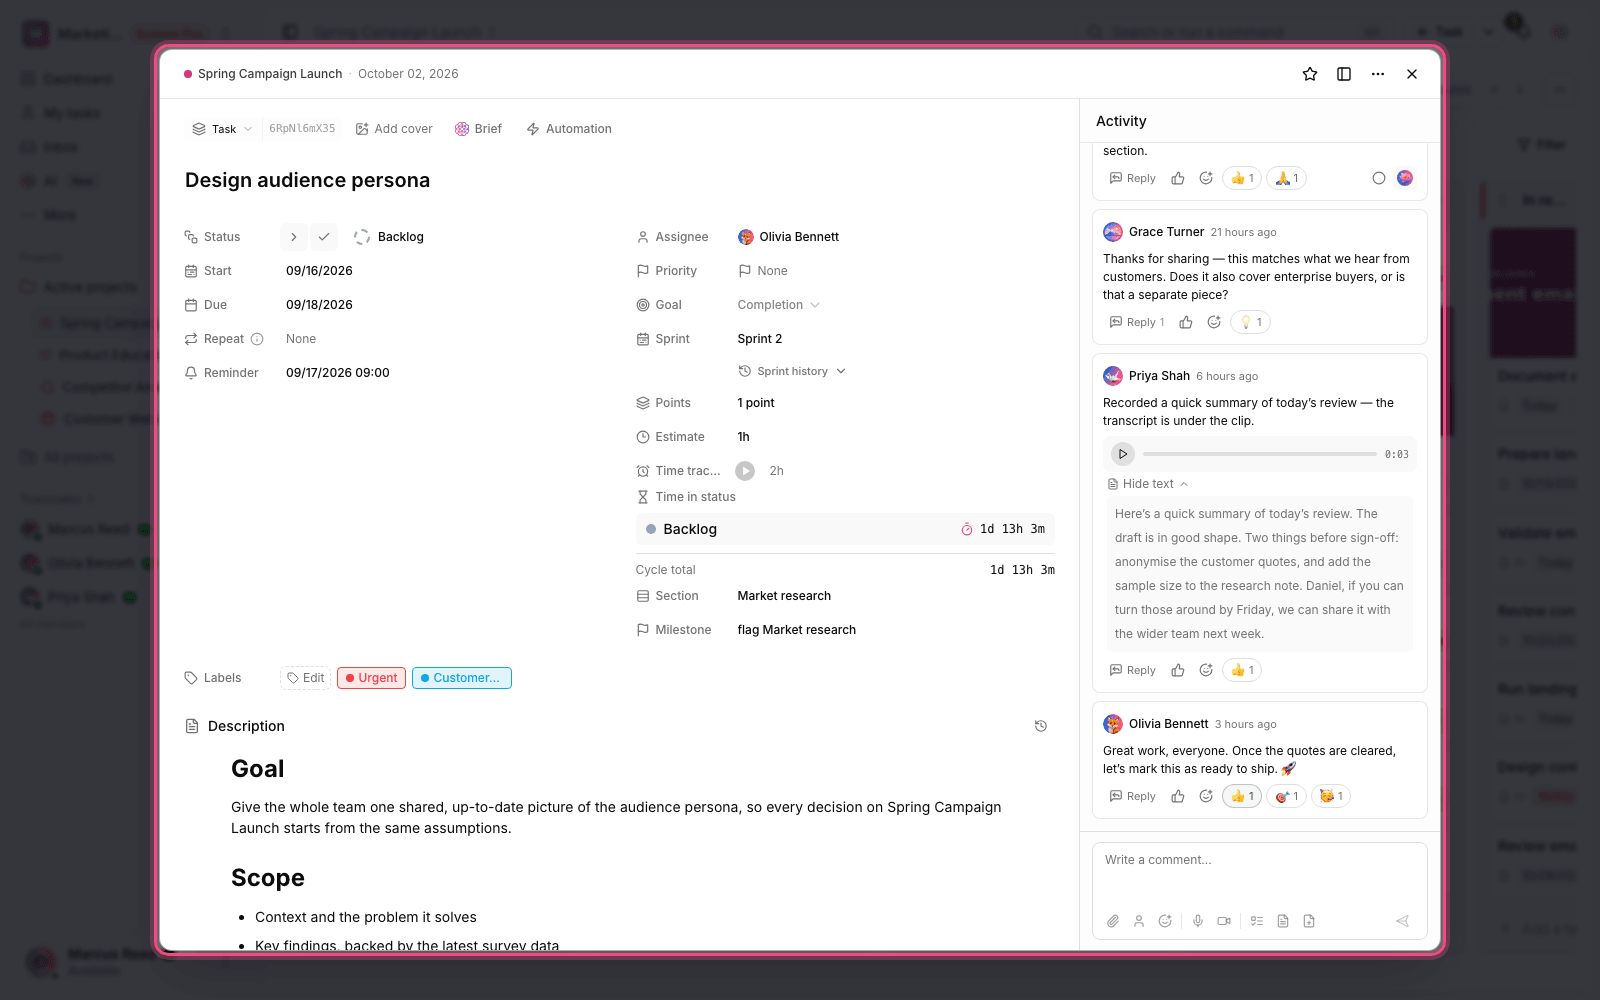
A task card is a visual representation of an existing project task on the canvas. Each card shows the task title, a colored bar for its status, the assignee's name and the priority. More importantly, these cards are live: their information updates from the real task, so if the task's status or assignee changes, the card on the canvas changes too.
Step by step from idea to task
Turning an idea into trackable work only takes a few steps and usually happens at the end of the same session:
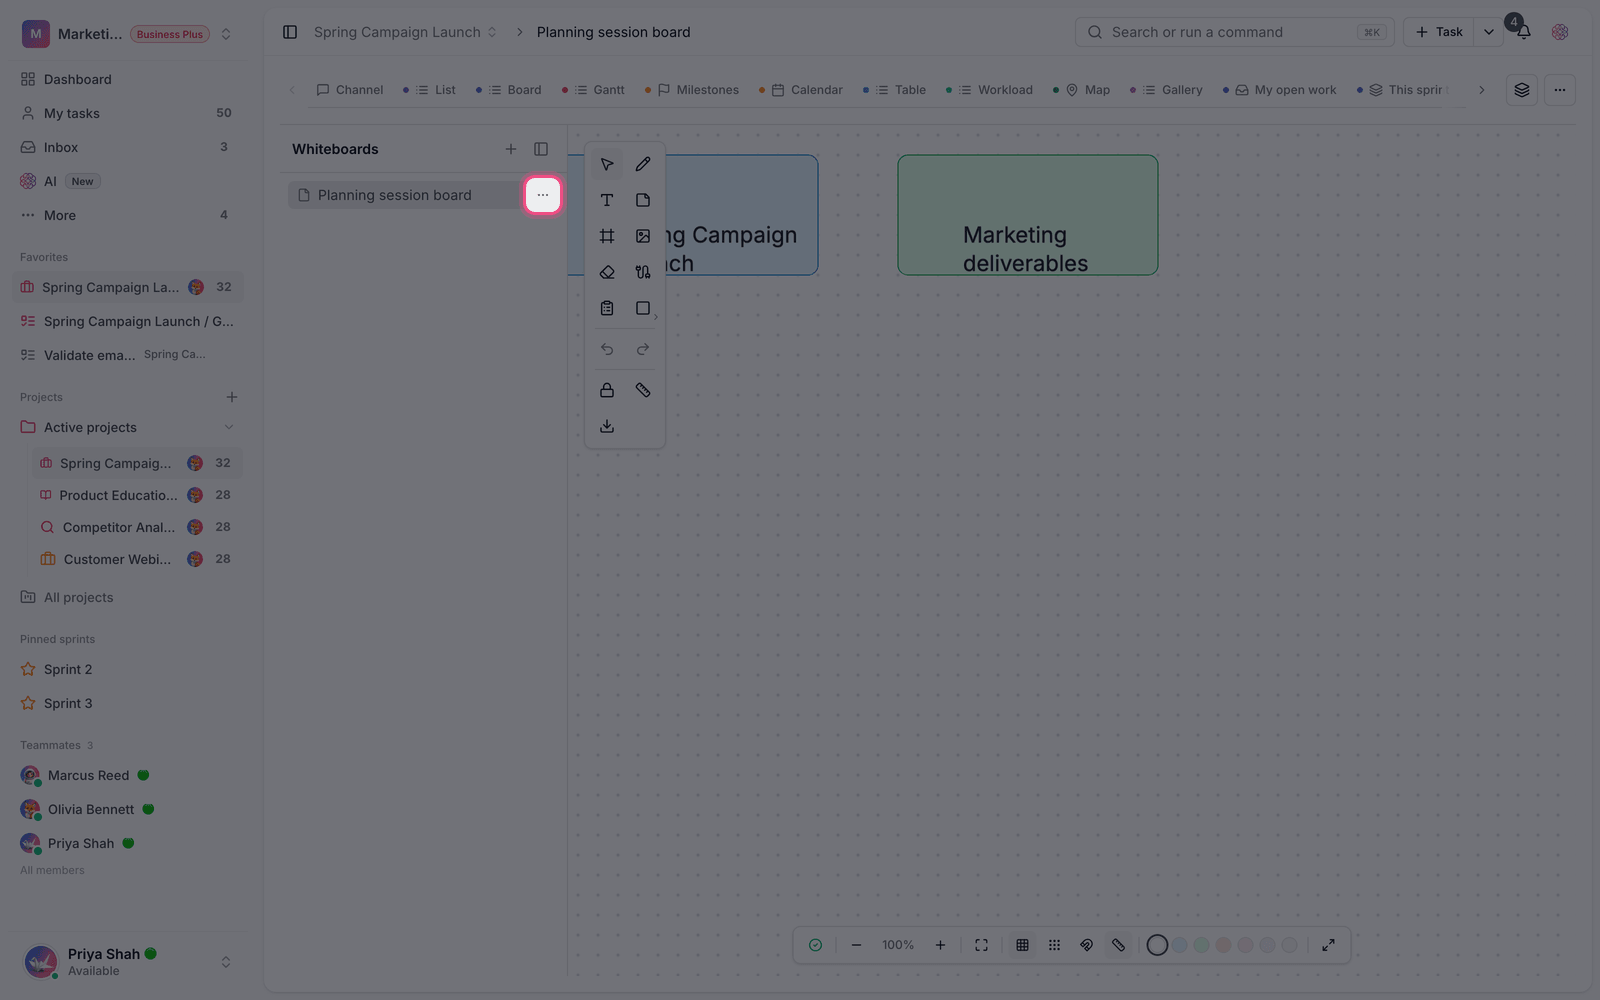
- On the canvas, gather and group your ideas with shapes and notes.
- Decide which ideas should become real work.
- For each chosen idea, create a task in that project's task view and set its assignee and details.
- Go back to the canvas and choose the Task card tool to open the Add task card window.
- Search for and select the task you want, and its card is added to the canvas.
- Arrange the cards next to the related ideas so you have a visual map of both work and ideas.
Live cards and opening the task
Task cards aren't just static pictures. Every time the canvas opens, the cards pick up the task's latest status, title, assignee and priority from the project and update themselves. Double-click a task card to go straight to that task's page and view or change its details. That way, the canvas becomes a visual dashboard of how the work is progressing.
- A task card brings an existing task onto the canvas; the canvas itself doesn't create new tasks.
- The task card search only shows tasks from the same project, not tasks from other projects.
- Removing a card from the canvas doesn't delete the real task; it only removes it from the canvas.
- To see or add a task card, you need access to that task and to the whiteboard view.
Tip: at the end of every whiteboard session, take a few minutes to turn the chosen ideas into tasks and bring their cards onto the canvas. That small step makes sure the meeting's results don't get lost.
Next step: if you're not yet comfortable with the canvas itself, read What a whiteboard is and when to use it, and to master the tools and real-time teamwork, go to Whiteboard tools and real-time collaboration.