
Whiteboard tools and real-time collaboration
Get to know the whiteboard's drawing tools, how to style shapes and text, and real-time collaboration with live cursors and autosave.
The real power of the whiteboard comes from two things: the tools you use to draw and write anything, and the ability for several people to work on the same canvas at once. Put the two together, and the canvas goes from a personal sketchbook to a live, shared workspace.
In this guide we first go through the toolbar and drawing tools, then look at how to style each element and tidy up the layout, and finally explain how real-time collaboration works so team meetings run smoothly.
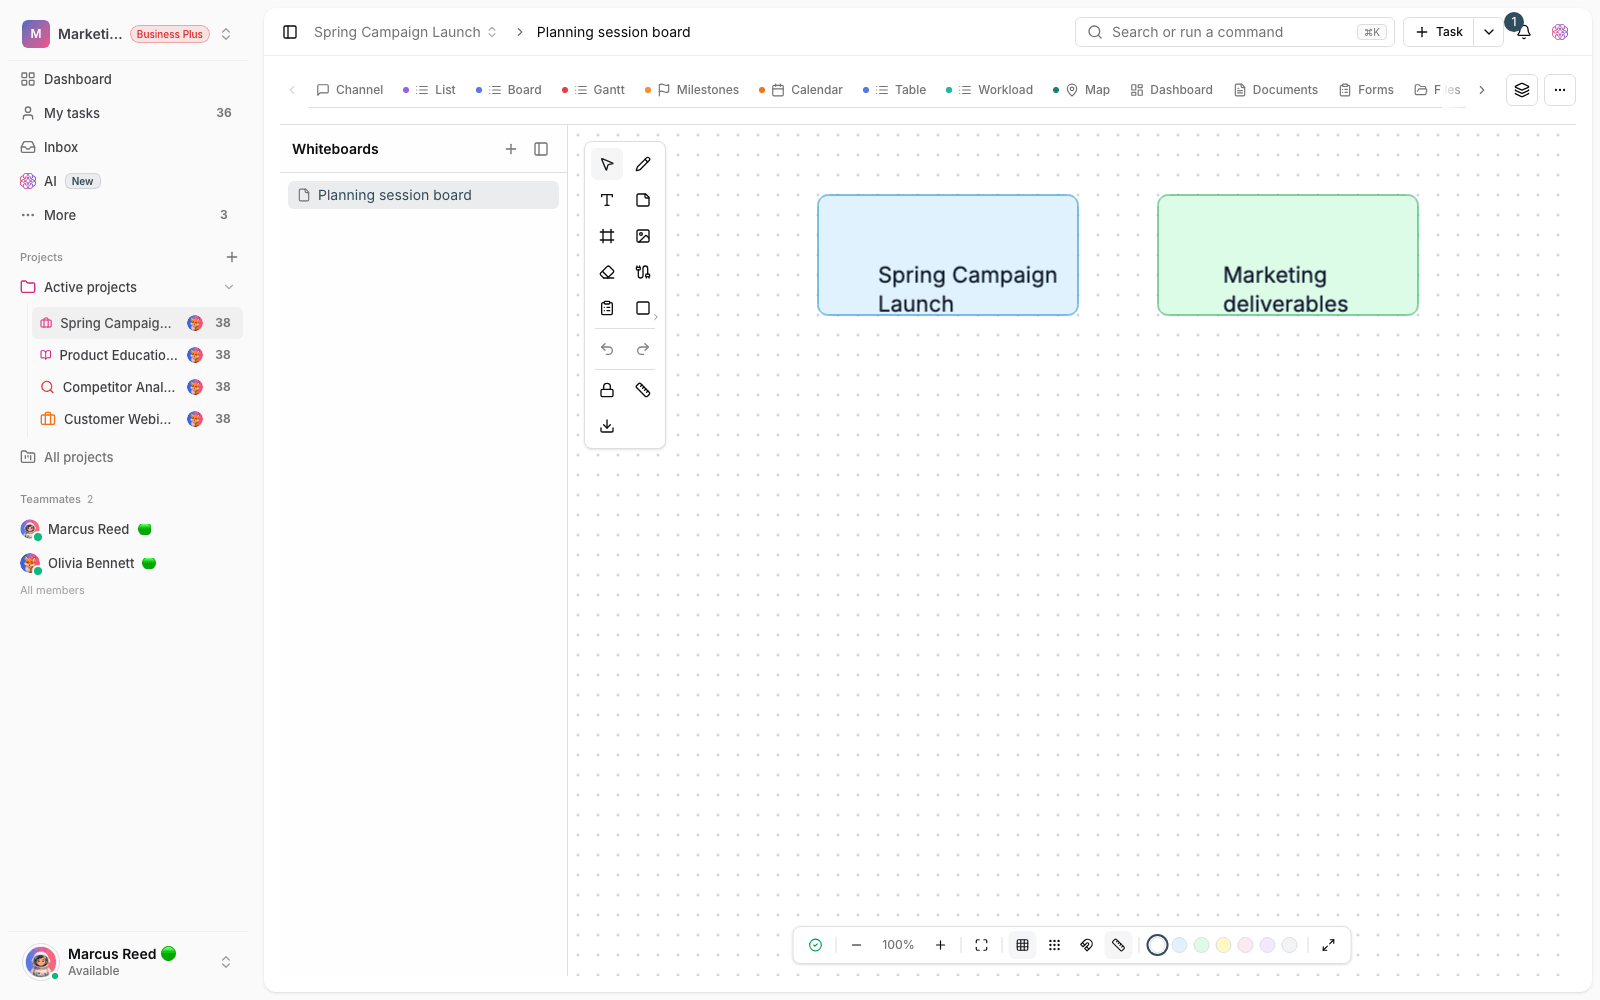
The toolbar and main tools
The toolbar sits beside the canvas and gives you the basic tools. Most of them have keyboard shortcuts too (for example, 1 for select and 2 for pen). The most important tools are:
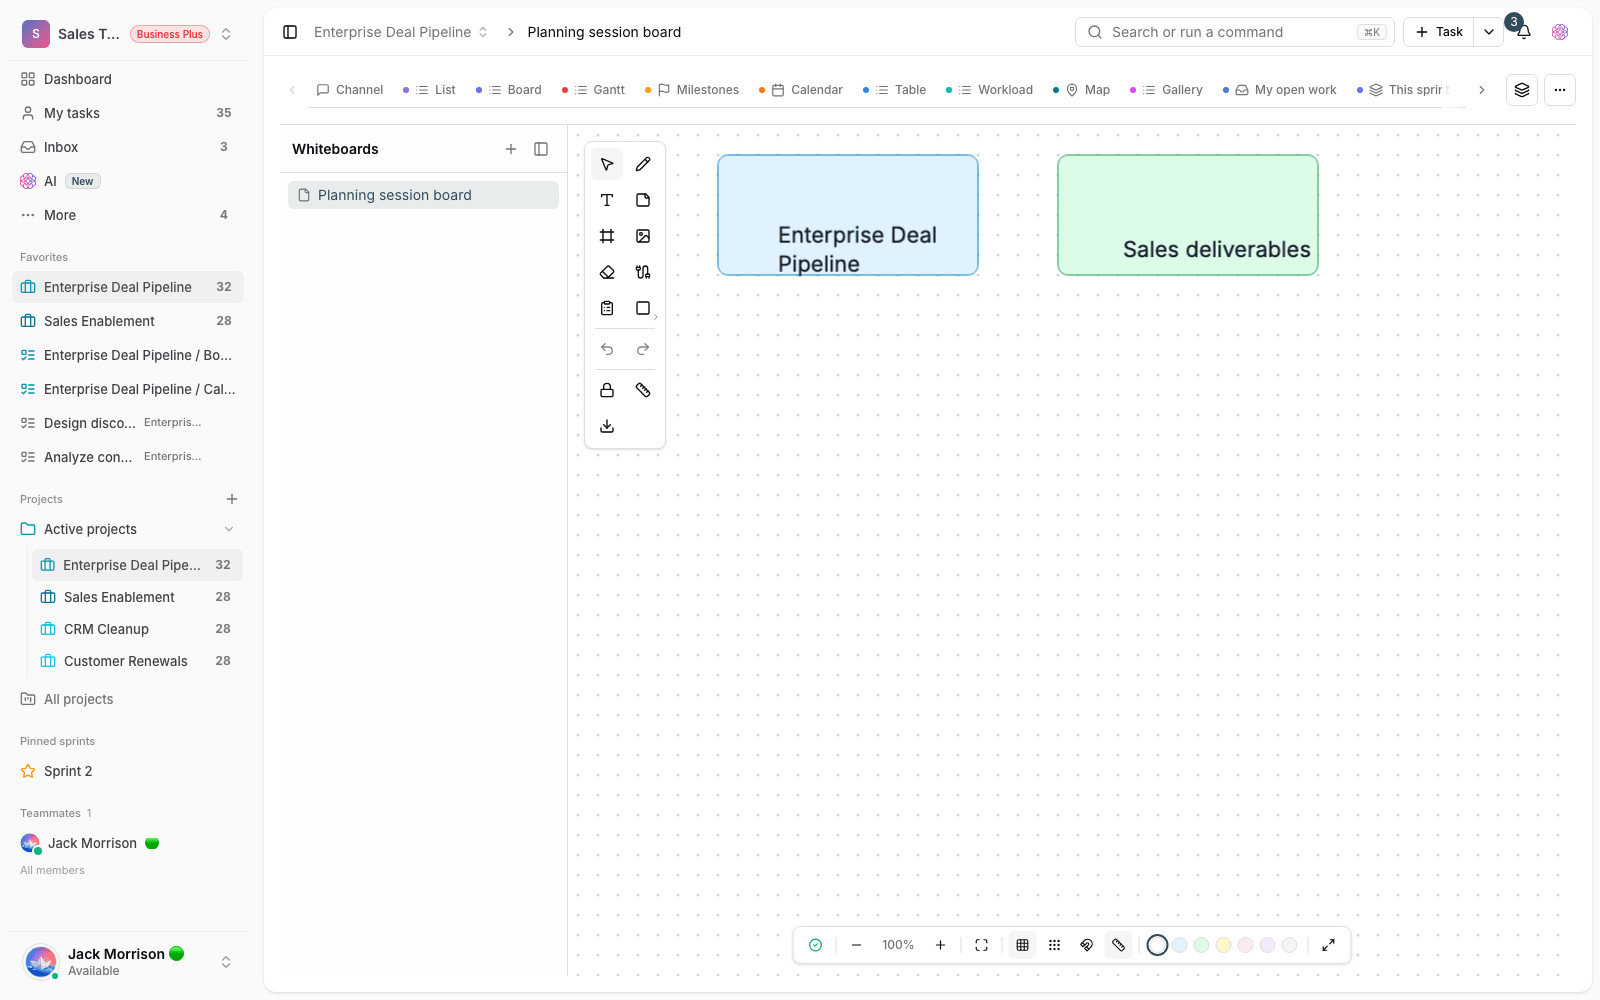
- Select for moving, resizing and selecting elements.
- Pen for freehand drawing.
- Text for adding text, including right-to-left text. Just click the canvas and type.
- Image for uploading a picture and placing it on the canvas.
- Eraser for deleting an element by clicking it.
- Connector for joining two shapes with an arrow. Drag from the blue dot on the first shape to the second shape, and the arrow stays connected when you move the shapes.
- Task card for bringing a real project task onto the canvas as a card.
Shapes, color and drawing style
The shapes button opens a full drawer of shapes sorted into groups: Basic shapes (rectangle, circle, ellipse, triangle), Lines (line and arrow), Advanced shapes (diamond, hexagon, octagon, star) and Special shapes (trapezoid, cross, check mark). To draw one, select the shape and drag on the canvas.
Every element's appearance is fully customizable. In the color section you can change the Stroke color, Fill color, Stroke width, Opacity, Stroke style (solid, dashed or dotted) and Corners (sharp or rounded). There's also a fun Drawing style option that switches between three styles: Architect, with precise, straight lines, and Artist and Cartoonist, with informal, hand-drawn lines.
Besides drawing by hand, people with edit access get two AI assistants in the whiteboard view's menu: Draw with AI, which builds a diagram from your description, and Improve with AI, which rearranges the canvas's current layout.
Sticky-style idea notes
The whiteboard doesn't have a separate sticky note tool, but with a filled, rounded rectangle plus some text you can make exactly the kind of colored notes you'd use in a brainstorm. The Brainstorm template uses the same approach to arrange ideas around a central topic.
- From the shapes drawer, pick the shape you want (for example, a rectangle).
- Drag on the canvas to create the shape at the size you want.
- Click the shape with the select tool, and use the color section to set its color, thickness and opacity.
- To write inside the idea, pick the text tool and type next to or on top of the shape.
- If you want to draw the same shape several times in a row, turn on Keep tool active so the tool doesn't switch back to select after each drawing.
Layout, navigation and export
A few helper tools keep the canvas tidy. When you select two or more elements, the alignment buttons (left, right, top, bottom and center) appear. You can group several elements so they move together, and ungroup them again. The Undo and Redo buttons undo and redo changes.
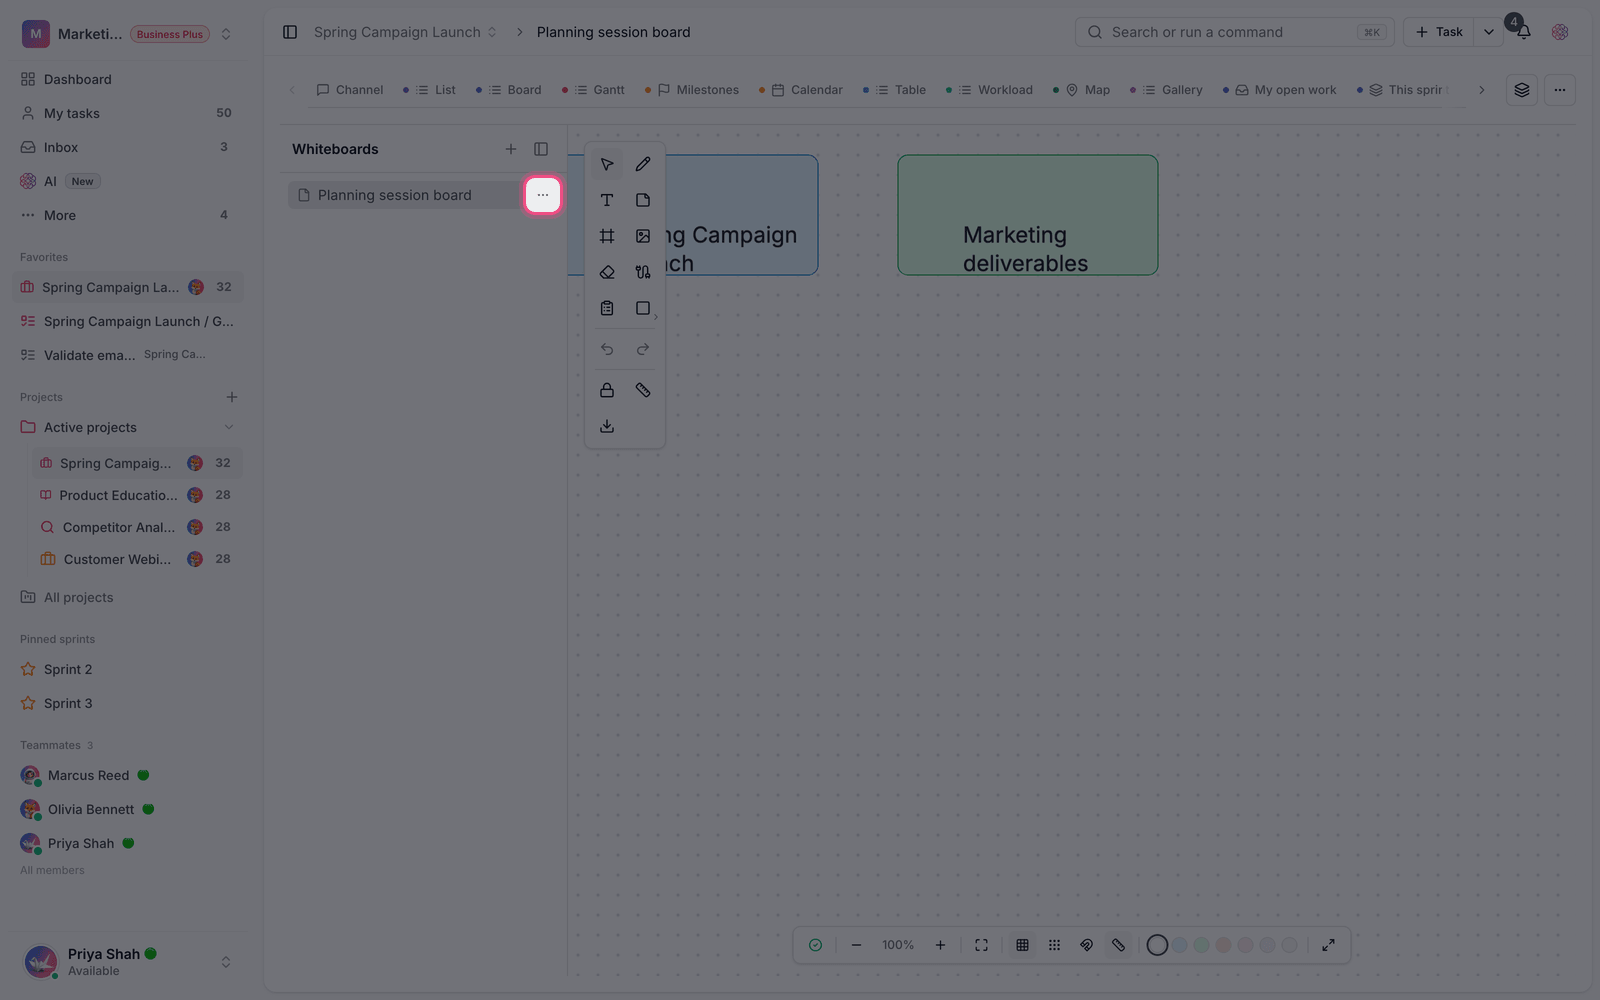
In the bar at the bottom of the canvas you'll find zoom, zoom to fit, show grid, snap to grid, background color and full-screen mode. To take your work elsewhere, use the export button to save the canvas as a PNG or JPEG image or an SVG vector file. There's also a Layers panel for managing the order of elements.
Real-time collaboration
When several people open the same canvas, the avatars of everyone online appear at the top of the page, and each person's cursor shows on the canvas in their own color. Any change one person makes is applied for everyone else immediately, so everyone sees the same live picture.
To avoid conflicts, when someone is working on an element, that element is locked for everyone else. The canvas also saves automatically: the save status indicator in the bottom bar shows whether your work is Saving, Saved or Couldn't save. That's why there's no manual save button, and if you try to leave the page with unsaved changes, Taskie warns you.
- If others didn't see your change, that element was probably in someone else's hands at that moment and locked.
- You don't need to save manually, but before closing your browser, wait until the status indicator shows Saved.
- If you don't see the toolbar, your role only lets you view the canvas, not edit it.
- To present or focus on the canvas, turn on full-screen mode so lists and sidebars get out of the way.
Tip: for a live meeting, prepare the canvas and choose a suitable template before you start, then invite your colleagues so everyone starts from the same organized place.
Next step: if you're new to this area, start with What a whiteboard is and when to use it, and to turn the results of your canvas into trackable tasks, see Turn whiteboard ideas into tasks.