
What automation is and how to build one
Automation handles your team's repetitive work by combining a trigger, conditions and actions, so nothing slips through the cracks.
A lot of your team's everyday work follows a predictable pattern: when a task is created, someone needs to be assigned; when work reaches an approval status, the next person needs to be told; or when a due date passes, a reminder needs to go out. Doing these sequences by hand takes time and is easy to forget. Automation lets you describe the pattern once so Taskie runs it for you every time.
In Taskie, every automation is made of three parts: a trigger that decides what event starts it, optional conditions that limit when it runs, and one or more actions that define what happens. Automation is available on every plan; the only difference between plans is how many times your automations can run each month.
What is an automation made of?
You can sum up any automation in one sentence: "When X happens, if condition Y is true, then do Z." These three parts are the foundation of all your automated flows:
- A trigger is the event that starts the automation — such as a task being created, a status change, a due date arriving or passing, a comment being added, or a set schedule.
- A condition is an optional filter that limits when it runs — for example, only when the priority is Urgent or a particular label is on the task. You can combine several conditions with AND or OR logic.
- An action is what happens in response — such as changing the status or assignee, adding a label, writing a comment, creating a subtask or sending a notification.
Why automate repetitive work?
Automating repetitive work isn't just about saving time. It lets your team focus on the real work and makes sure nothing slips through the cracks.
- Consistency: exactly the same steps run every time, with no personal variations.
- Nothing forgotten: reminders and assignments happen automatically and on time.
- Faster handoffs: work moves from one stage to the next without delay.
- Fewer errors: repetitive manual steps that invite mistakes go away.
Build your first automation step by step
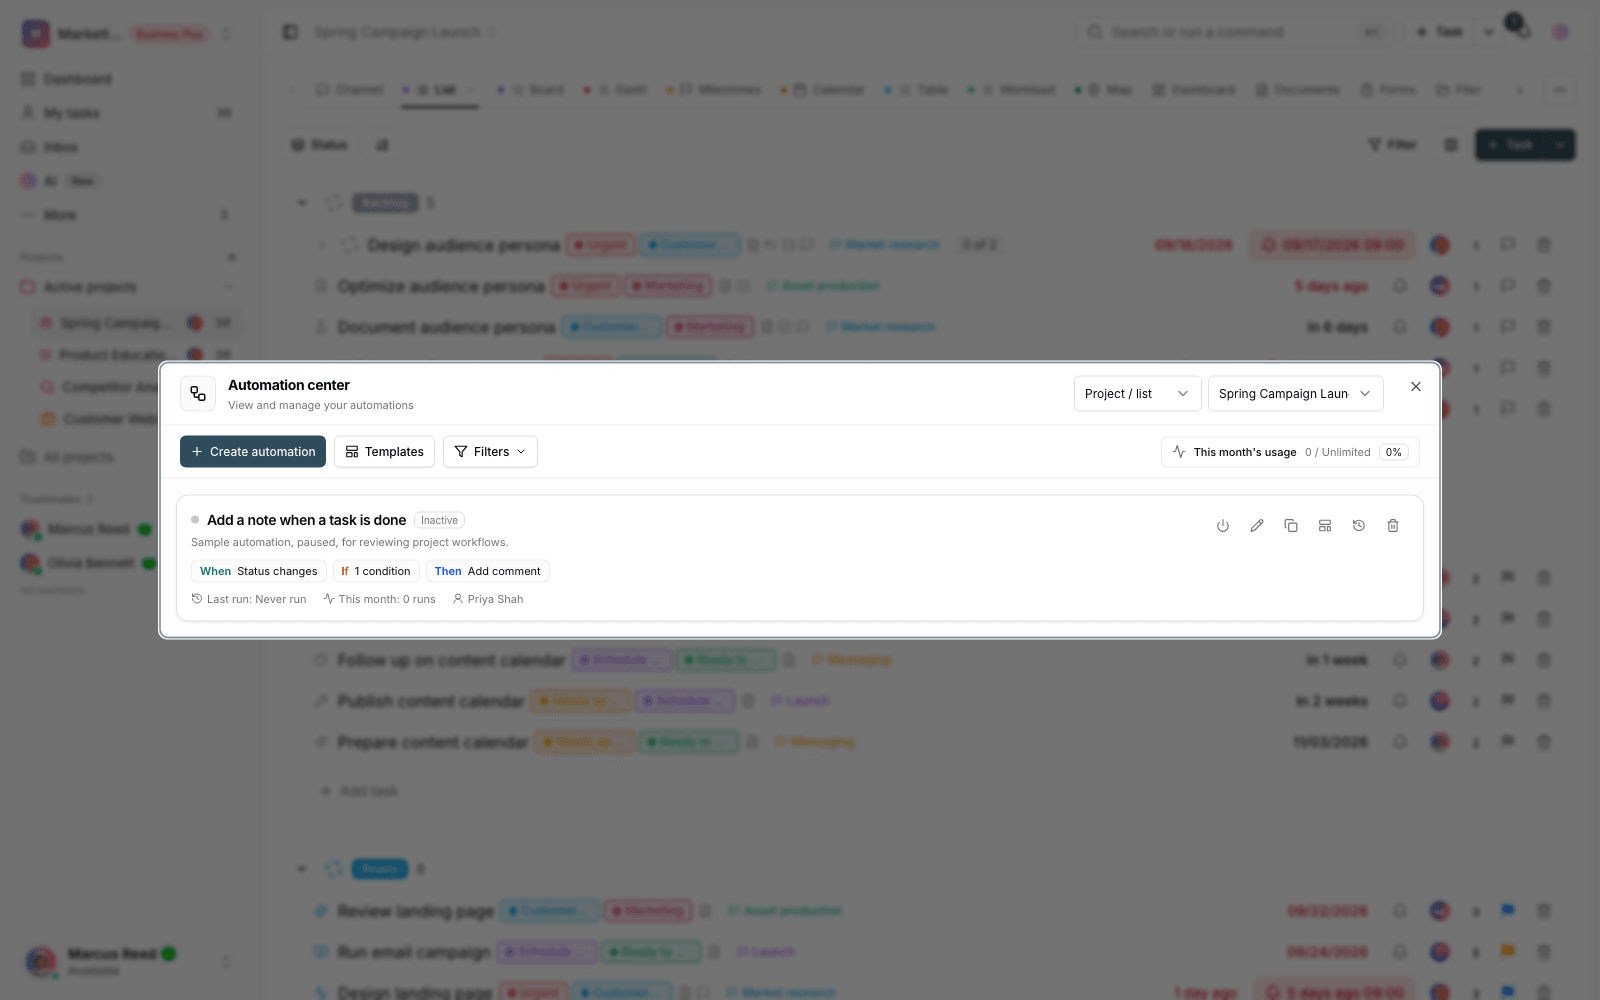
To get started, go to the Automations page. There you'll see your existing automations, the Create automation button and the Templates library. The simplest path is:
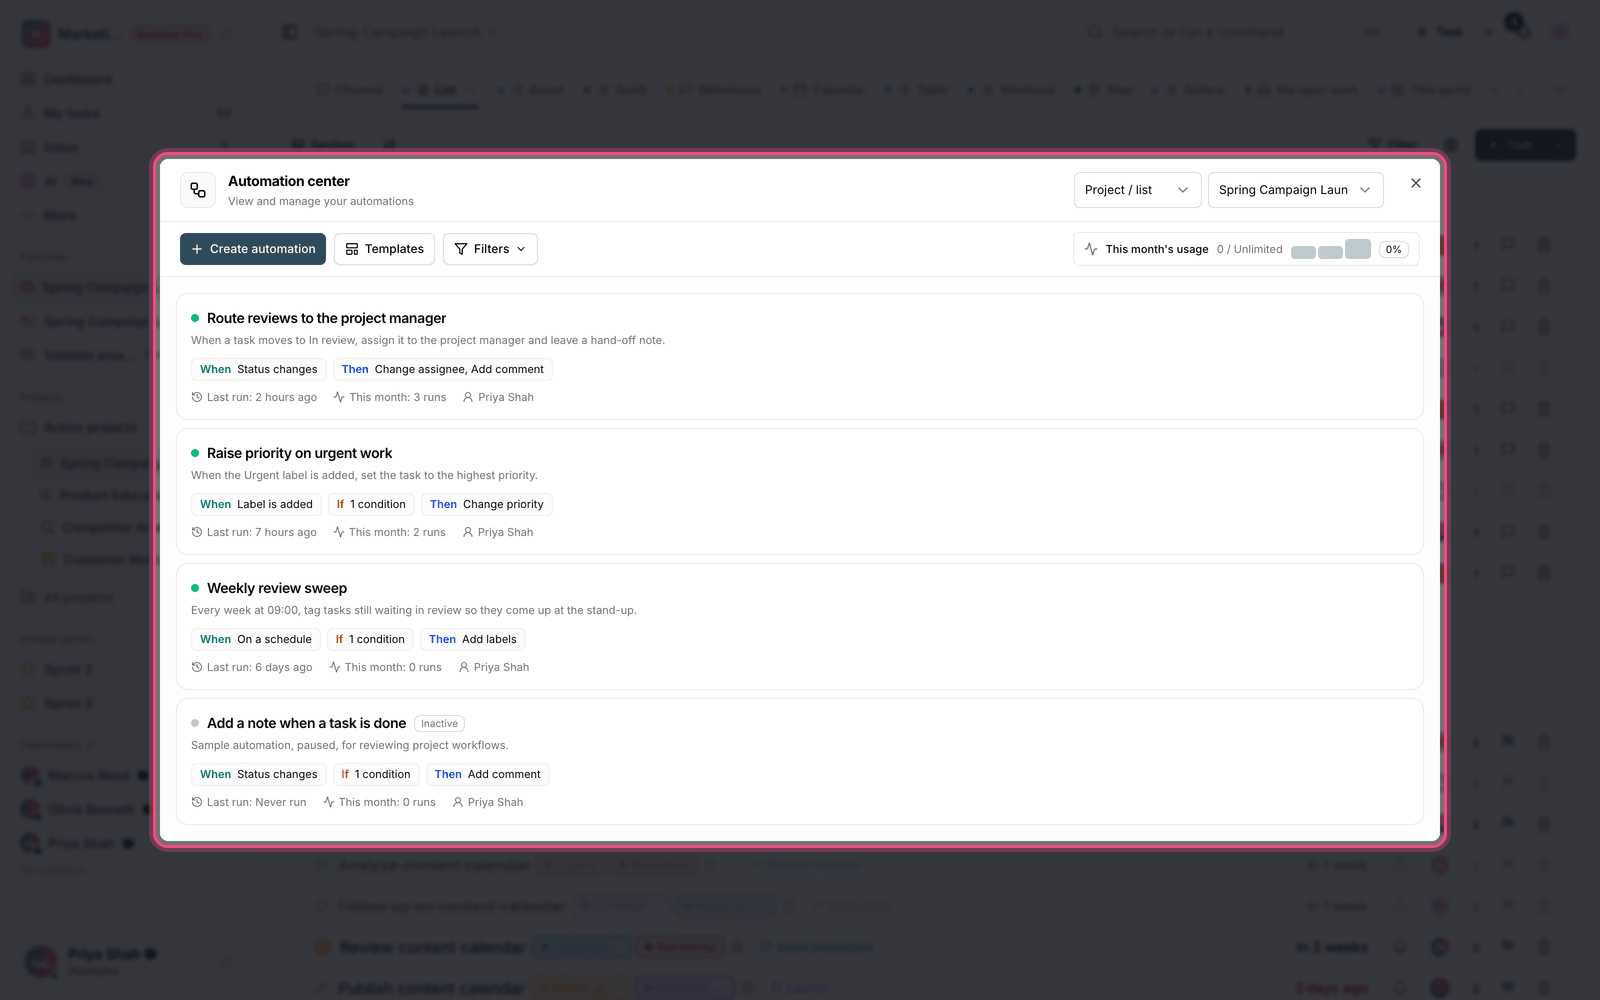
- Choose the automation's scope: a project or list, a folder, or the whole workspace.
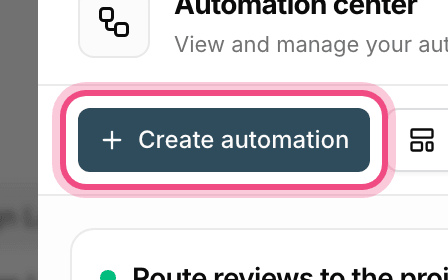
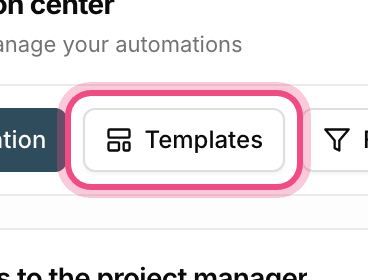
- Click Create automation, or pick a ready-made template from Templates and review its details in the builder before saving.
- Choose a trigger — for example, Task is created.
- Add conditions if you need them — for example, Priority Is Urgent.
- Define one or more actions — for example, Change assignee and then Send notification.
- Choose whether the automation applies to Tasks only, Subtasks only or Both.
- Save it and set the status switch to Active so it runs automatically from now on.
To create and manage automations, you need management access in that scope. If you don't see the create button, your role doesn't have that permission.
Test and control your automation
Before you rely on an automation, it's a good idea to test it. The controls are right on the same page:
- Test run: run the automation on a sample task to see the real result before you turn it on.
- Run history: see which actions ran each time and whether they succeeded.
- Activate or deactivate: turn an automation off temporarily without deleting it.
- Duplicate: make a similar copy of an automation for another scope.
Monthly limit and plan differences
Each workspace has a set limit on automation runs per month, and the This month's usage indicator shows how much you've used. When you reach the limit, later runs are recorded until the next month starts, but their actions don't run.
- Free plan: 3 runs per month
- Pro plan: 30 runs per month
- Ultimate plan: 300 runs per month
- Business and Business Plus plans: unlimited
Tip: start with a simple automation, check it with a Test run, and then build out the conditions and actions. That surfaces problems early and keeps you from using up your monthly limit for nothing.
Next step: to dig deeper into the parts of an automation with practical examples, read Triggers, conditions and actions. If you want work to run at a specific time or on a recurring basis, see Scheduled and recurring flows.
To start from ready-made templates and test runs, see the automation template library.