
Require two-factor authentication in your workspace
Make two-factor authentication mandatory for every workspace member, set a grace period and manage the requirement safely.
When you require two-factor authentication at the workspace level, account security is no longer left to each member's choice. Anyone who wants to sign in to the workspace needs a second factor (a one-time code from an authenticator app) in addition to their password. For organizations that handle sensitive information, this is one of the most effective and simplest layers of defense against account takeover, phishing and reused leaked passwords.
You set this up in Workspace settings → Security, on the Two-factor sign-in card. Requiring 2FA is part of Taskie's enterprise security suite and is available on the Business Plus plan. To change it, you must be the workspace owner or have the Manage security permission. On this page you'll see how to turn on the requirement, set the grace period and what members experience during that time.
Why does a workspace-level requirement matter?
On its own, two-factor authentication is a personal feature that each user can turn on or off. But on a team, a single account without a second factor is enough to put the whole workspace at risk. A workspace-level requirement closes that gap.
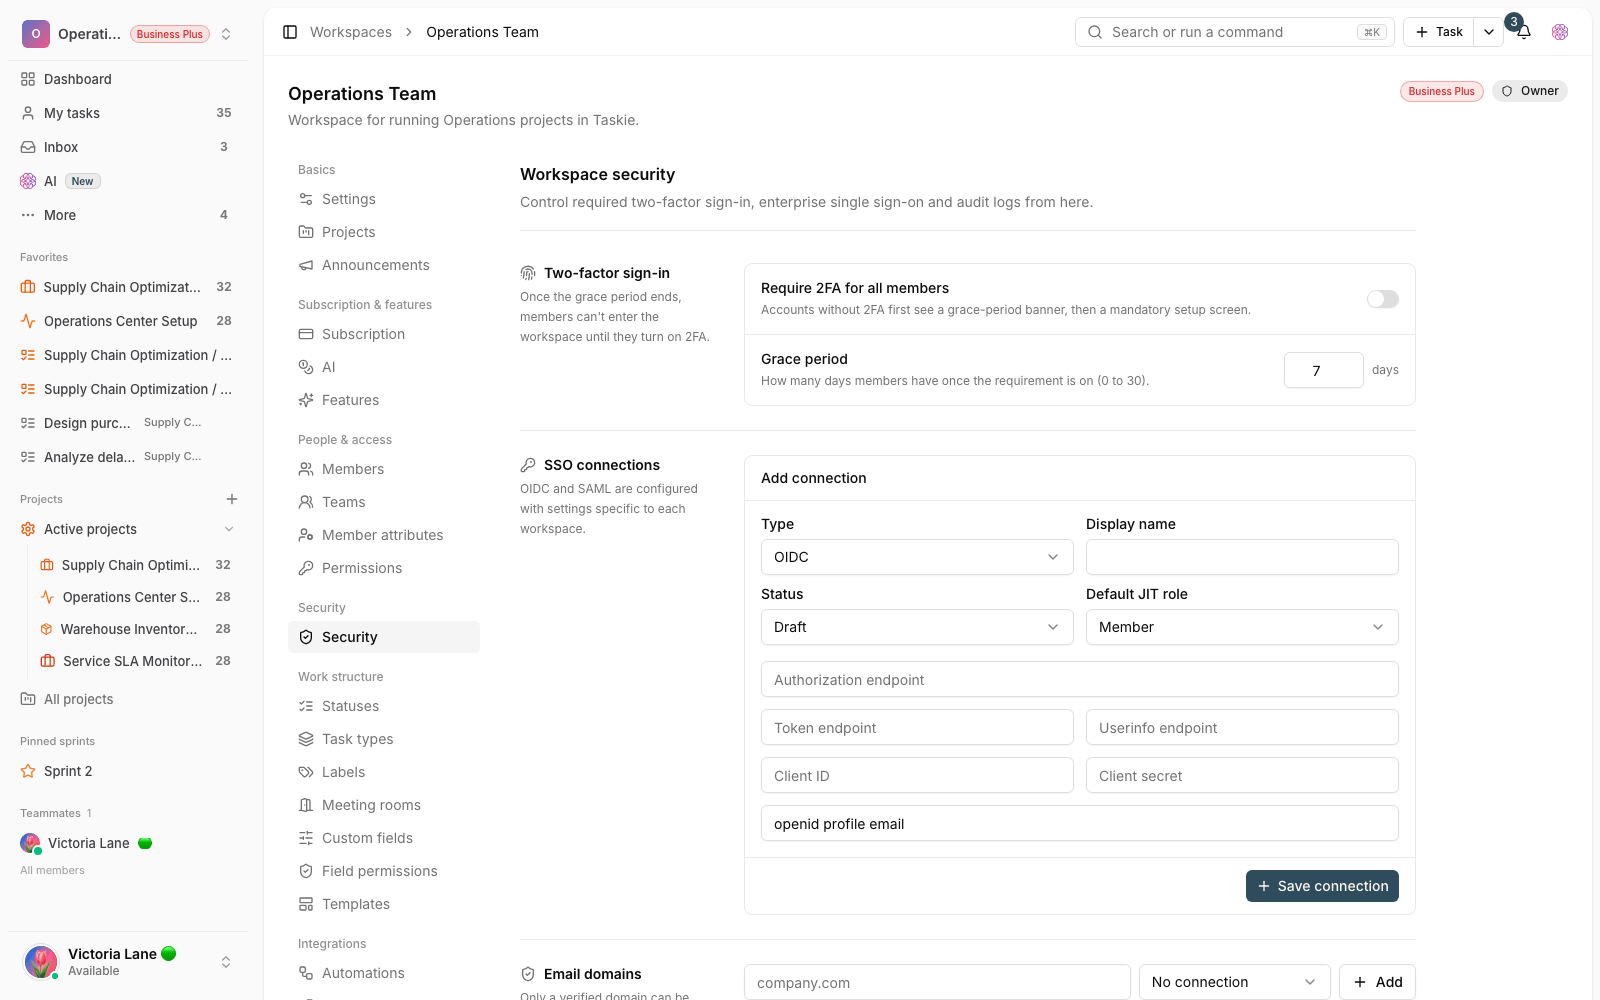
- Consistent security for every member: no account is left without a second factor.
- A much lower risk of unauthorized access, even if a member's password leaks.
- Better alignment with organizational security and compliance policies, which often require mandatory 2FA.
- Changes to this policy are recorded in the event log, so it's always clear when it was turned on and by whom.
Prerequisites and required access
Before you start, make sure the following are true. Otherwise, the 2FA requirement card is shown locked or the save button stays disabled.
- The workspace is on the Business Plus plan. If you're on a lower plan, an Upgrade plan button appears on the same card.
- You're the workspace owner or have the Manage security role or permission.
- It's best to let members know before you turn it on, so they have time to get their two-factor authentication ready.
Turn it on step by step
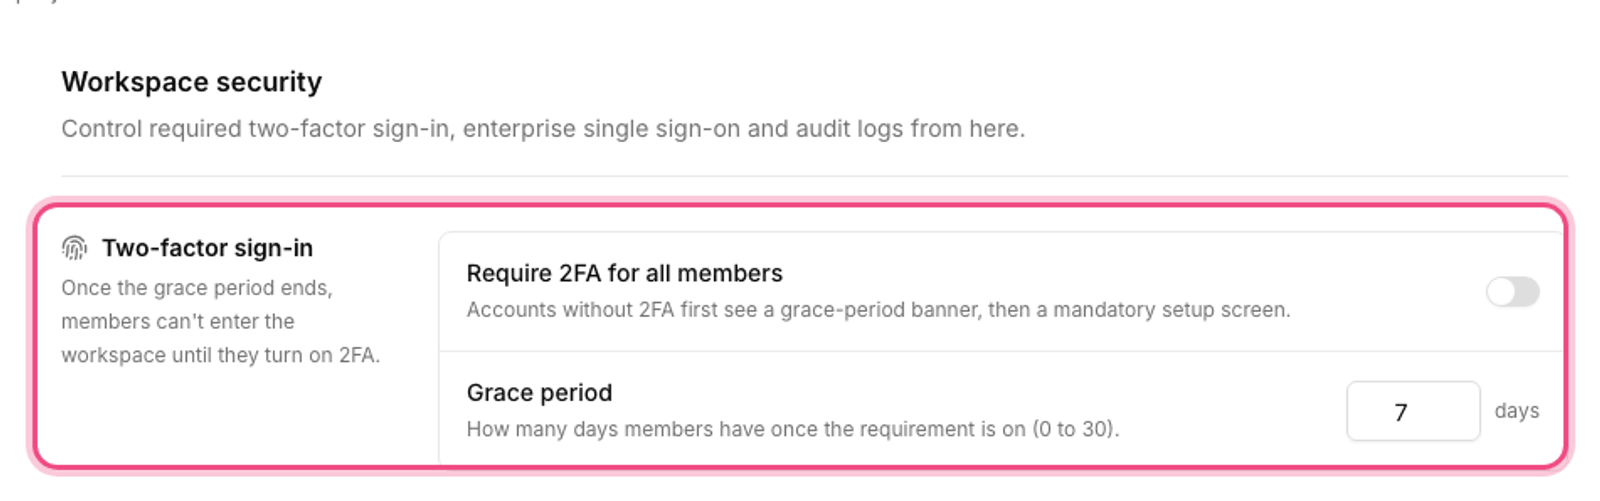
- Go to Workspace settings → Security and find the Two-factor sign-in card.
- Turn on Require 2FA for all members.
- In the Grace period field, enter how many days members have to set up their 2FA (between 0 and 30 days; the default is 7).
- Click Save to apply the policy.
- To turn it off later, just switch off the same toggle and save again.
Tip: If you set the grace period to 0 days, the requirement applies immediately, and members without 2FA are sent to the setup page right away. For a smoother transition, give a few days' grace.
The grace period and what members experience
Once it's on, members who don't have two-factor authentication yet aren't blocked right away. They enter a grace period that starts when the requirement was turned on (or when the member joined, whichever is later) and lasts for the number of days you set.
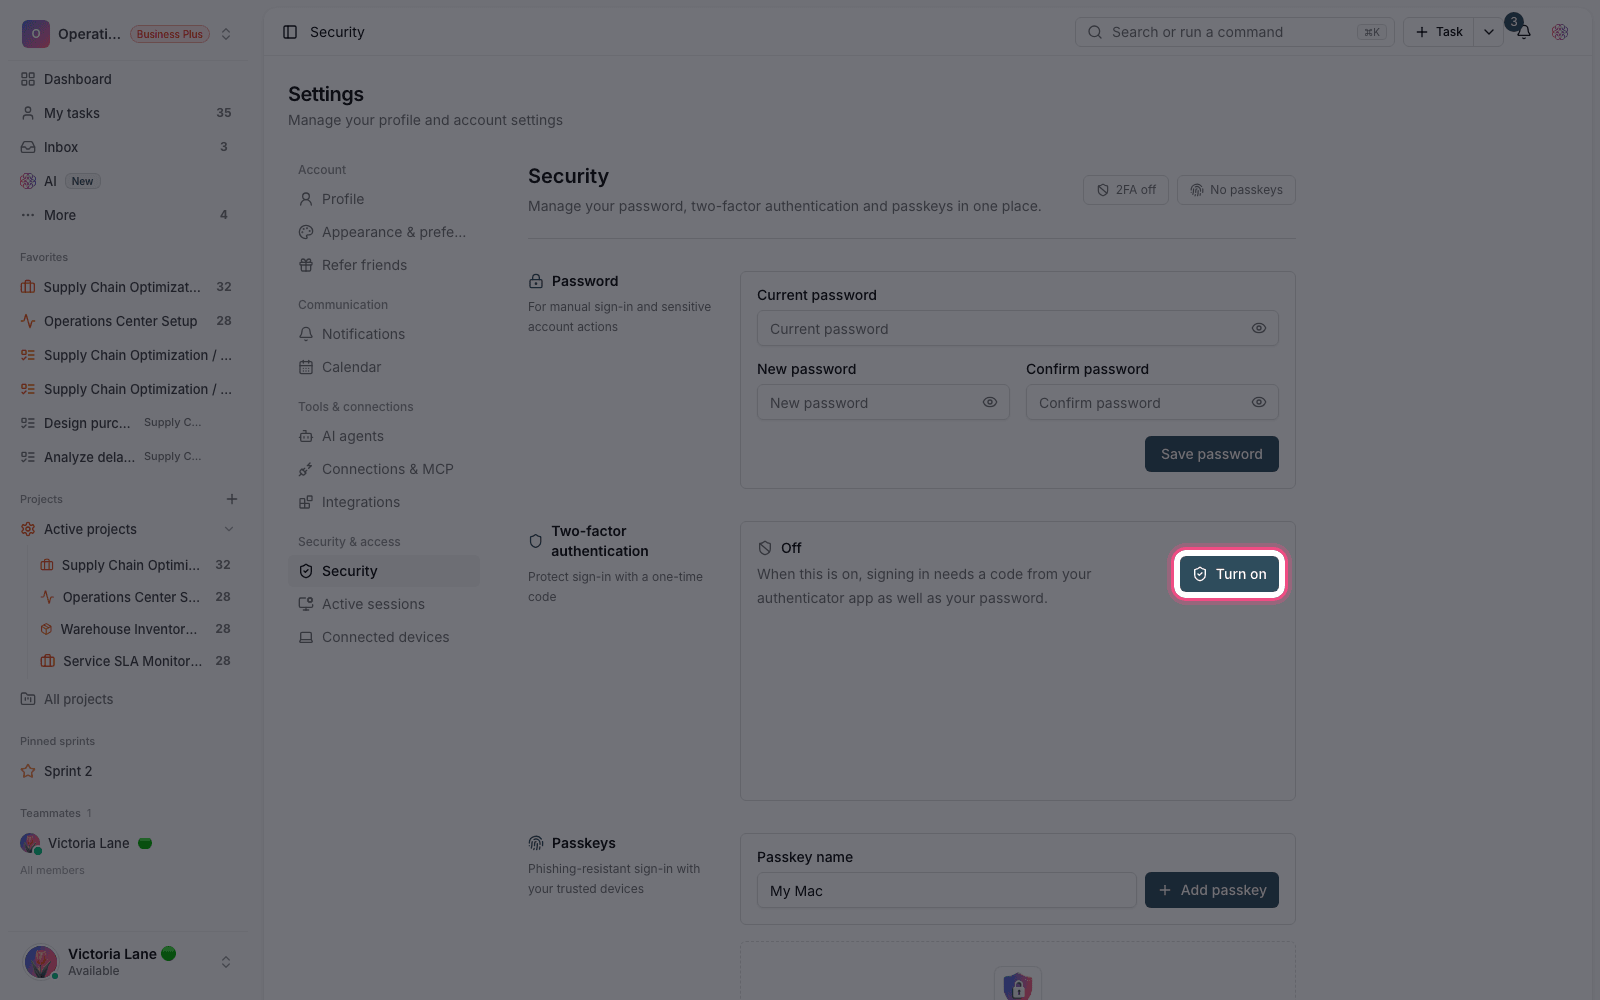
- During the grace period, the member sees a reminder banner asking them to turn on 2FA.
- After the grace period ends, the member is sent to a mandatory setup page and can't use the workspace until they set up two-factor authentication.
- Each member turns on two-factor authentication from their own personal settings (in the account security section). As an admin, you only set the policy, not anyone's second factor.
- Members who already have 2FA turned on won't notice any change to how they sign in.
Common mistakes
- Turning on the requirement without telling people first. Members get caught off guard and support gets swamped.
- Setting a very short grace period for large teams. Give people enough time to install an authenticator app.
- Forgetting that the requirement is calculated independently for every workspace a member belongs to. The nearest deadline is the one that counts.
Next step: if you want members to sign in with your organization's identity instead of a password, go to Single sign-on (SSO) with SAML and OIDC. To track when these policies changed, see Audit logs.