
Single sign-on (SSO) with SAML and OIDC
Let members sign in with your organization's identity through SAML or OIDC, and make it mandatory when needed.
Single sign-on (SSO) lets members of your organization sign in with their organizational identity account (for example Okta, Microsoft Entra ID, Google Workspace or any provider compatible with OIDC and SAML) instead of a separate Taskie password. It makes signing in simpler and puts access control in the hands of your security or IT team: when someone's account is disabled in the central system, their way into Taskie is closed too.
SSO settings are in Workspace settings → Security, under SSO connections. This feature is part of the enterprise security suite and is available on the Business Plus plan. To configure it, you must be the workspace owner or have the Manage security permission. Taskie supports the two standard protocols, OIDC and SAML, and each workspace has its own connections.
How does SSO work?
Setting up SSO has three parts that need to come together: a connection that holds your identity provider's addresses and keys, a verified email domain that decides which users use this connection, and a decision about whether SSO is optional or required.
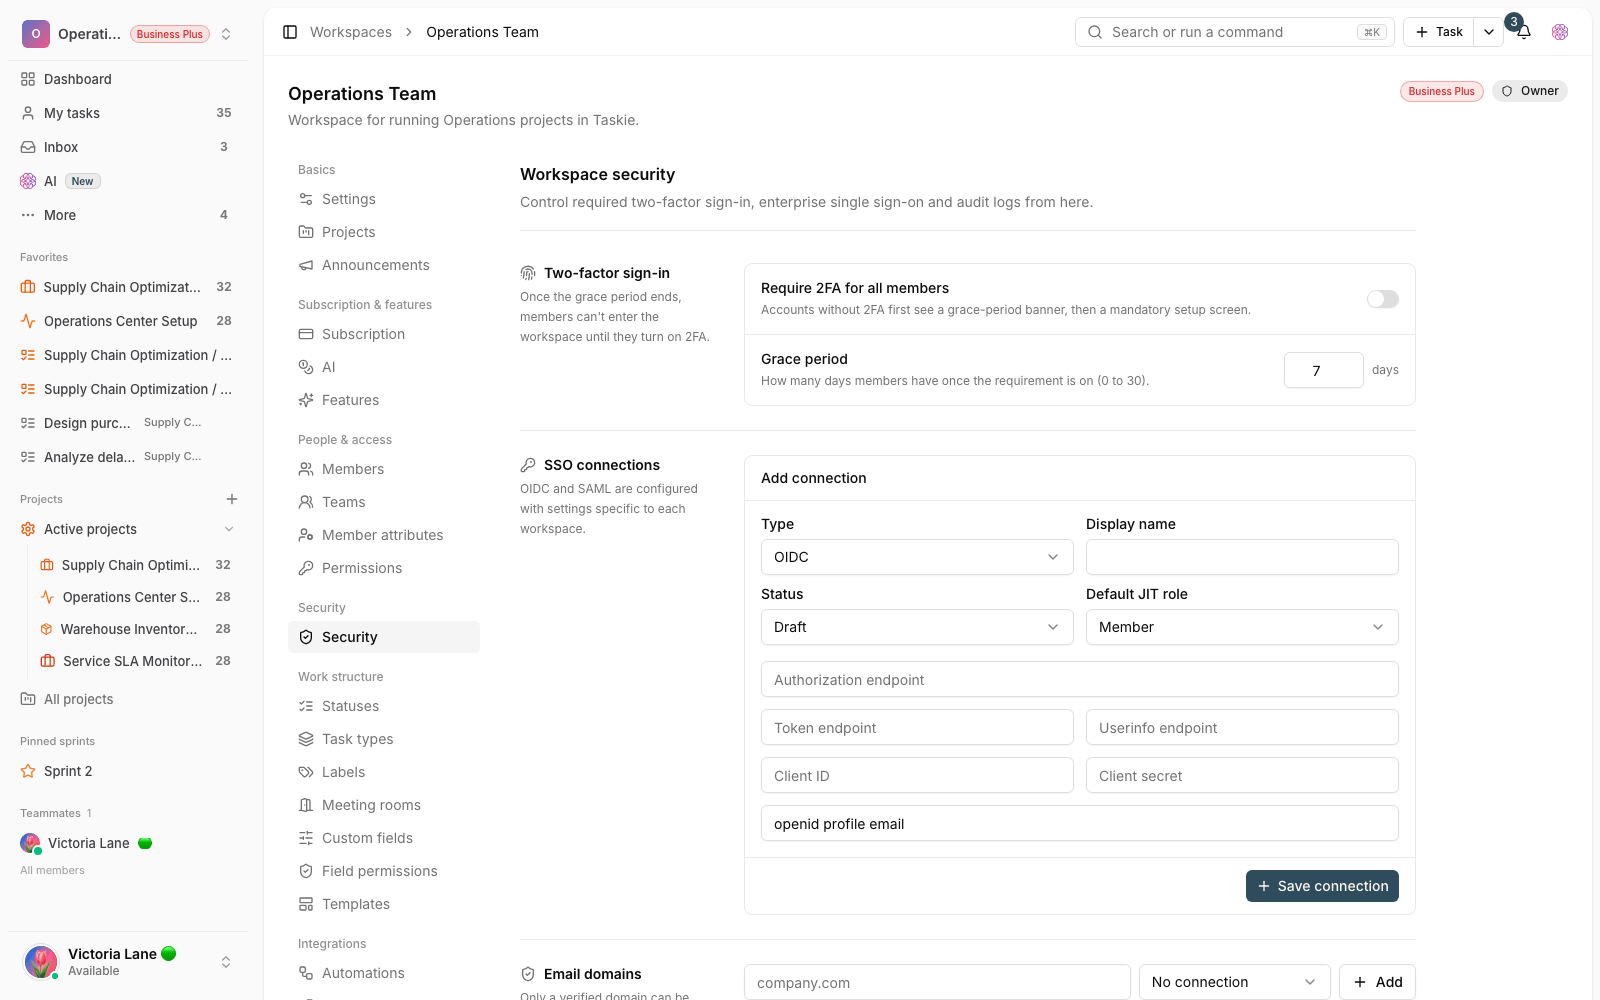
- OIDC/SAML connection: where you enter your identity provider's technical details and the default role for new members.
- Email domain: Taskie uses the user's email domain to decide which connection to send them to. The domain must be verified before use.
- Just-in-time (JIT) user creation: when on, a user is added to the workspace automatically with the default role on their first successful sign-in.
Create an OIDC or SAML connection
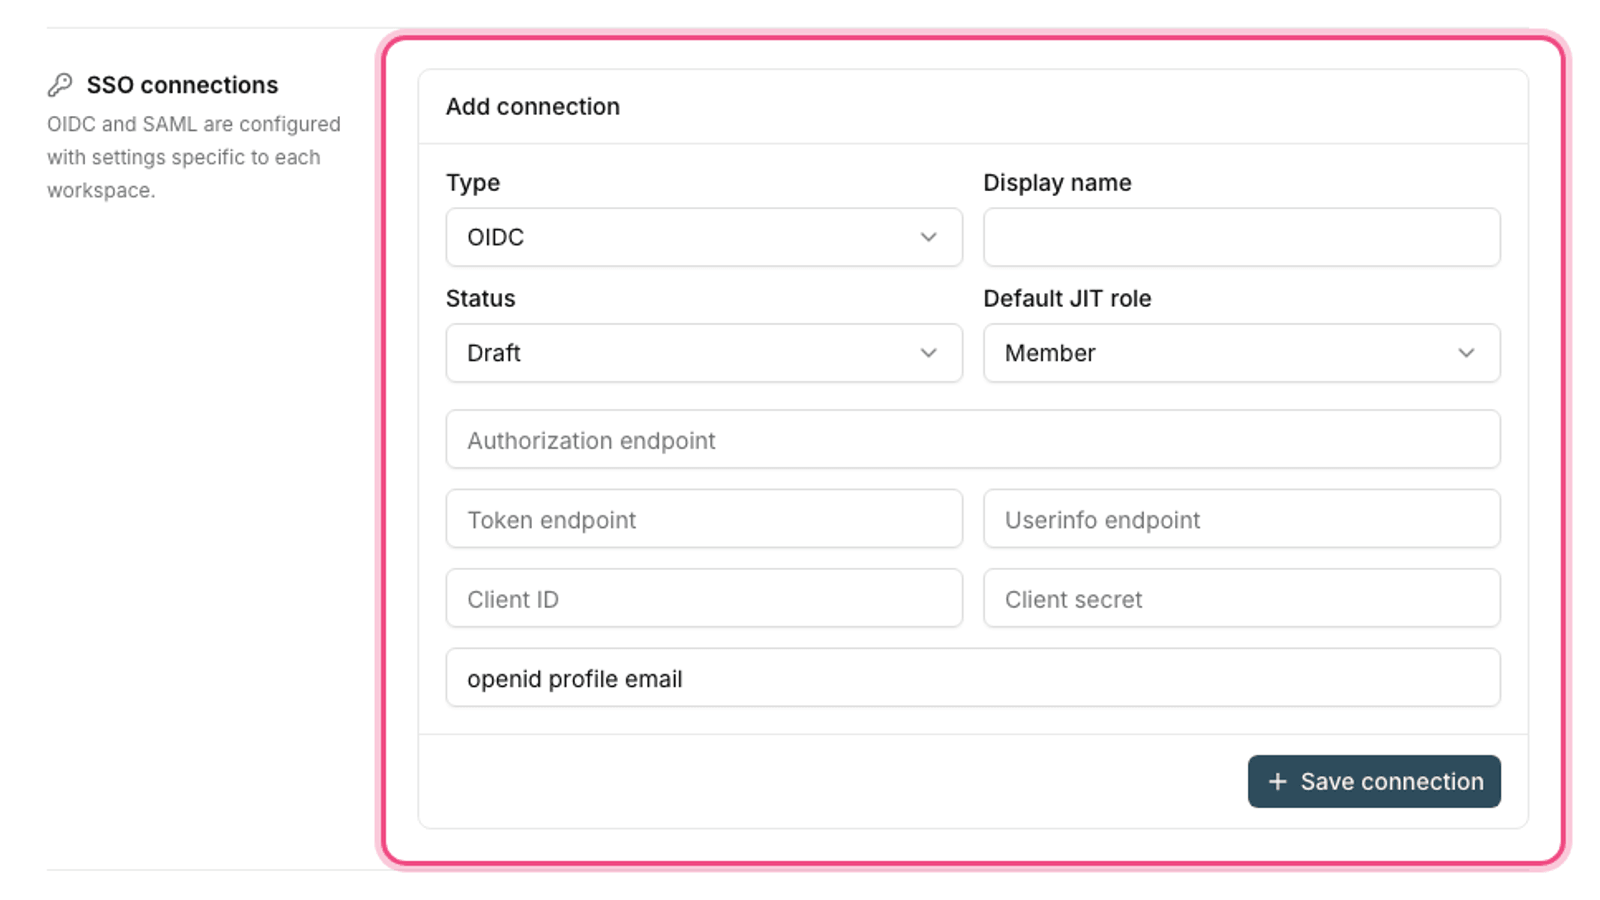
- Under SSO connections, open the Add connection form and set the Connection type to OIDC or SAML.
- Enter a Display name (for example "Okta company sign-in") and choose the Default JIT role for new members (member, admin or guest).
- For OIDC, enter the Authorization endpoint, Token endpoint, Userinfo endpoint, Client ID, Client secret and, if needed, the scopes. The default scope is openid profile email.
- For SAML, enter the IdP entity ID, the IdP SSO URL, the IdP SLO URL if you have one, and the provider's X.509 certificate. The service provider's metadata URL is shown on the same card so you can register it with your identity provider.
- Set the status: "draft" while you configure it, and "active" when it's ready to use. Then click Save connection.
Don't re-enter the secret unless you're changing it: When you edit a connection, leaving the Client secret or SAML certificate field empty keeps the previous value. Only fill it in when you want to replace the key.
Verify your email domain
For Taskie to know which users should use this connection, you need to prove you own your organization's email domain. You do this on the same security page, on the Email domains card.
- Enter your organization's domain (for example company.com), optionally choose the SSO connection for it, then click Add.
- Add the TXT record shown (with the taskie-verification prefix) to your domain's DNS.
- Click Check DNS. Once the record is found, the domain's status changes to Verified.
- Link the SSO connection you want to the domain so users on that domain are sent to that provider.
Make SSO optional or required
Once the domain is verified, SSO is optional by default, meaning users can sign in with SSO or other methods. If you want sign-in to work only through SSO, turn on Require SSO for the domain. Before accepting the requirement, Taskie checks a few safety conditions so nobody gets locked out.
- The domain must be verified.
- An active SSO connection must be linked to the domain.
- At least one successful test sign-in must have been made with that connection. Use the Test sign-in button on the active connection for this.
- Once SSO is required, password and Google sign-in are closed for users on that domain, and only the SSO path remains.
How do members sign in?
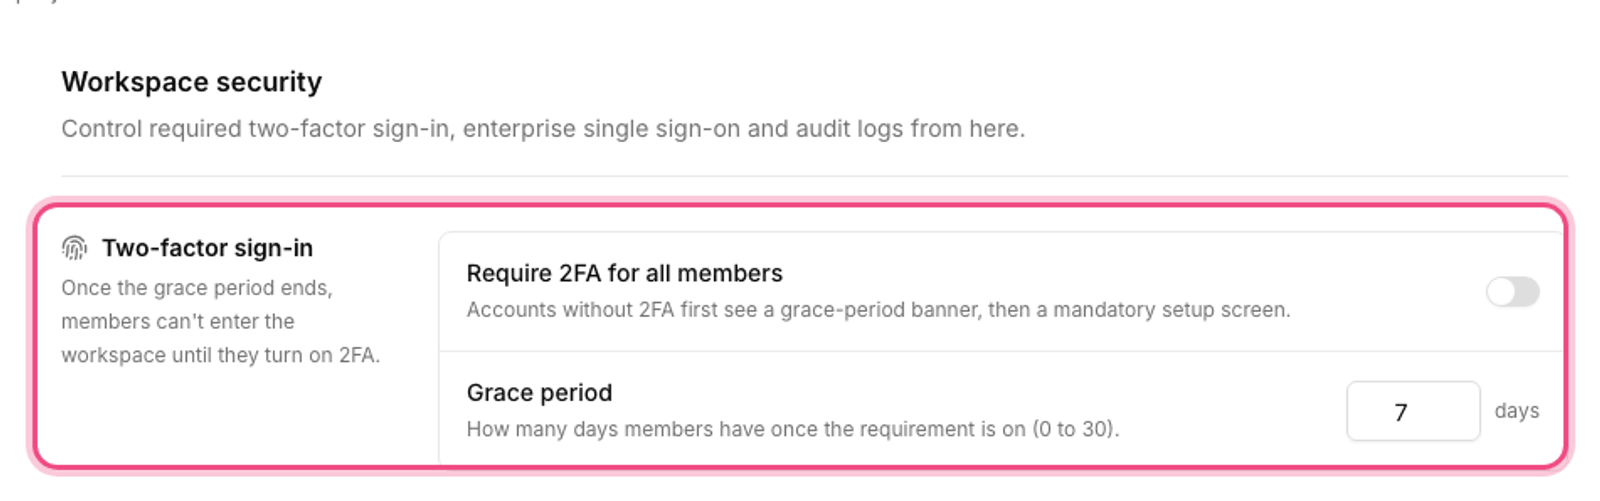
On the sign-in page, the user enters their email. If the email domain is linked to an active connection, Taskie sends them to your organization's identity provider and, after successful authentication, brings them back to the workspace. If just-in-time user creation is on, the new member is created with the default role. If the workspace requires two-factor authentication, that step is also applied after SSO.
Next step: to hand creating and removing users over to your identity system more completely, go to Automatic user provisioning with SCIM. If you want to raise sign-in security beyond SSO, also see Require two-factor authentication.