
Automatic user provisioning with SCIM
Create and deactivate users automatically from Okta or Entra ID, and map identity groups to Taskie teams.
Automatic provisioning with SCIM means the lifecycle of member accounts (joining, moving and leaving) is managed from your organization's identity system instead of by hand. When someone is added to the Taskie group in Okta or Microsoft Entra ID, their account is created in the workspace automatically, and when they leave that group or the organization, their access is cut off automatically too. This reduces human error and removes the worry of forgotten accounts that stay active.
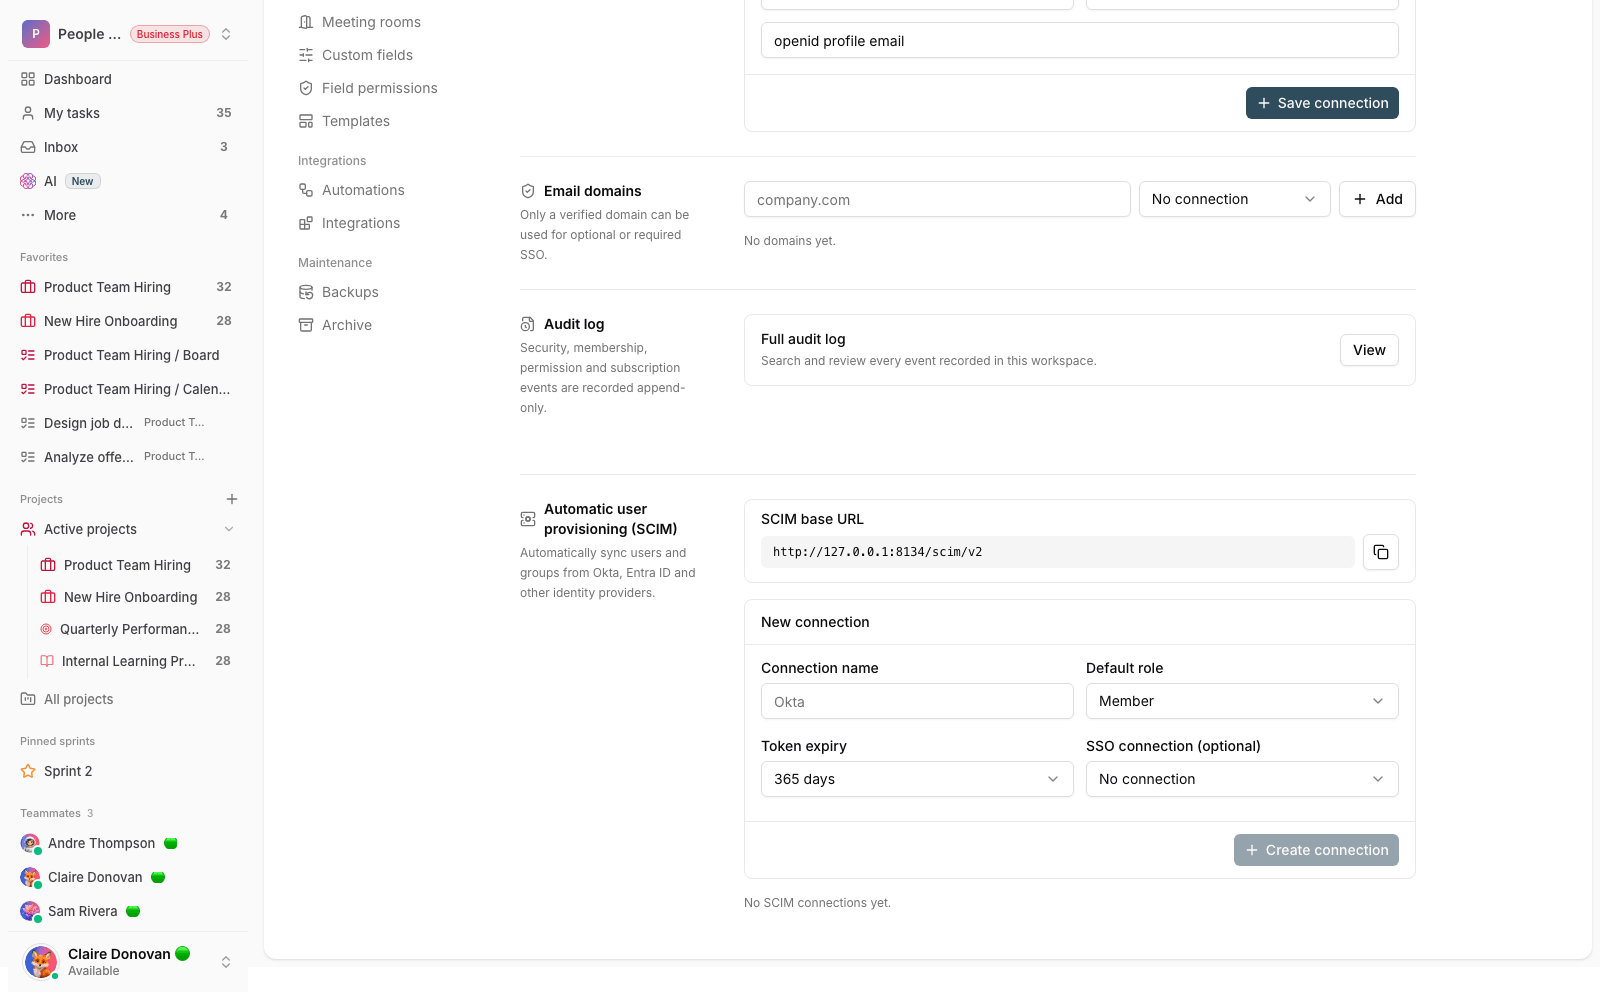
SCIM settings are in Workspace settings → SCIM. This feature is part of the enterprise security suite and is available on the Business Plus plan. To manage it, you must be the workspace owner or have the Manage security permission. SCIM is usually used alongside single sign-on (SSO), so both sign-in and account management happen through your identity system.
What does SCIM do?
- Automatic user creation: a new member is added to the workspace with the default role you chose.
- Profile updates: name or email changes in the identity system carry over to Taskie.
- Automatic deactivation: when someone leaves the group or the organization, their workspace membership is deactivated and their seat is freed up.
- Group-to-team mapping: groups from the identity system are reflected as teams in Taskie.
Create a connection and get a token
To set it up, you create a SCIM connection and enter its base URL and token in your identity system's SCIM configuration.
- Go to Workspace settings → SCIM and, in the New connection form, enter a Connection name (for example Okta).
- Choose the default role for new members (admin, member or guest).
- Set the Token expiry (30, 90, 180 or 365 days) and, if you like, choose a related SSO connection.
- Click Create connection. The generated token is shown only this once, so copy it and keep it safe.
- Enter the SCIM base URL (which you can copy from the same page) and the token in your identity provider's SCIM configuration.
The token is shown only once: If you lose it, you need to revoke the connection and create a new one with a new token. For connections managed by SCIM, their members and teams are read-only in the interface, so manual changes don't put them out of sync.
Map teams to groups
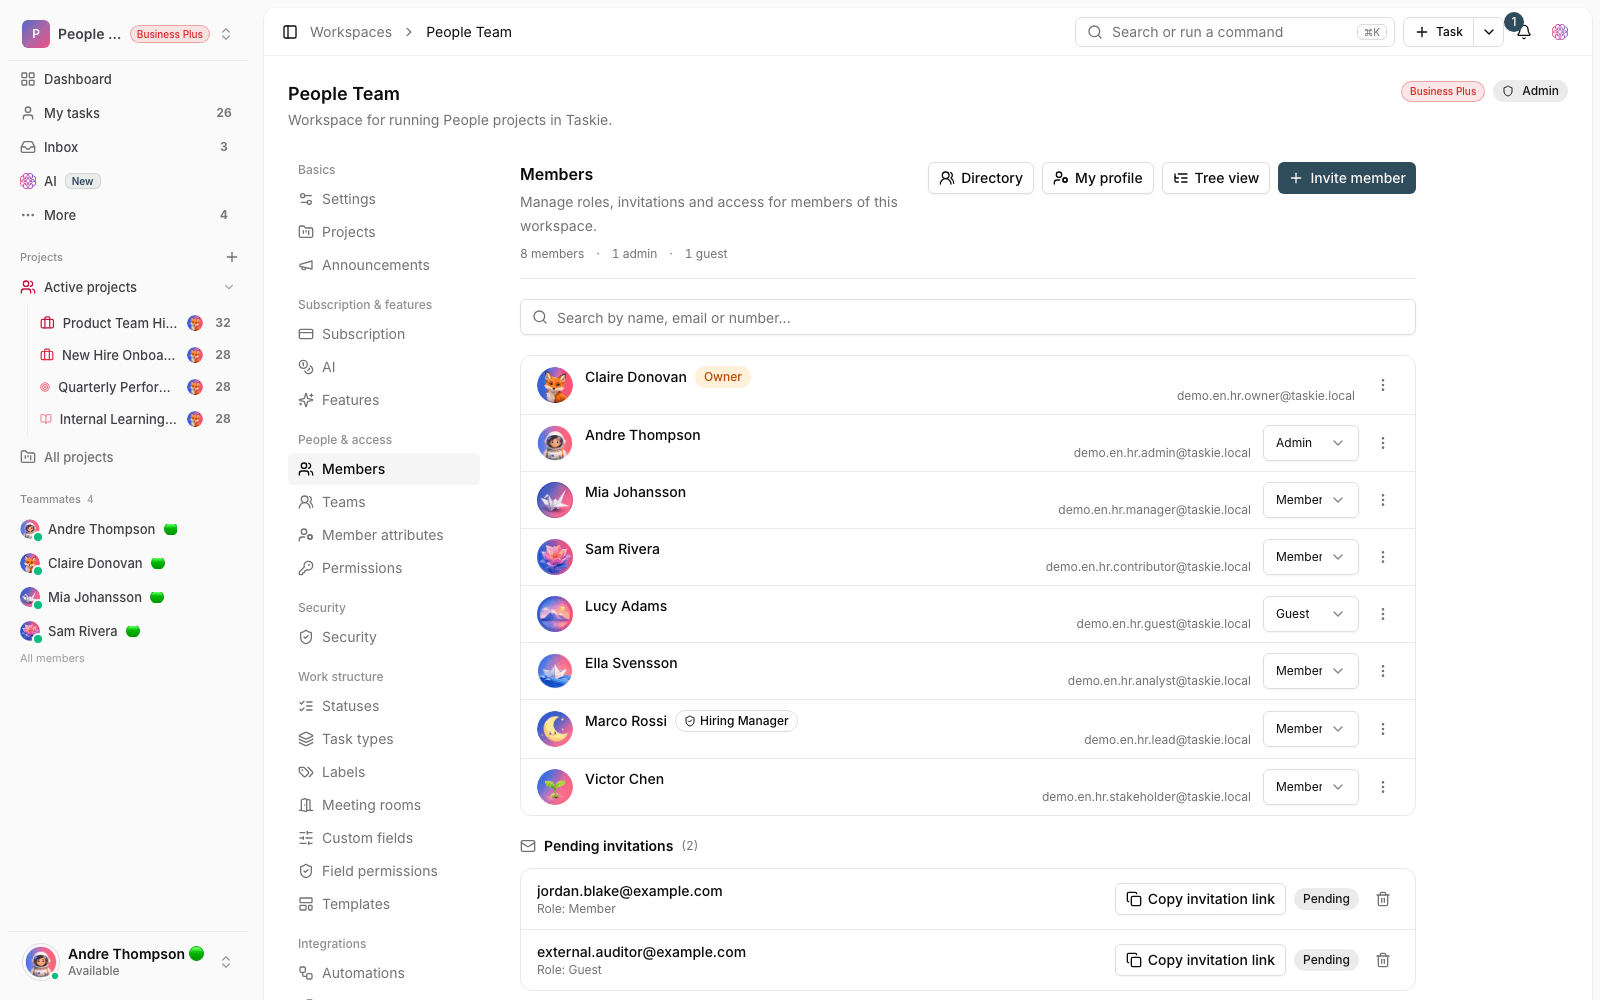
Groups sent from the identity system are created and maintained in Taskie as teams. You can set a matching role for each team so membership in that group decides the member's role in the workspace. When someone belongs to several groups, the highest role applies (admin above member, and member above guest). The owner role is never granted this way.
Deactivating users and freeing up seats
Removing or deactivating users through SCIM is designed carefully so it's reversible and limited to this workspace.
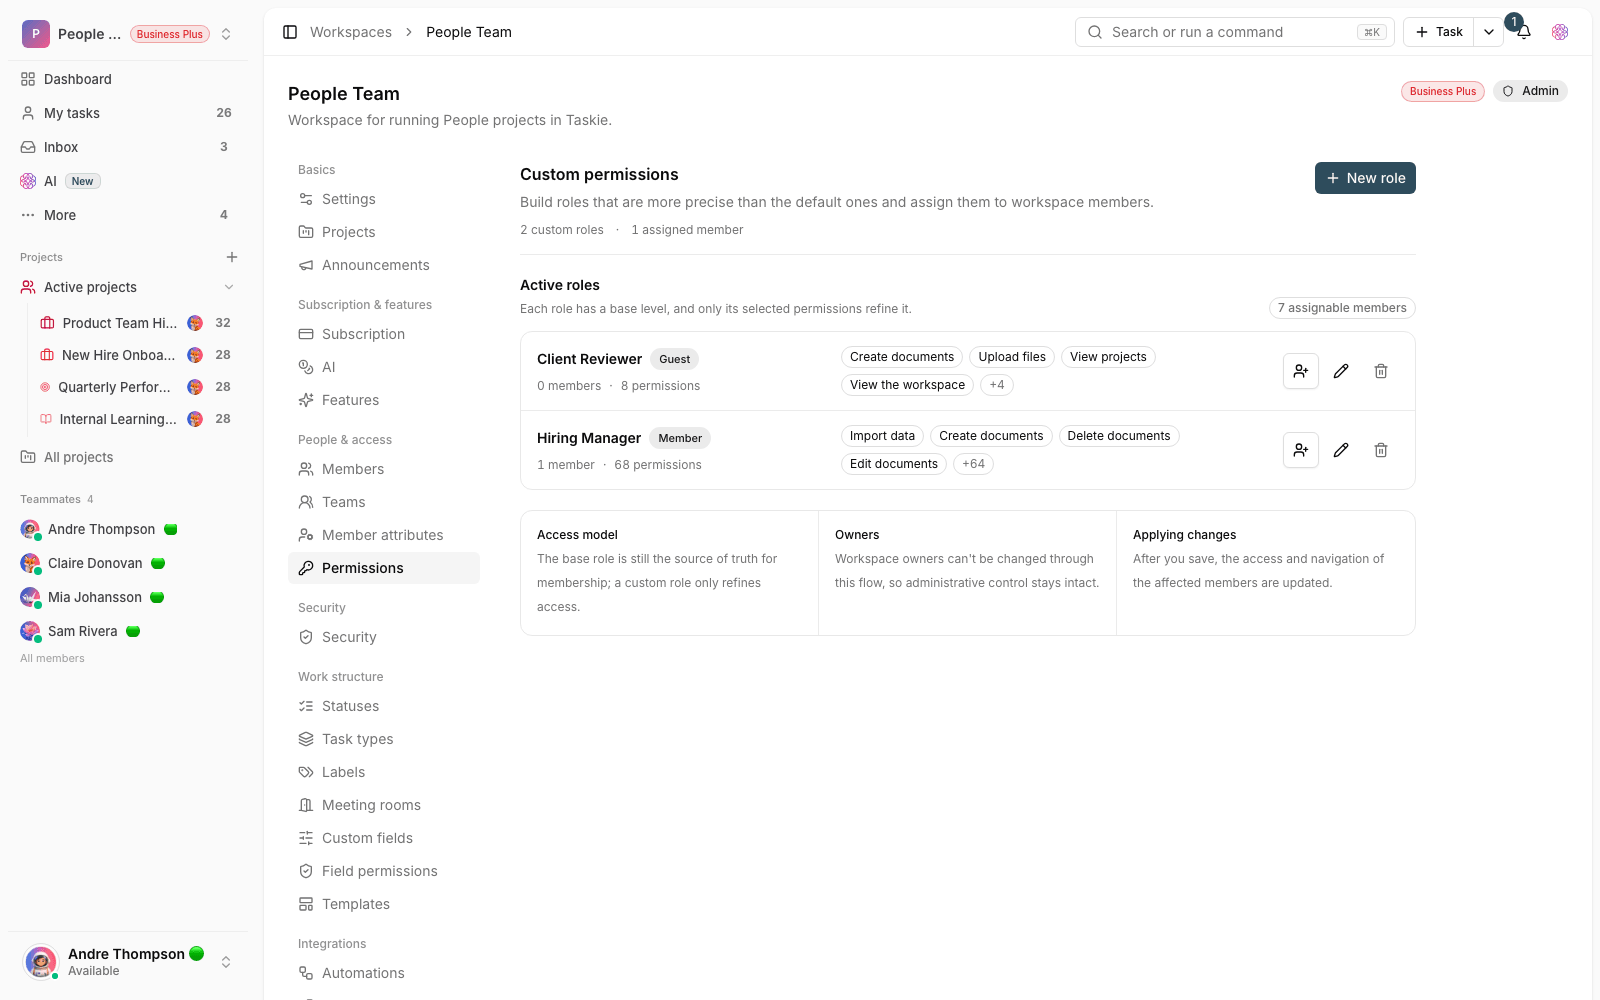
- Deactivation only ends the person's membership in this workspace and frees up their seat. Their global user account and their membership in other workspaces stay untouched.
- It's reversible. If the person is reactivated, their membership comes back.
- If adding a new member would exceed the workspace's seat capacity, the request is rejected, and no charge is added to your subscription automatically.
Manage and revoke connections
Every connection you create is listed on the same page, showing its status (active or inactive), default role and when it was last used.
- To cut off a provider's access, revoke its connection. This invalidates its tokens and deactivates the connection.
- Define each identity provider with a separate connection and a clear name so it's easy to track and revoke.
- Create tokens with an expiry that fits your organization's security policy, and renew or replace them before they expire.
Next step: to complete the enterprise sign-in experience, set up Single sign-on (SSO) with SAML and OIDC. To track which users were provisioned or deactivated and when, see Audit logs.