
Visual proofing and feedback pins on files
Place a feedback pin on an exact spot in an image or on a specific page of a PDF, then assign it, resolve it, or turn it into a task.
Giving feedback on a design or document with phrases like "fix that part in the top left" always causes trouble: the other person has to guess which spot you mean. Visual proofing removes exactly that ambiguity: you stick your feedback on the very spot you're talking about.
In Taskie, you can place a feedback pin on a specific spot in an image or on a particular page of a PDF file. Each pin is a clear note that you can hand to a teammate, mark as resolved, or turn into a full task for follow-up. This guide walks through the whole cycle.
Where proofing starts
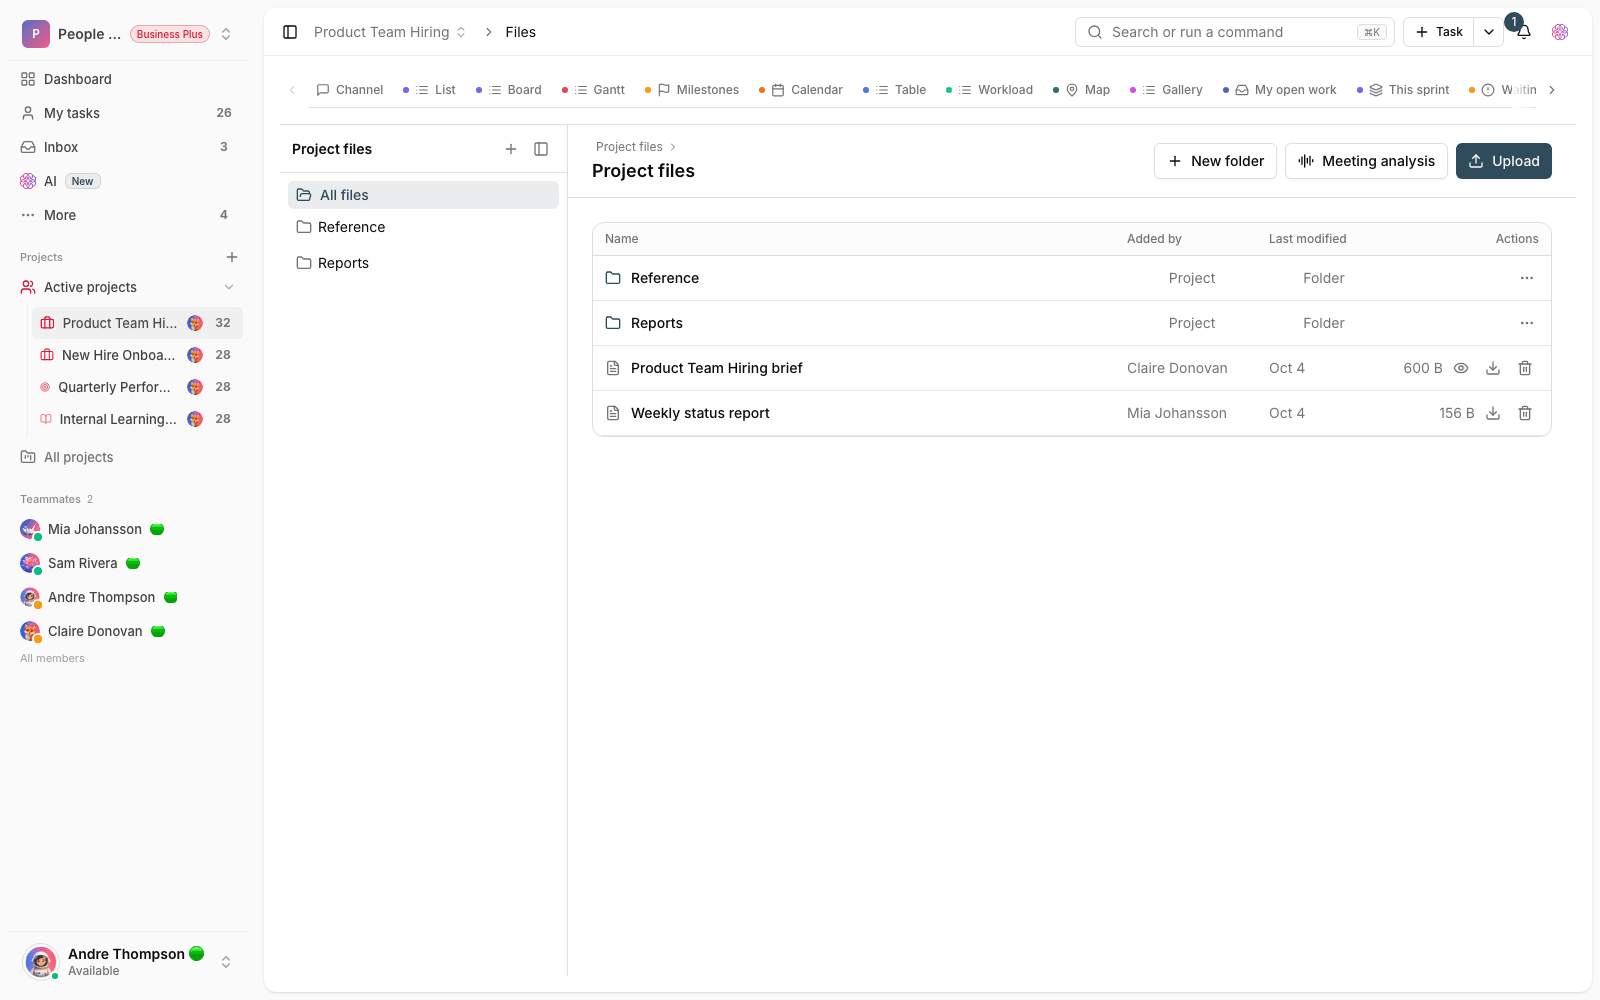
Proofing works in three places: a task's attachments, files in the workspace file center, and project files. To open it, click the Review button (the pin icon) next to a file. Note that only images and PDF files can be reviewed; for other formats, this button doesn't appear. When the review window opens, the file appears on one side and the Review pins list on the other.
Place a pin on an image
For images, the pin sticks to exactly the spot you click:
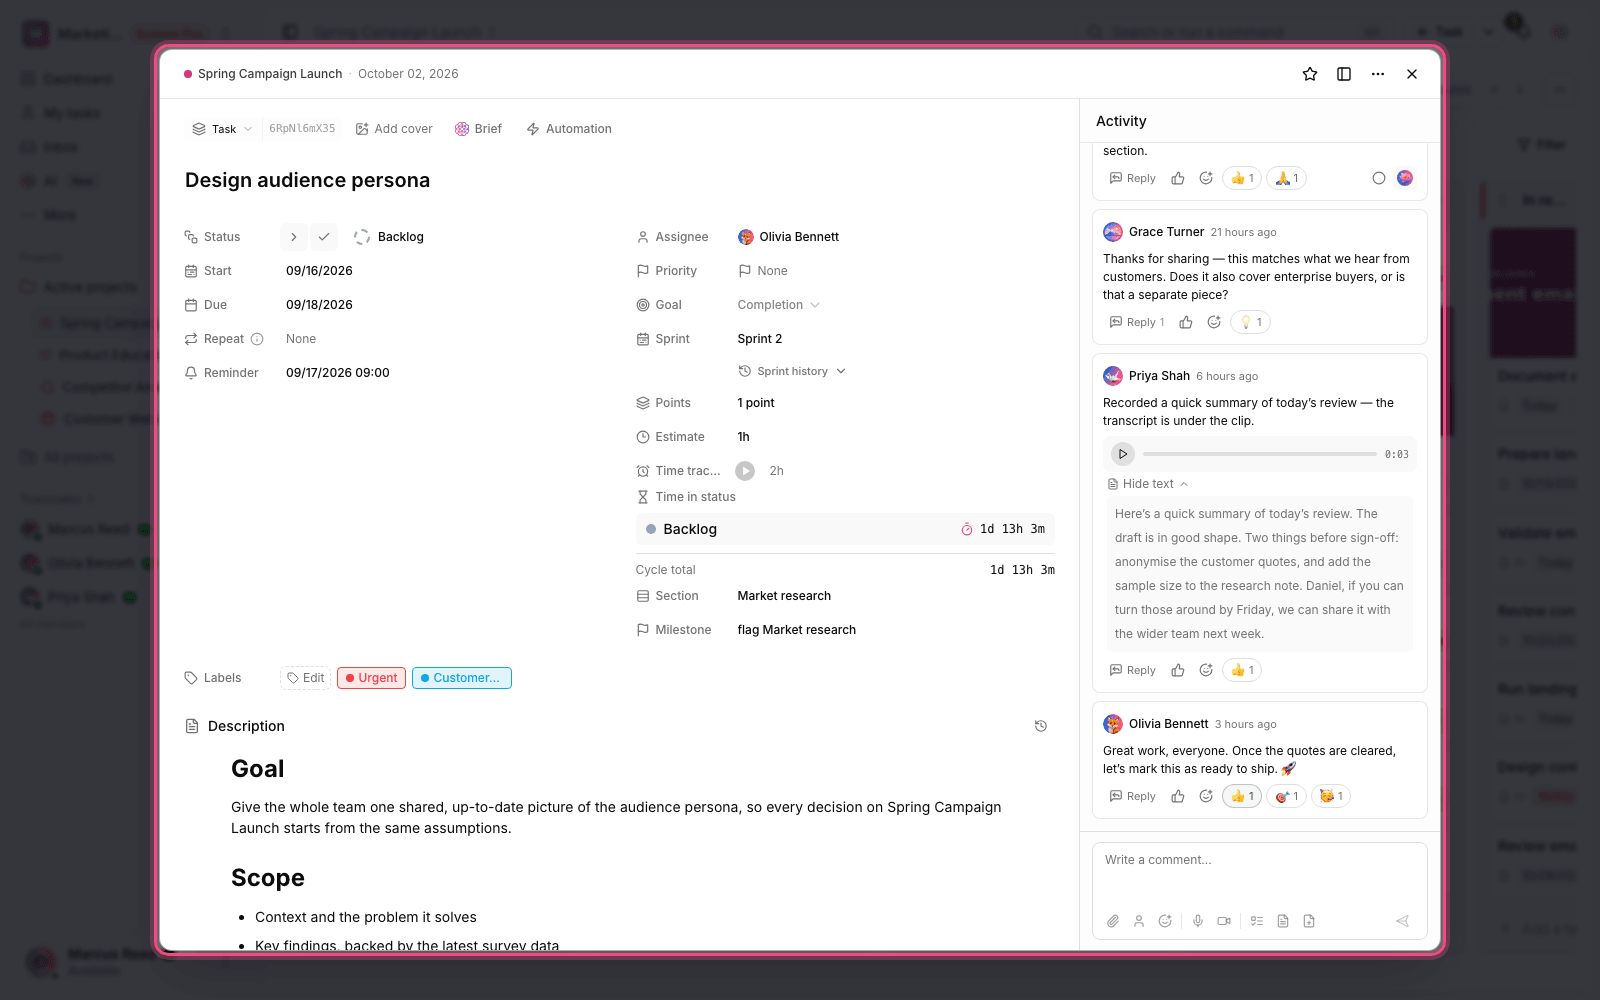
- Click Add pin at the top of the window.
- Click the spot in the image you want to give feedback on.
- In the box that opens, write your feedback.
- If you like, choose someone from the Assign to list to follow up.
- Click Add pin to place the numbered pin on the image.
Every pin is numbered, so in team conversations you can simply say "pin number 3." The pin's exact position on the image is saved and is the same for everyone who views it.
Place a pin on a PDF page
In PDF files, a pin is tied to a page number. To add one:
- In the bar above the preview, enter the page number you want in the box.
- Click Add pin.
- Write your feedback and, if needed, assign it to someone.
- Click Add pin to save it. The pin is added to the list with its page number.
Follow up, resolve, and assign pins
The side list shows every pin with its creator's name, the date, and the feedback text, and you can move the work forward right from there:
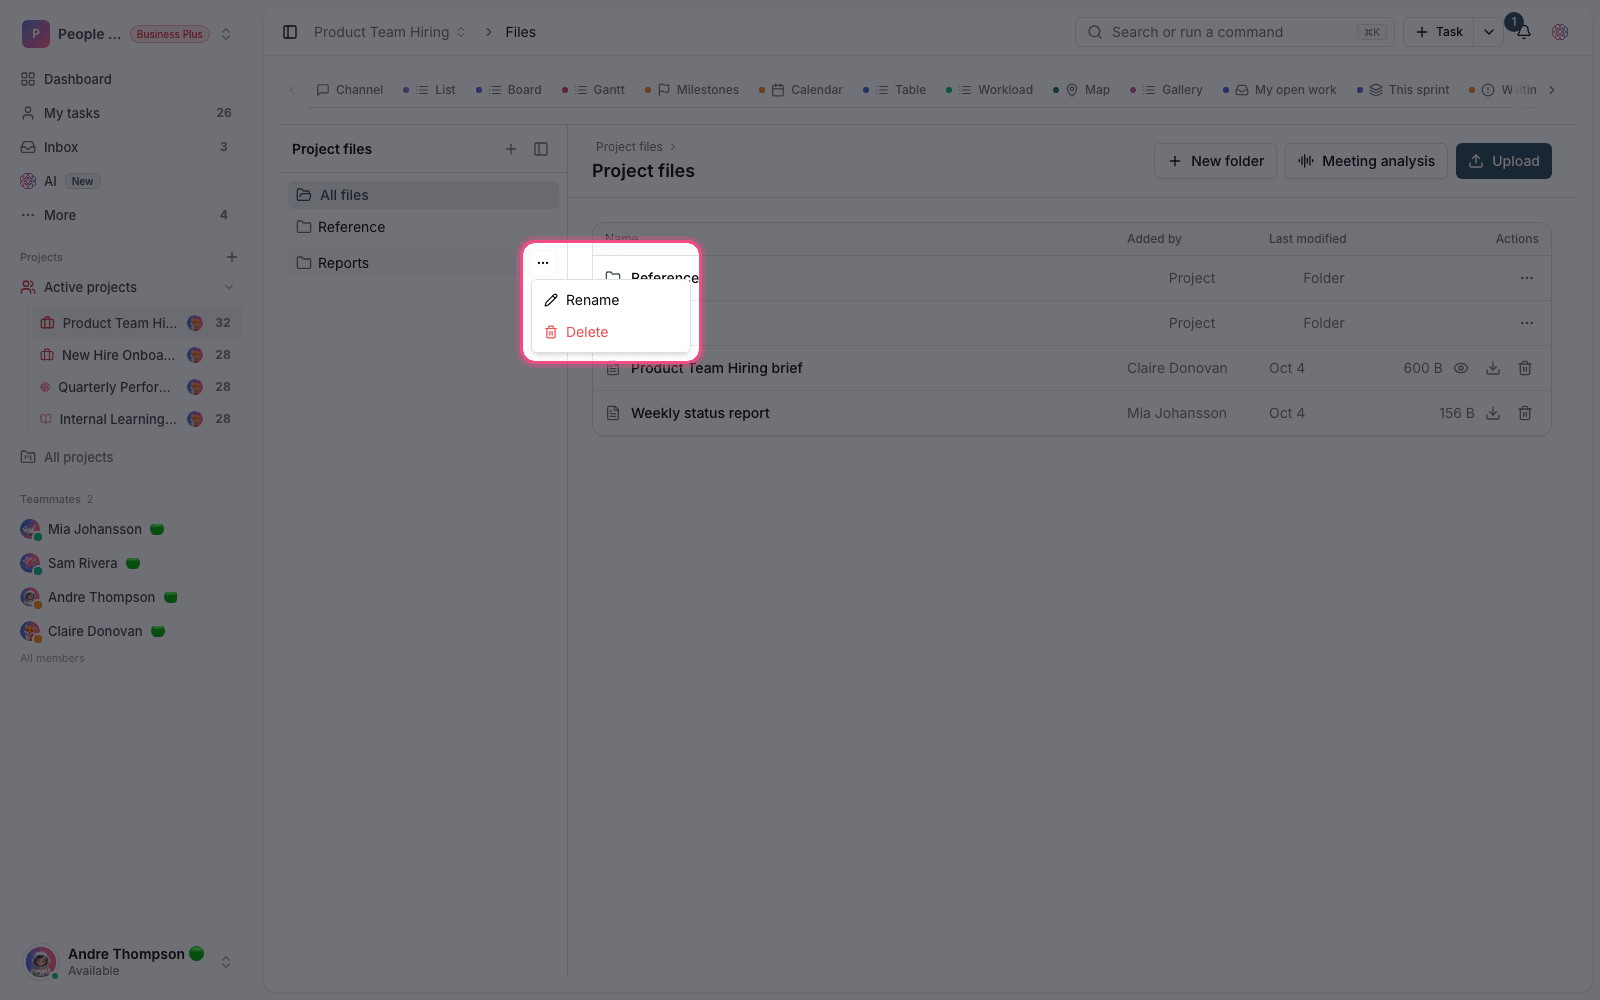
- Assign to: hand the pin to a teammate so it's clear who follows up. Their name appears with a Follow-up label.
- Resolve and Reopen: mark the pin as resolved once the feedback has been applied, and reopen it if needed.
- Create task: turn the pin into a full task so it's visible in the team's workflow.
- Show resolved: use this option to see resolved pins in the list too.
Each pin is a standalone feedback note, not a multi-message conversation, so the focus stays on one clear point, and follow-up happens by assigning and resolving it. When you assign a pin, the person is notified only if they're allowed to see that file, so private files aren't exposed by accident.
Turn a pin into a task
Sometimes a piece of feedback is important enough to track like real work. The Create task button does exactly that, and its behavior depends on where the file lives:
- If the file is a task attachment, the pin becomes a subtask under that task.
- If the file is a project file, the pin becomes a new task in that project.
- The feedback text is used as the task title, and the pin is linked to the new task so it's easy to track.
Availability by plan
Visual proofing is a professional collaboration feature and depends on your workspace's plan. Key points:
- This feature is available on the Ultimate, Business, and Business Plus plans. It isn't available on the Free and Pro plans.
- On the Ultimate plan, you can have up to 50 active pins (unresolved) at once in the workspace.
- When you resolve pins, they no longer count as active, which frees up room for new ones.
- On the Business and Business Plus plans, there's no limit on the number of active pins.
If the Review button doesn't work: either your workspace's plan doesn't include this feature, or you've reached the limit of 50 active pins on the Ultimate plan. In that case, an upgrade message appears. You can continue by resolving old pins or upgrading your plan.
Common mistakes
- Expecting proofing on files other than images and PDFs: for those formats, the Review button doesn't appear.
- Forgetting to resolve finished pins on the Ultimate plan, which fills up the limit of 50 active pins.
- Assuming assignment always sends a notification: someone who doesn't have access to the file isn't notified.
- Turning every small pin into a task: for simple feedback, resolving the pin is enough.
Next step: to add the files you want to review, see Task attachments and file preview. To manage your team's shared files, go to Upload and manage files.