
Create a public form
Create a form inside a project, add fields, publish it, and get a public link so people outside your team can respond.
Forms in Taskie are how you collect information from people, from customer support requests and event sign-ups to feedback from coworkers. Every form is created inside a project and lives in that project's Forms tab, but once you publish it, it gets a public URL that anyone can open and fill in, even without a Taskie account.
The biggest advantage is that responses come straight back to that project and sit alongside the rest of your team's work. You can even have every response turn into a task automatically. This guide walks you through creating a form, arranging its questions, publishing it, and sharing its public link.
Create a new form
To create a form, you need permission to manage the project's forms, and the Forms tab must be turned on for that project. You can start from a blank form or pick a ready-made template so the first questions are already in place.
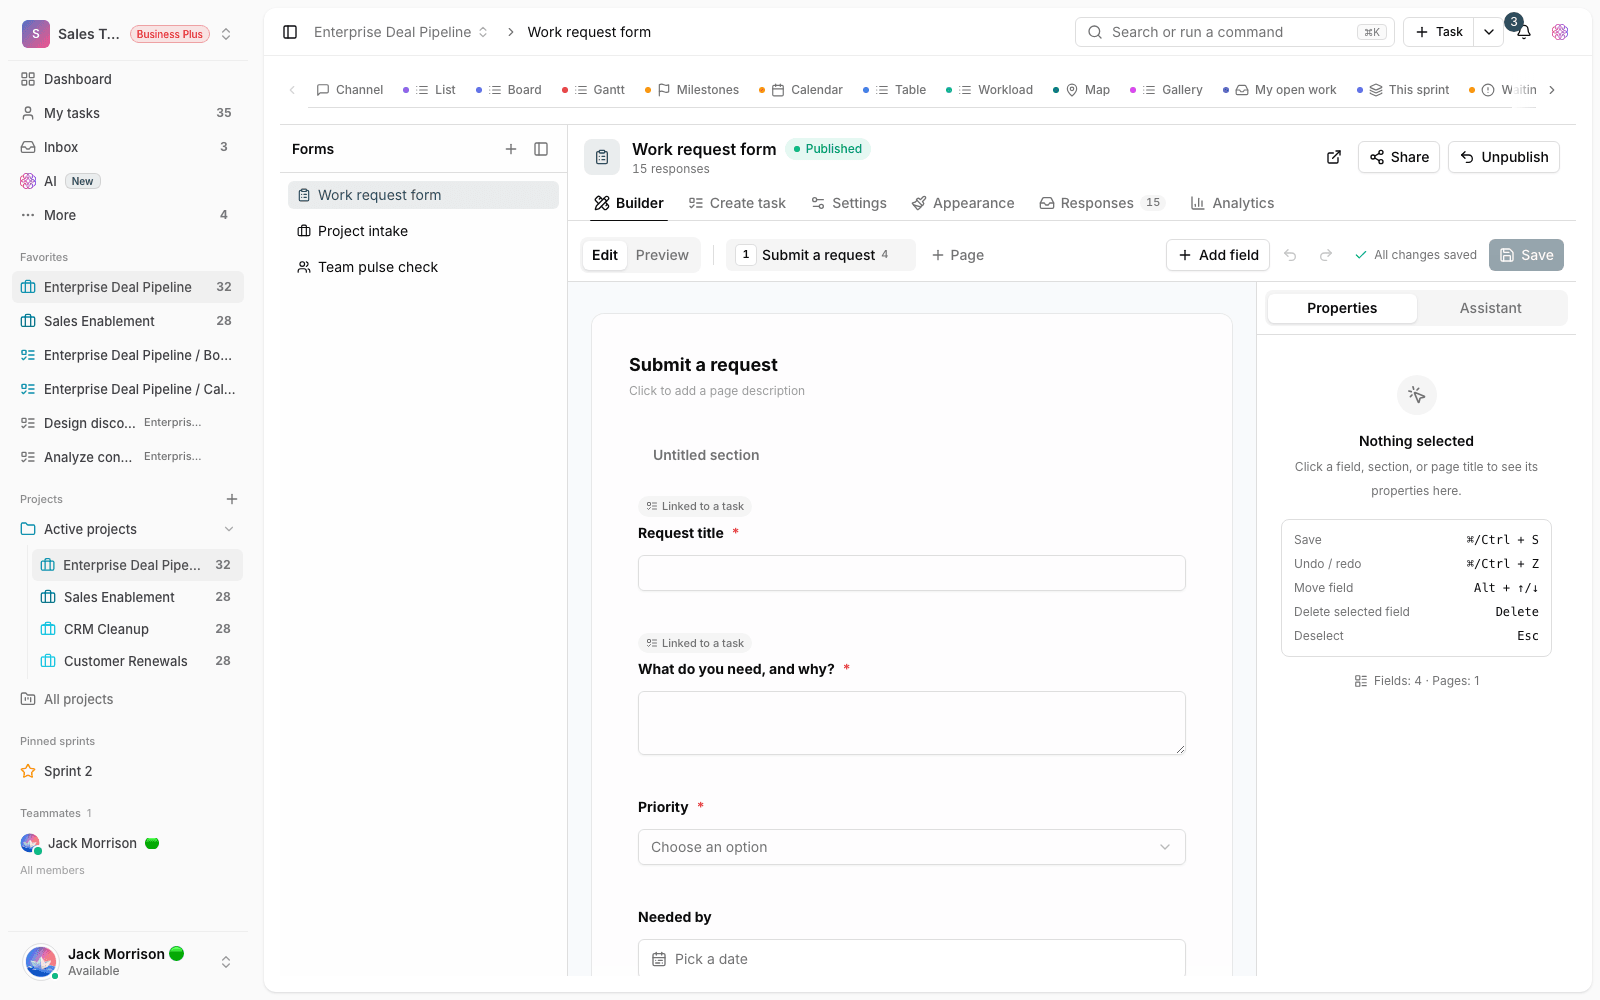
- In the project you want, go to the Forms tab and click Create form.
- Choose Blank form to start from scratch, or use Choose a ready-made template to pick a template that fits your work.
- Enter a clear Form name and, if you like, choose an icon for it.
- Click Create. The new form is created as a Draft, and you land in its editor.
Add fields and arrange questions
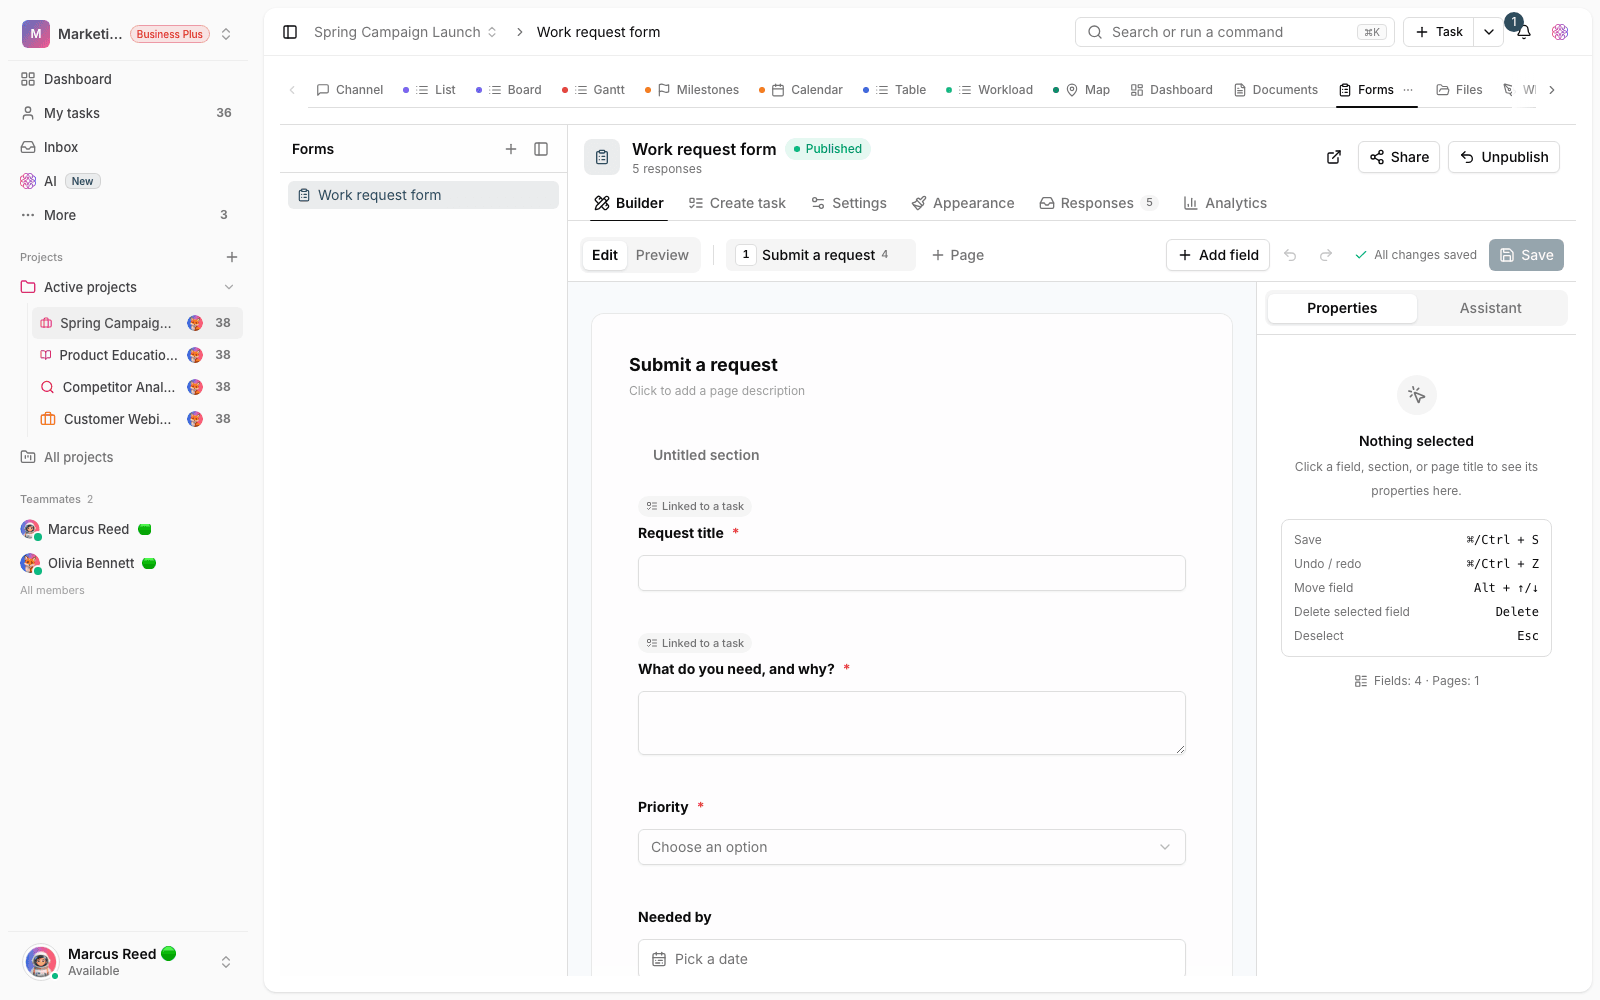
You build the form's structure in the Builder tab. Every form has at least one page, and on each page you can add new questions with Add field. For each question, you set a label (the question text), a field type, and, if needed, a description and help text. Use the This field is required toggle to make an answer mandatory.
Each field's type decides what the respondent enters and how the answer is validated, from text, numbers, and dates to choice options and file uploads. After each change, click Save to keep your changes. Until you save, you'll see the message You have unsaved changes. For a full tour of the options, see Form field types.
Publish the form and get the public link
While the form is a draft, its public URL won't open for anyone. To turn it on, you need to publish the form.
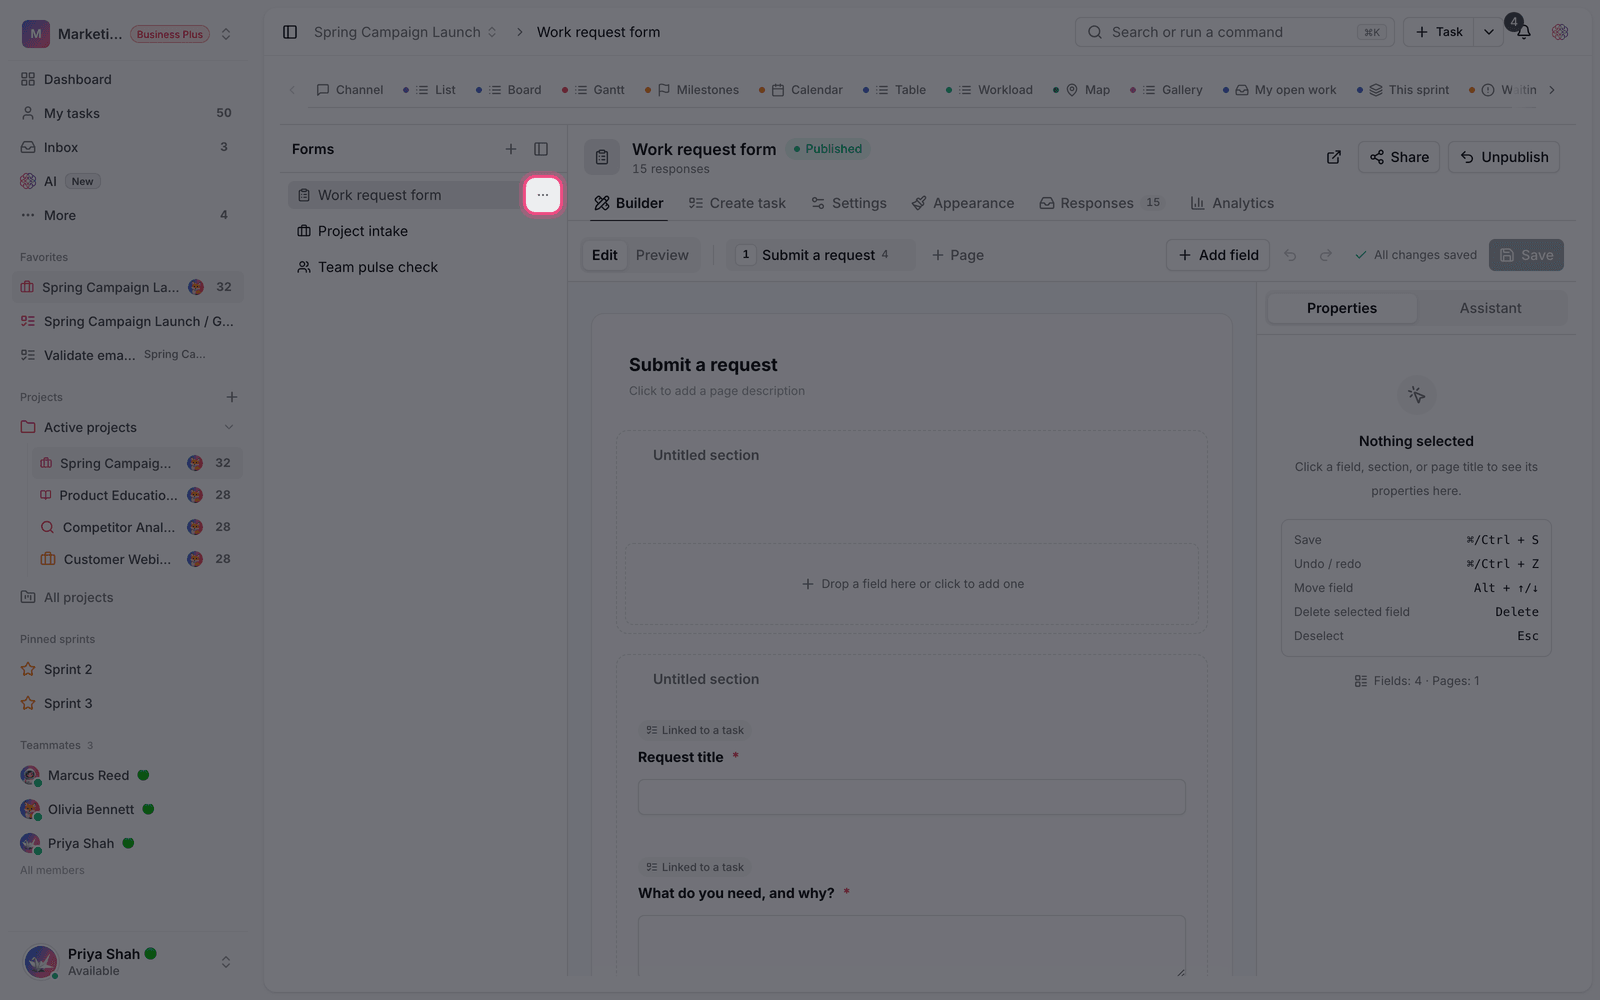
- Go to the Settings tab and open the Other settings section.
- Turn on the Publish form toggle and save the change. The status badge at the top of the form changes to Published.
- If you want the form to be open only for a certain period, set a Start and End date.
- Use the Public link button to copy the form's URL and send it to your audience. You can also click View to open the public version in a new tab and test it.
This section has two more useful options: Multiple submissions, which, when turned off, lets each visitor respond only once, and CAPTCHA on every response, which blocks automated submissions and spam.
Start page, thank-you page, and appearance
To make your form look more polished, you can use Settings to show a Start page with a title and description before the questions, customize the text of the thank-you page that appears after a response is submitted, add a cover image, and even set a short Custom URL for the link. You can adjust the form's colors and overall look in the Appearance tab.
Note: A new form is always created as a draft. Remember to turn on Publish form before you send the link.
Common mistakes
- Forgetting to publish: a form that's still a draft won't open from its public link.
- Setting the wrong schedule: if the end date has passed or the start date hasn't arrived yet, the form is closed to respondents.
- Skipping CAPTCHA on fully public forms that are exposed to automated submissions.
- Relying on turning off Multiple submissions to guarantee only one response per person: this limit works based on the visitor's address and browser.
Next step: to learn every input option, see Form field types. If your form is long, learn how to turn it into a multi-page form with conditional logic.