
Collect responses and convert them to tasks
View and export responses, keep a snapshot of the form structure with each response, and turn every new submission into a task automatically.
Once your form is published and the first responses arrive, the real work begins: seeing what people sent and turning it into action. Taskie keeps responses organized and easy to browse, and it can turn every new response into a task in the project automatically so nothing slips through the cracks.
One subtle but important detail: each response keeps a snapshot of the form's structure at the moment it was submitted. So even if you change the form later, older responses stay accurate and readable.
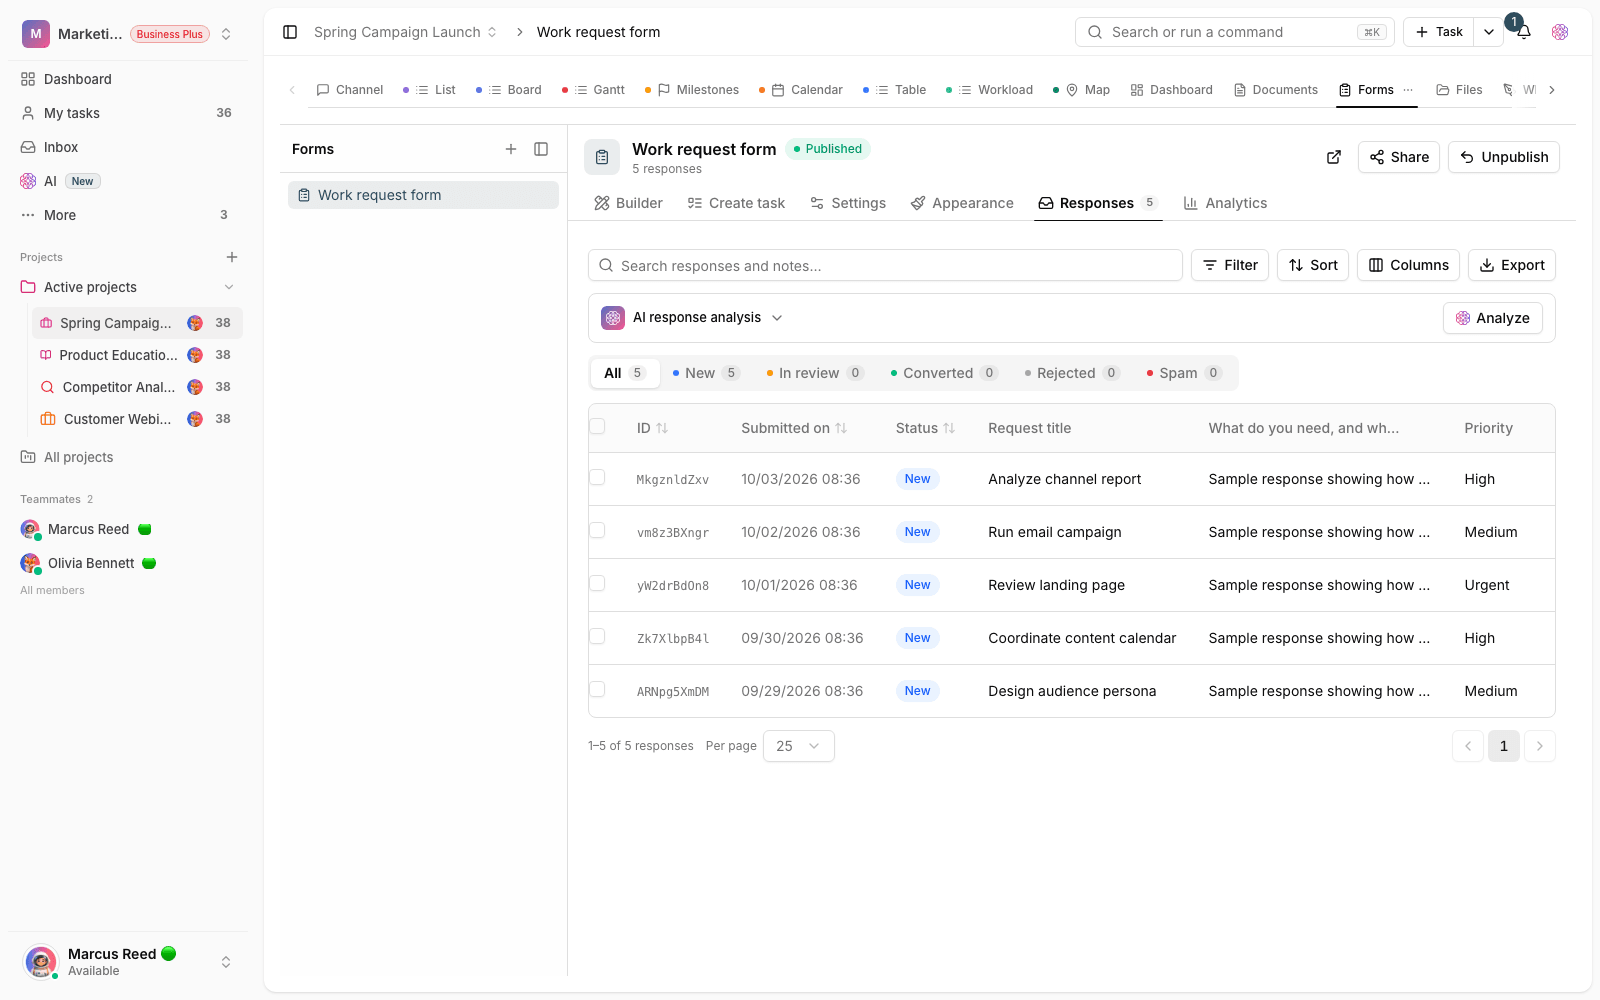
View and browse responses
In the form, the Responses tab shows every submission in a table. Each row includes an ID, the submission date, and a summary of the first few answers. The details button on a row opens the Response details window, which shows all the answers, attached files, and, if there is one, a link to the task created from it. The Total responses counter appears at the top of the form.
To work with the data outside Taskie, use the Export button to download responses as XLSX, CSV, or JSON.
A snapshot of the form structure for every response
Every response is saved together with a structure snapshot of the form: the list of pages and questions with their labels and types at that moment, plus which fields were shown to the respondent and which stayed hidden because of conditions. Thanks to this snapshot, if you later change or delete a question or edit its label, earlier responses still appear with their original titles and order and keep their meaning.
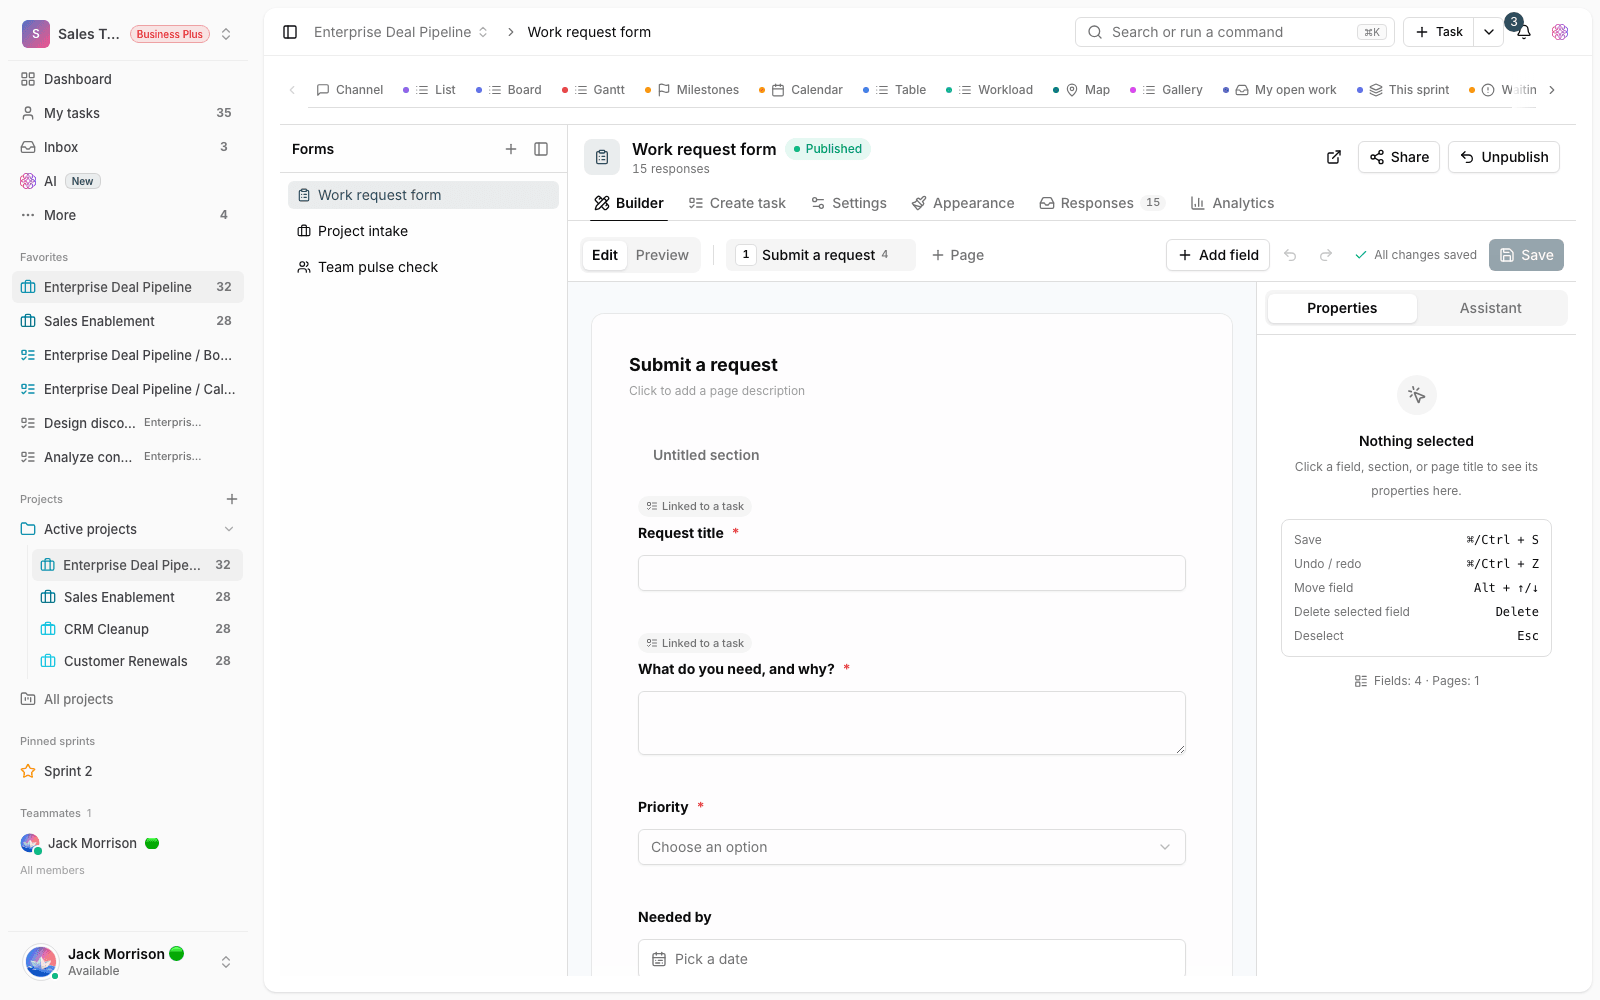
Turn responses into tasks automatically
The Create task tab lets you decide how each new response becomes a task. In the Answer mapping section, you choose which questions supply the task's title, description, due date, and priority. As soon as you pick a question for Task title, automatic creation turns on, and from then on every new submission creates a task that's linked from that response's details.
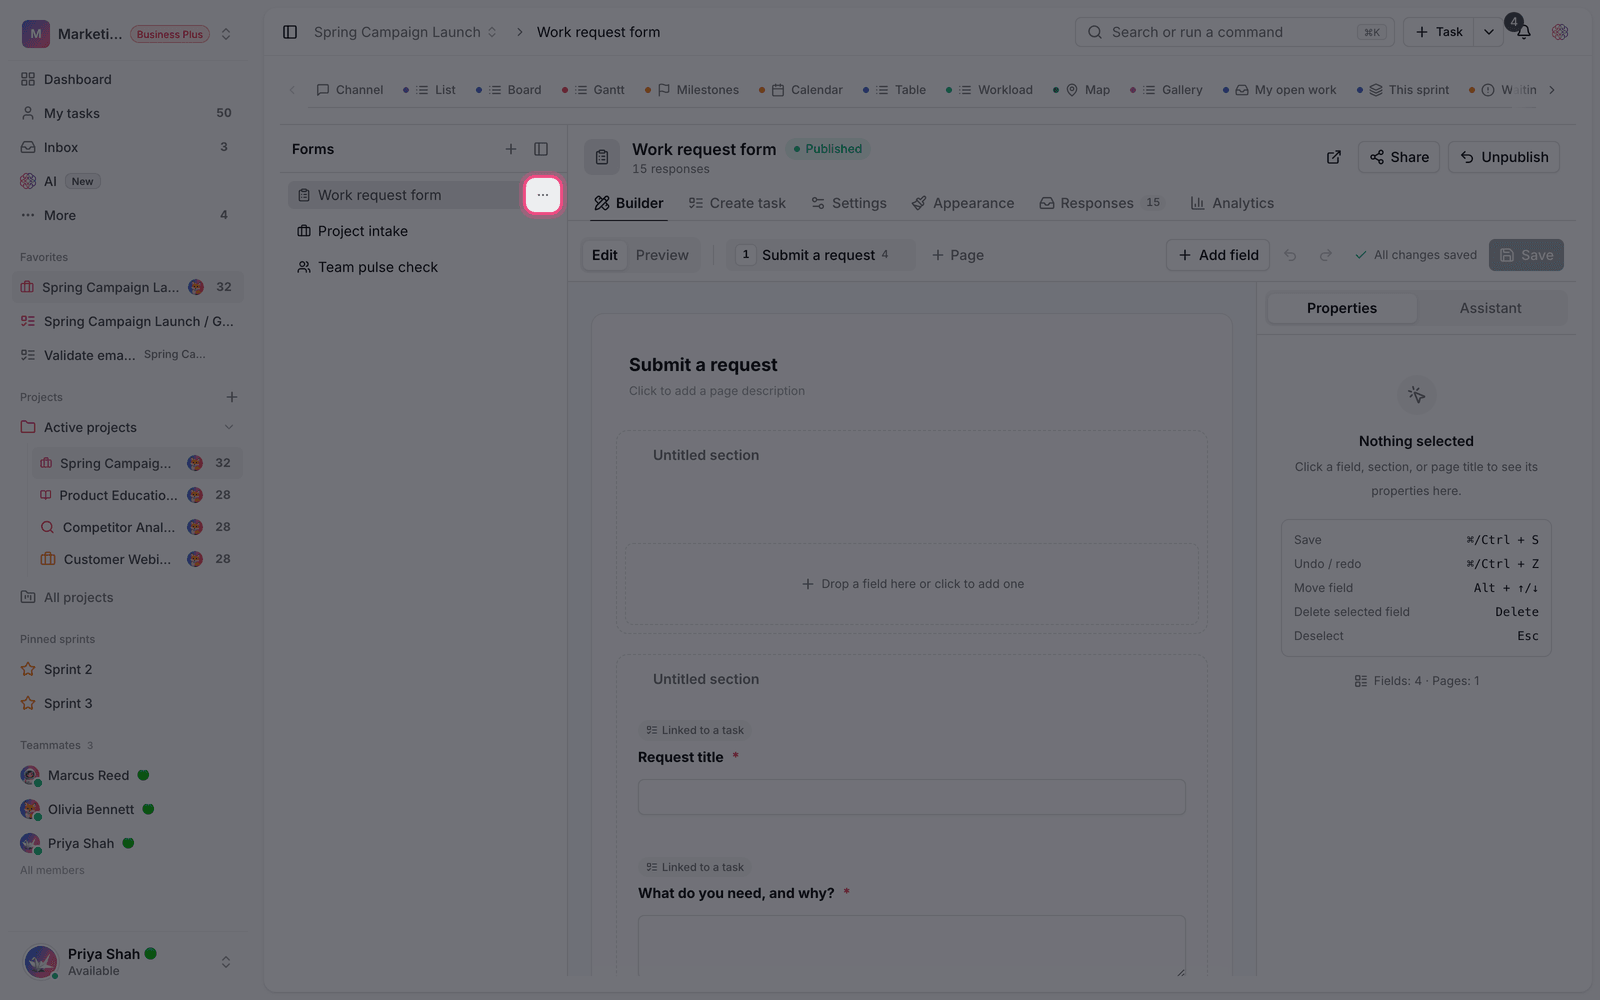
- Go to the Create task tab, or apply one of the ready-made task creation templates to the form.
- In Answer mapping, choose the question for Task title. This choice turns on automatic creation.
- If needed, also map questions to Task description, Task due date, and Priority from answer.
- In Form owner defaults, set the status, a fixed priority, labels, and, if you have access, a default assignee.
- Click Save task creation settings.
Defaults and plan limits
Defaults are set by the form owner and are never taken from the public respondent. All of them are validated again on the server when the task is created. Setting a Default status, Fixed priority, and Default labels is available on every plan, but a Default assignee and automatically creating a status or label that doesn't exist yet are available only on the Business plan and above.
- Until a question is chosen for Task title, no task is created.
- If the title field isn't shown in a response because of a condition, that response is saved without creating a task so the submission isn't disrupted.
- Priority can come from an answer or be set to a fixed value. The Task preview box shows the result before you save, but it doesn't save anything itself.
- Six ready-made task creation templates (such as a support request, a bug report, and customer feedback) set up the questions and the mapping on the form in one step.
Reminder: The form's creator gets a notification for every new submission, so you don't need to keep checking the Responses tab.
Next step: to measure how your form performs and see how many people view it, go to Form view reports and analytics. If you haven't built your form yet, start with Create a public form.