
The getting started path and setup wizard
A few short questions at the start tailor Taskie to your role and needs, and create your first project.
The first time you sign in to Taskie, instead of landing on an empty page, you see a few short questions. Their goal is to tailor your first experience to your role and to how you found Taskie.
Wizard steps
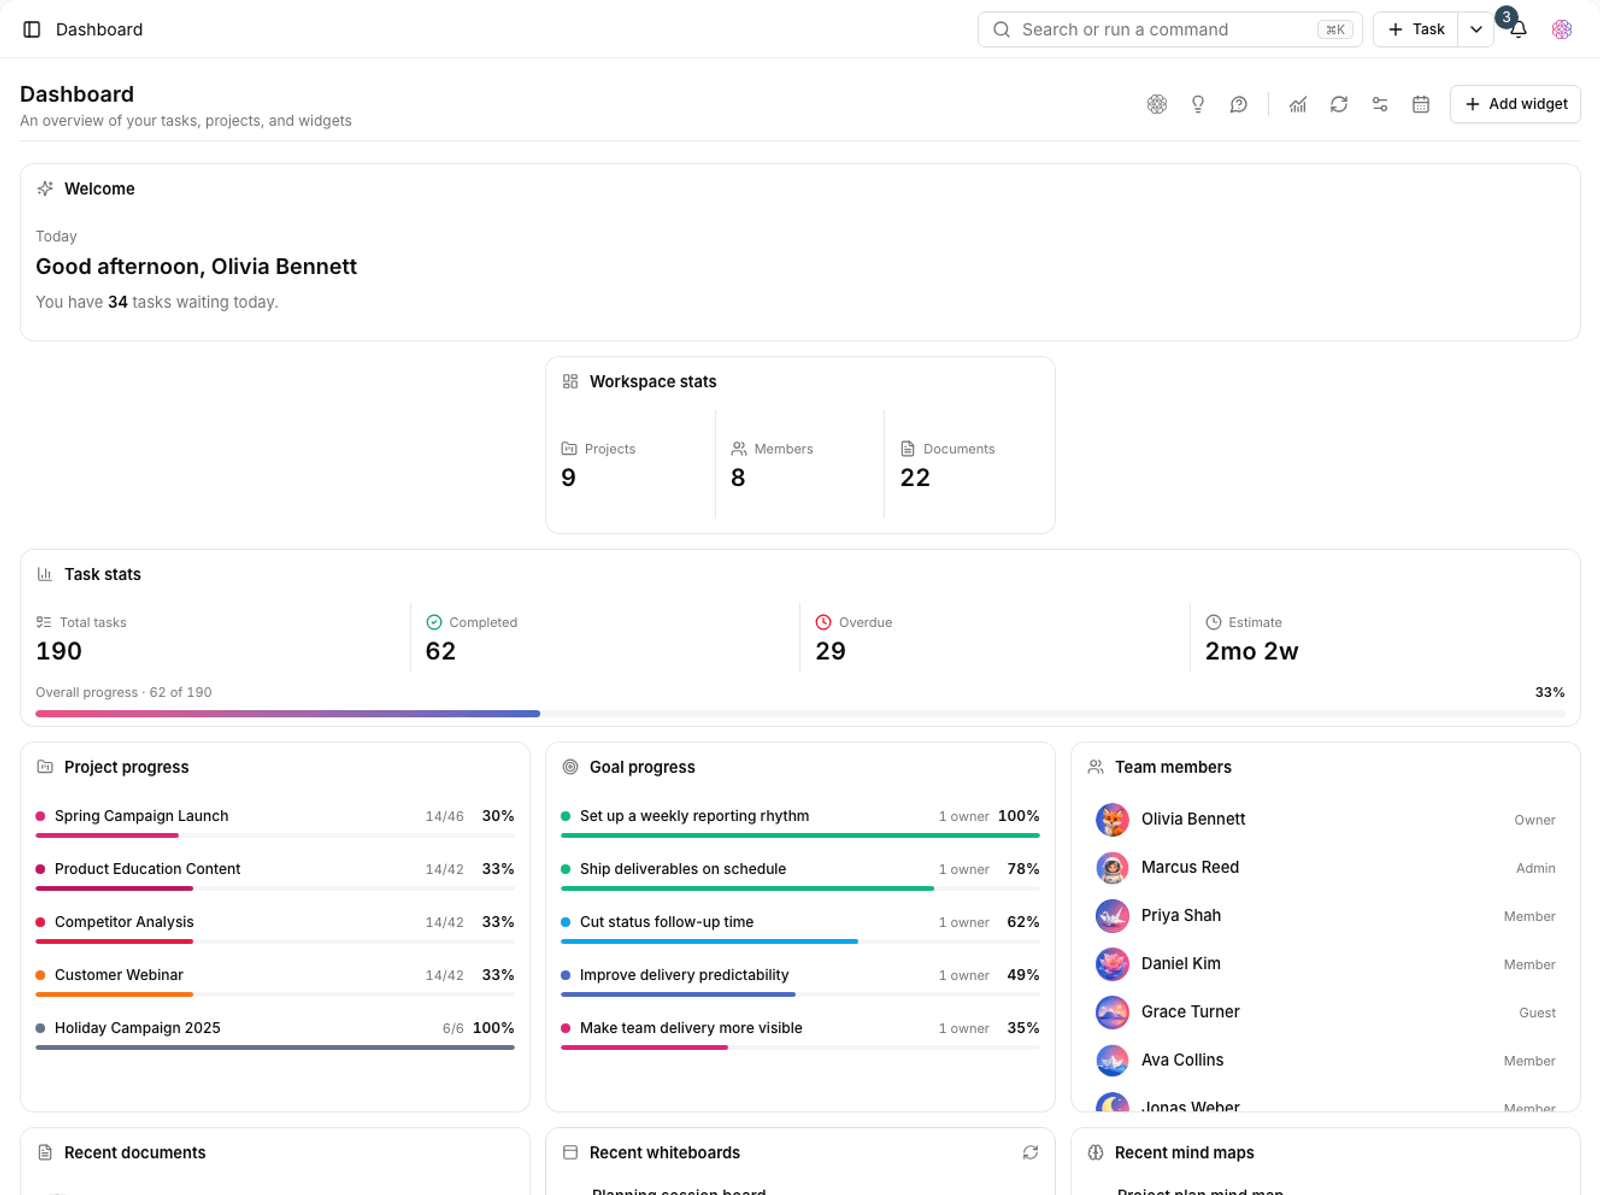
- Display name: the name shown to teammates, on task assignments and in notifications.
- Choose a role: for example, Founder or Team lead. Later suggestions are tailored to your answer.
- How you heard about us: where you found out about Taskie. This helps us improve the product.
- Choose a plan: start with the Free plan or pick the plan that fits your team.
- First project: create a project so your home page isn't empty.
None of these steps lock you in. If you're not ready to create a project yet, click I'll do it later and create one after you sign in.
Choosing a plan at the start
This step explains the difference between plans in plain language: the Free plan for an easy start, the mid-tier plans for teams that track their work seriously, and the higher plans for larger organizations.
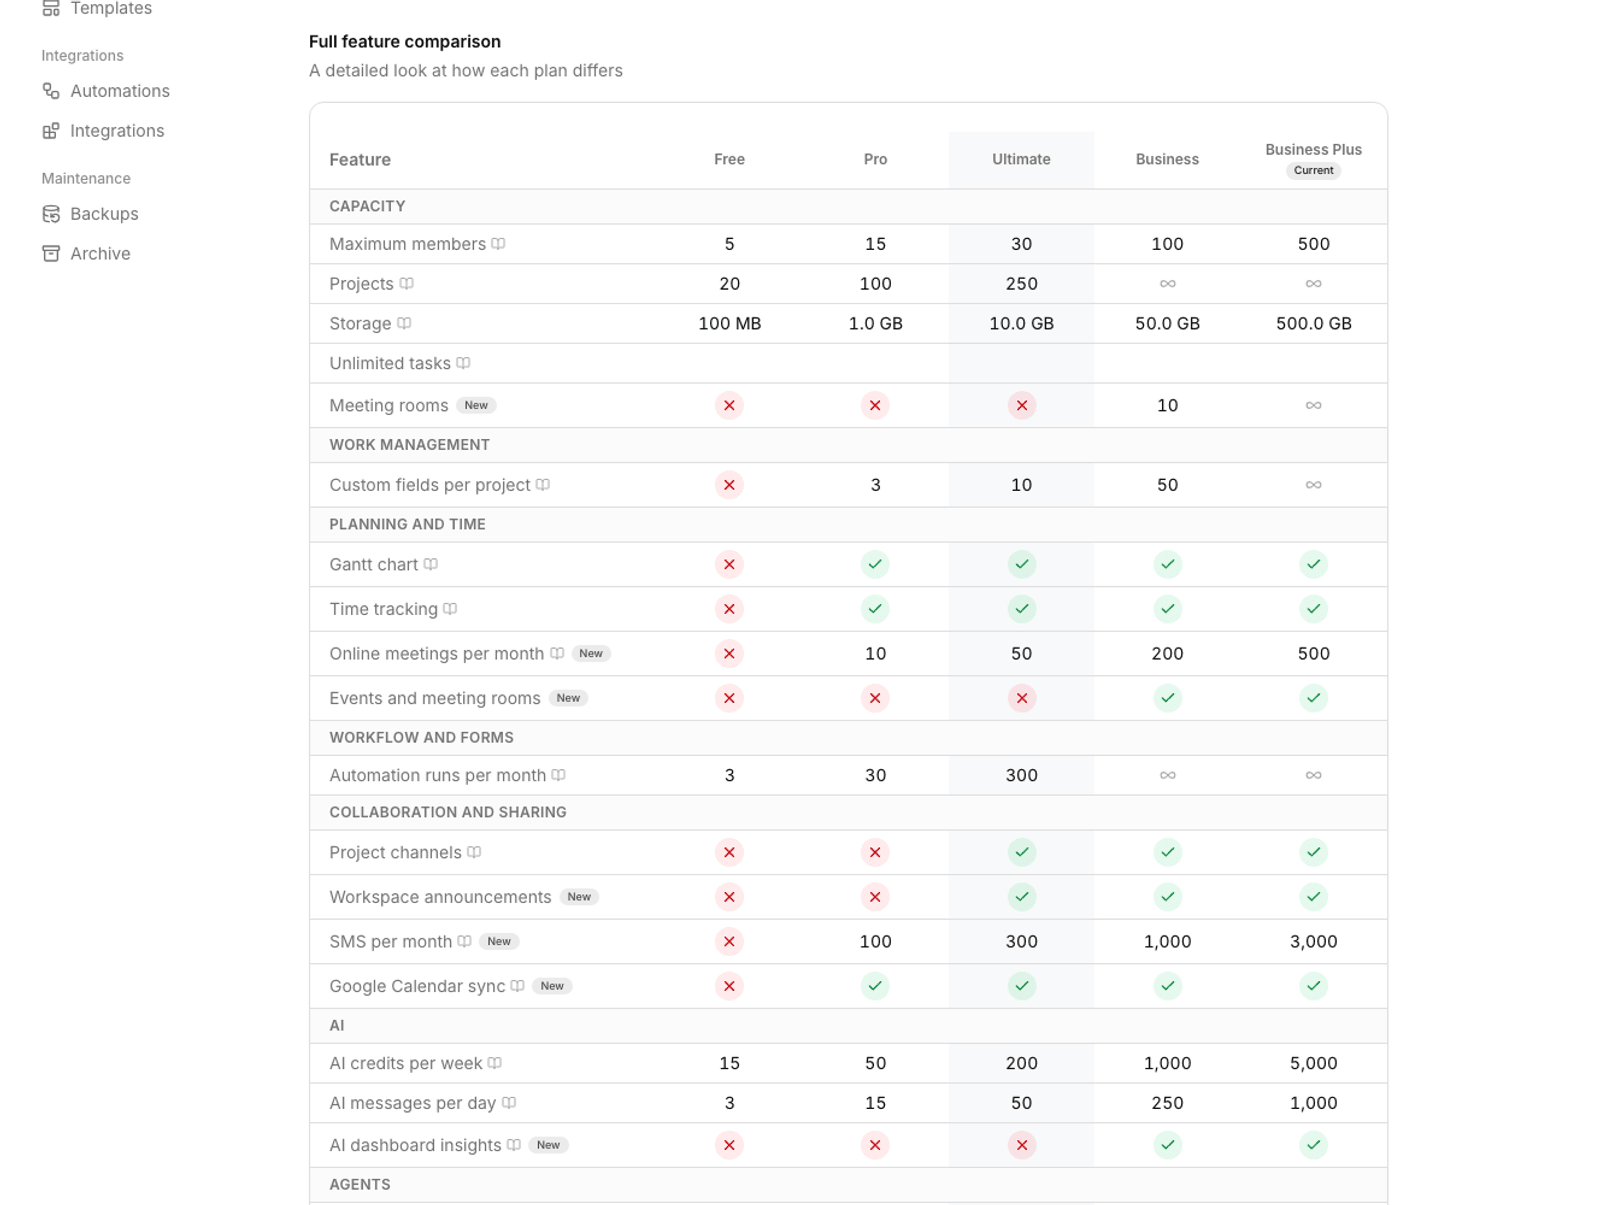
- You start on the Free plan and can upgrade from the subscription page whenever you like.
- If you choose a paid plan, you're taken to the payment page after this step, and the costs are shown clearly before you pay.
- During some periods, new accounts start with a special offer; the details are shown in this step.
Note: A plan applies to the whole workspace, not just your account. If you'll be working as a team, consider the number of members when choosing a plan.
Guided tours
After the wizard, a short tour runs on a few main pages such as the dashboard, tasks, goals, documents and files to point out the important parts of each page. If you're in a hurry, click Skip; the tour won't appear again.
What to do after the wizard
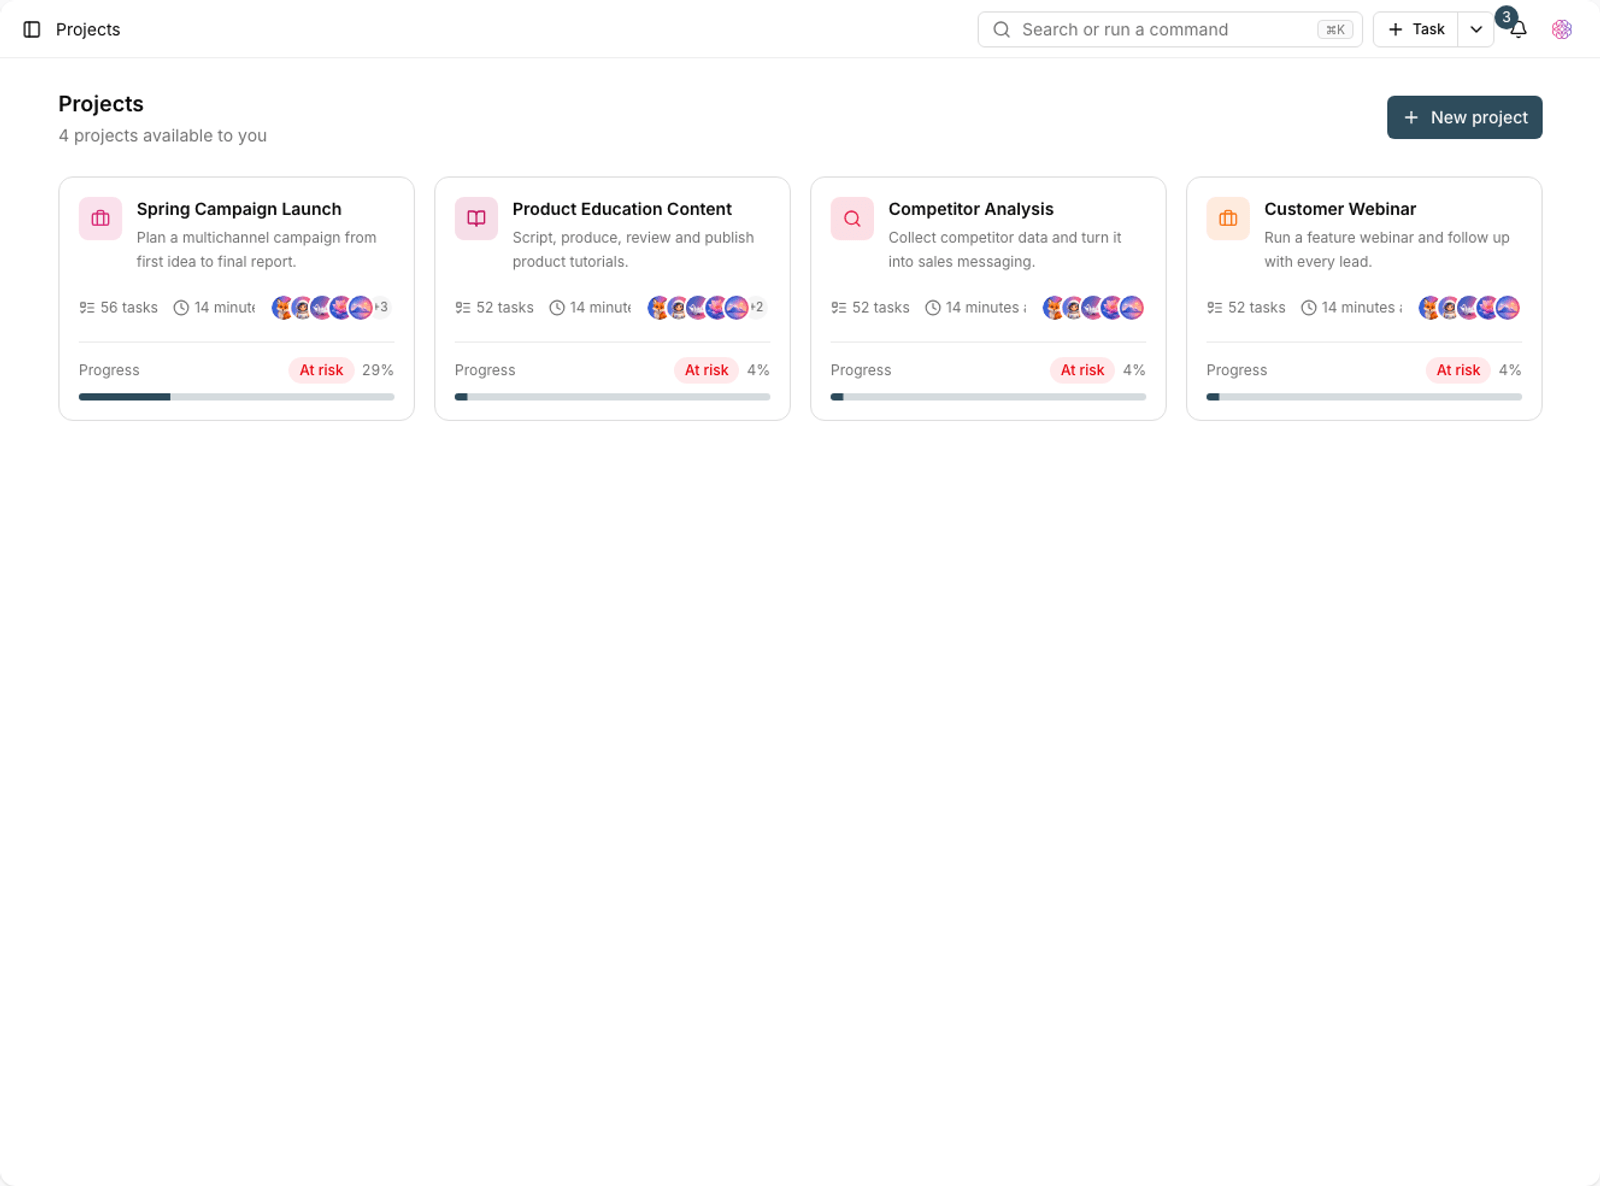
- Invite your teammates to the workspace.
- Match the project statuses to your team's real workflow.
- Create the views you need, or get help from the starter view pack.
- Use the command palette (Ctrl+K) to move between sections quickly.
If you skipped the wizard
None of the wizard's choices are locked. Change your display name and preferences any time in account settings, change your plan in the subscription section, and create a project whenever you want. If you skipped the guided tour and want to see it again, this help guide covers the same tips in more detail.
Inviting teammates
Taskie shows its real value when your team is in it. After creating your first project, invite members and set their roles. For external collaborators who should only see part of the work, more limited roles are a better fit.
For the basics, read Core concepts, and to set up a workspace, read Create your first workspace.