
Create and structure projects
A project is the main container for your team's work. This guide shows how to create one and give it a tidy structure from the start.
Team work pays off when it has a clear boundary from the start. In Taskie, that boundary is a project: a container that keeps the tasks, documents, files and conversations of one stream of work together and shows the team exactly what it's working on. Before you create any tasks, it's worth spending a few minutes setting the project up properly and giving it a clear name.
A good structure doesn't have to be complicated. The best projects start with a few simple statuses and one default view, and as the team's needs become clearer, more parts such as sections, milestones and new views are added. Below you'll see how to create a project and lay a tidy foundation for it from day one.
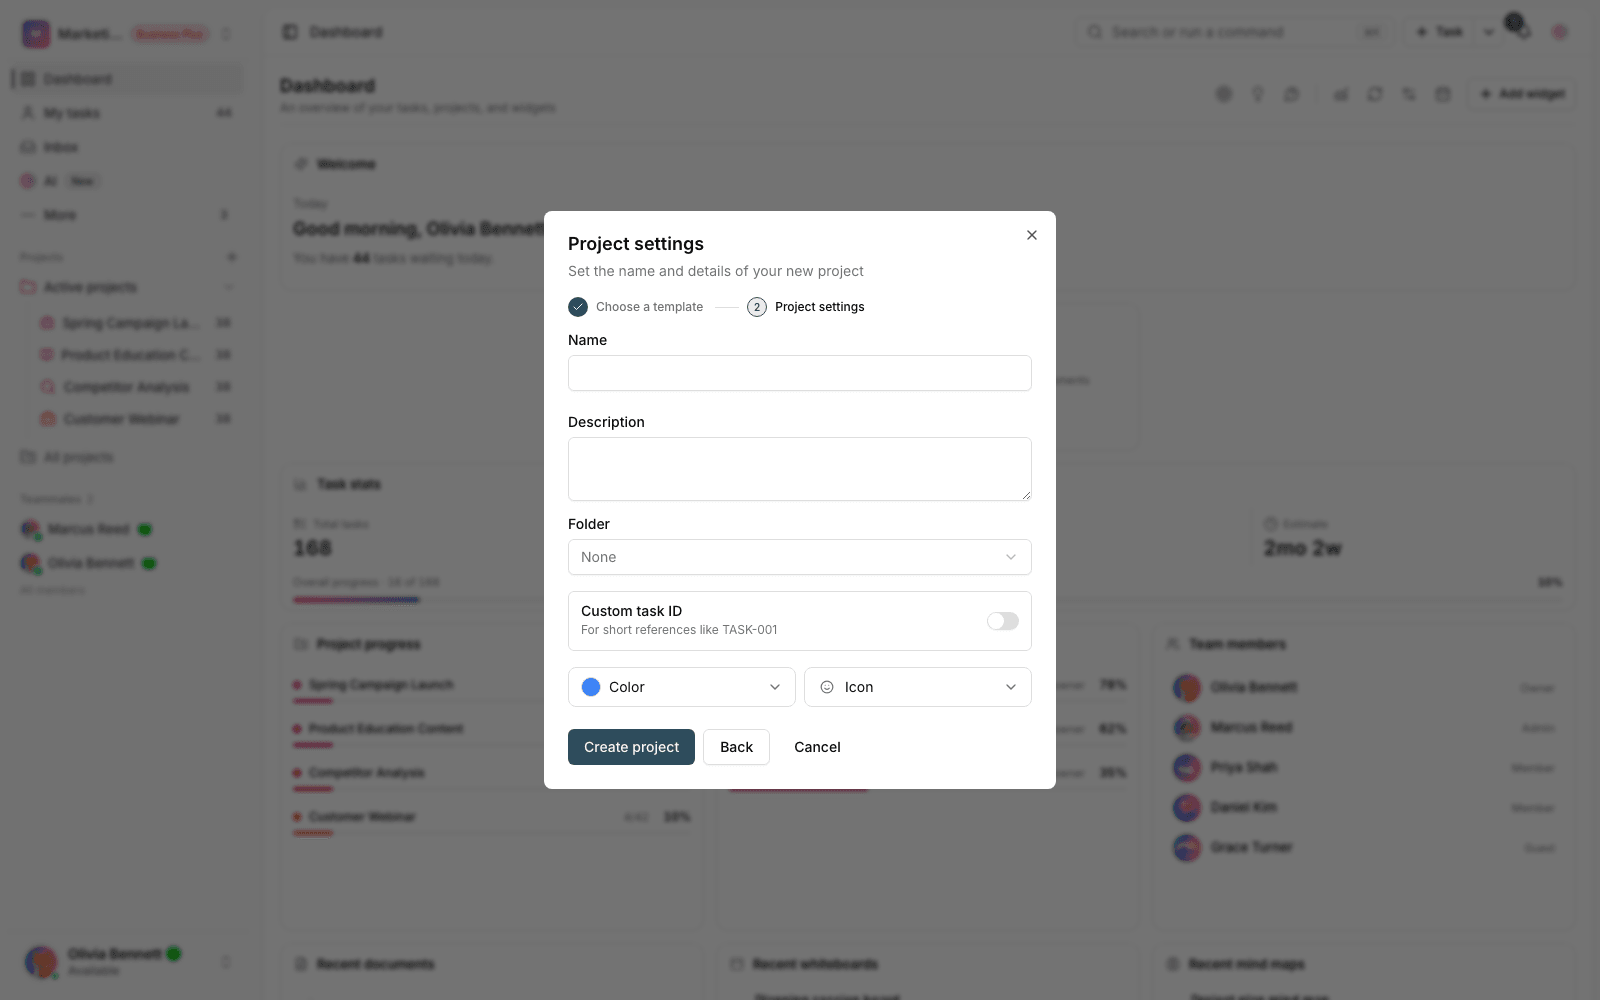
Where are projects created?
Every project sits inside a workspace, and members of that workspace can view it or work in it depending on their access. If you have several related streams of work, you can group projects in a folder to keep the sidebar tidy. Keep in mind that the number of active projects in a workspace depends on its plan. Archived projects and the Inbox don't count toward that limit.
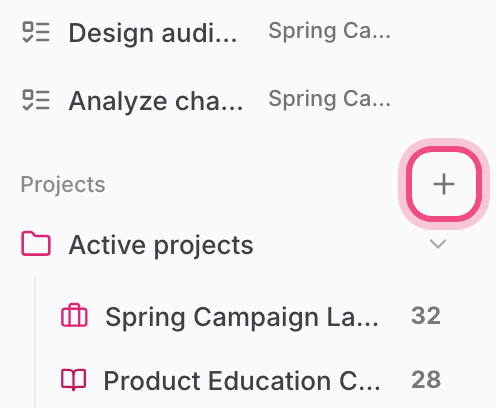
Create a new project
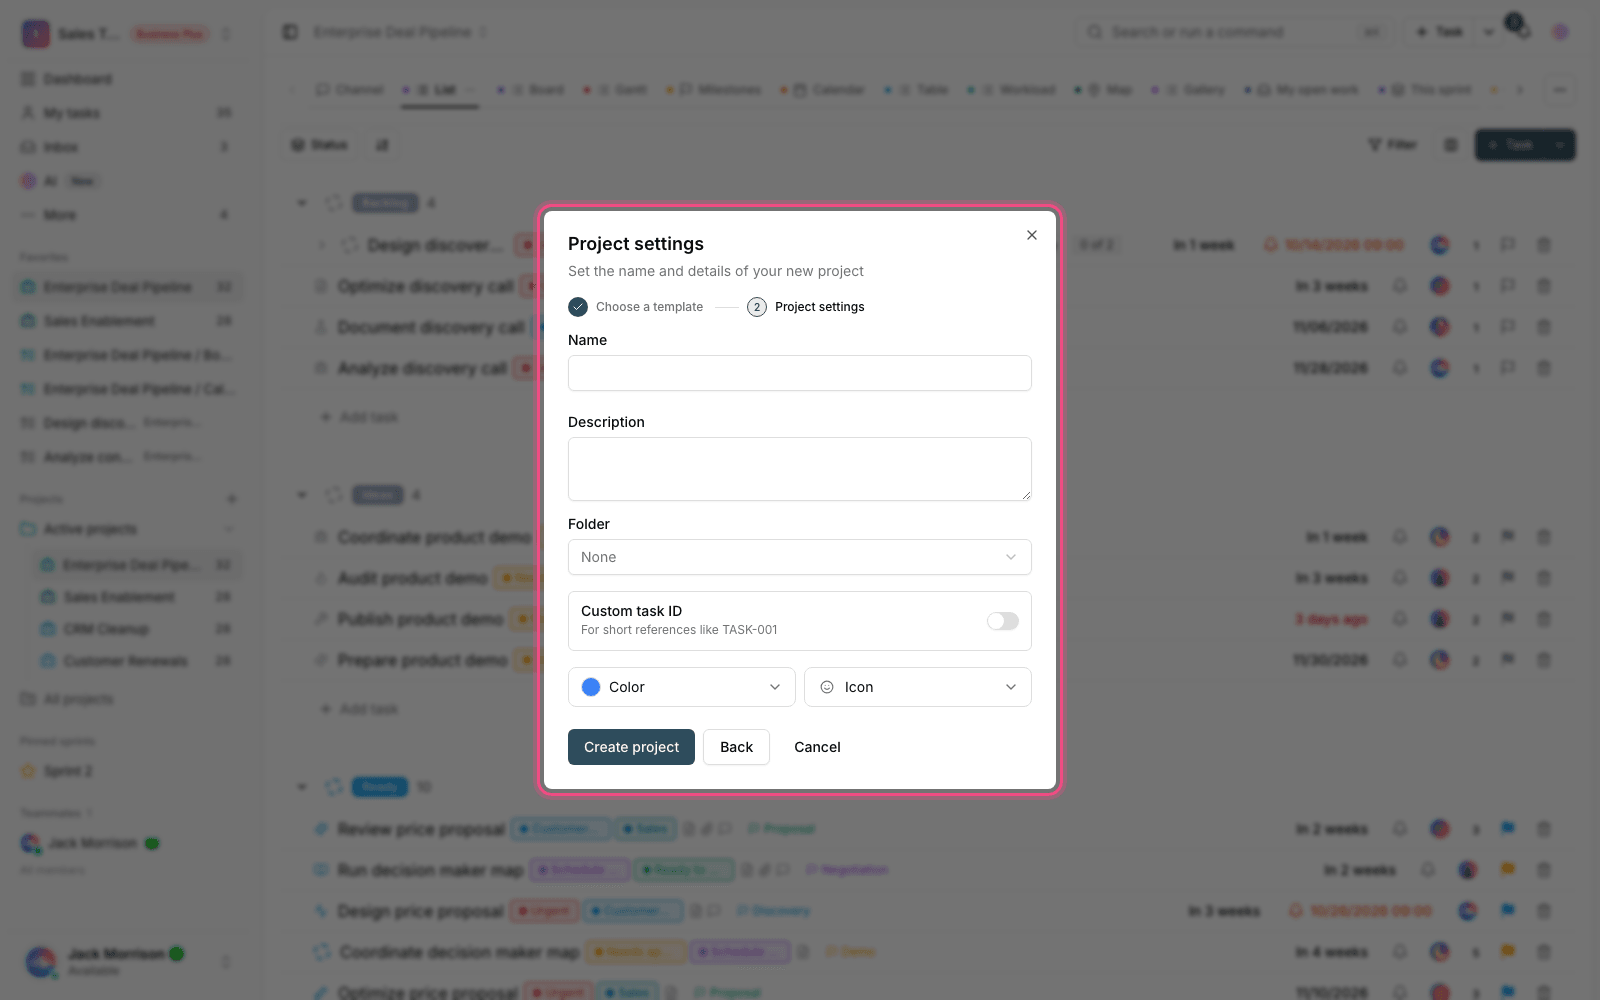
- From the sidebar or the create project button, open the option to create a new project.
- Enter a clear, unique name for the project. It can't match another of your active projects, and it can be up to 255 characters.
- If you like, choose a color and icon so the project is easier to spot in lists.
- If the project has a time frame, set its start and end dates. The end date can't be before the start date.
- If needed, choose the destination folder and workspace.
- Click create. The project is created and a List view is set up for it automatically.
Name, color and icon
The project name is its most important identifier. Choose a name that makes it clear what the project is about without extra explanation, such as the name of a product, campaign or department. Color and icon are only there for quicker recognition, but if you have several related projects, a consistent color rule helps the team find them more easily.
Set up the right initial structure
After you create a project, you don't need to turn on every feature at once. Start with a small but precise structure, and only add something once you've seen a real need for it.
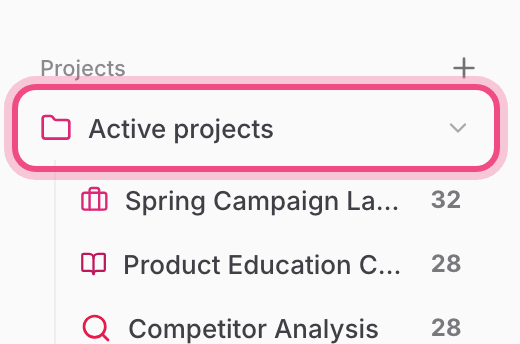
- Keep statuses simple. A few clear stages such as "Pending", "In progress" and "Done" are enough to start.
- If your work falls into clear categories, use sections so related tasks are grouped under one heading.
- Define milestones for key points in time so the project's overall progress is visible.
- Keep the default List view and add other views such as board, calendar or Gantt later as needed.
Common mistakes when starting out
- Creating too many statuses on day one, which makes them hard to fill in and follow.
- Vague names that leave members unsure which project a piece of work belongs to.
- Creating several parallel projects for a single stream of work instead of using sections inside one project.
- Skipping start and end dates on projects that really do have a set time frame.
Recommendation: If you'll build a similar structure again and again, duplicate a project or use a ready-made template instead of building it by hand each time, so your projects stay consistent.
Once the project's foundation is ready, go to Project statuses and workflow to define the stages of work precisely, or use Duplicate projects and use templates to quickly repeat ready-made structures.
To create a project from a ready-made template and learn about the project overview page, read Create a project with the wizard and the overview page.