
Create a project with the wizard and the project overview page
Create a new project from a ready-made template or from scratch, and use the overview page to see the project's overall status at a glance.
Creating a project in Taskie isn't just entering a name. When you create one, you can use ready-made templates so statuses, sections and starter tasks are in place from the very beginning.
Start from a ready-made template
Click New project to open the template gallery. Templates are built around real scenarios. A few examples:
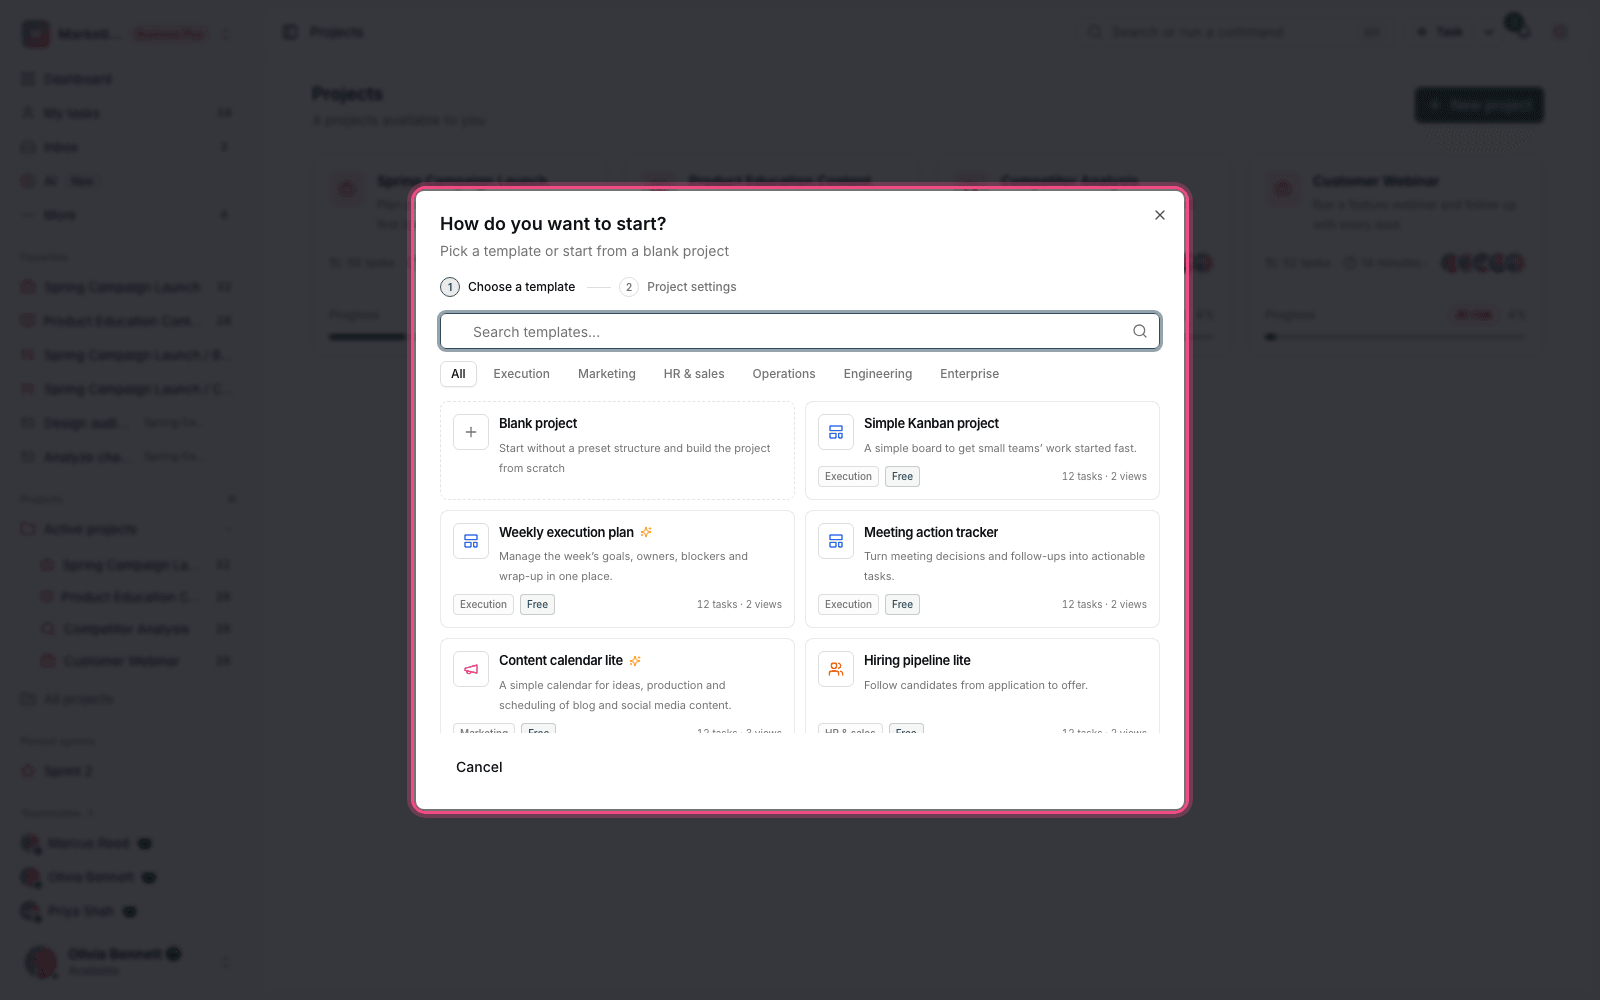
- Product launch: a complete launch room for product, marketing, sales and support.
- Website redesign: discovery, design, development, QA and launch.
- Software release: release scope, testing, rollout and post-release monitoring.
- OKR execution: connects objectives to key results, initiatives and monthly reviews.
- HR onboarding: before day one, the first week, training and first-month follow-ups.
- Data migration plan: from preparation through validation and cutover.
A template is only a starting point. After the project is created, you can change or delete any status, section or task.
Create a blank project
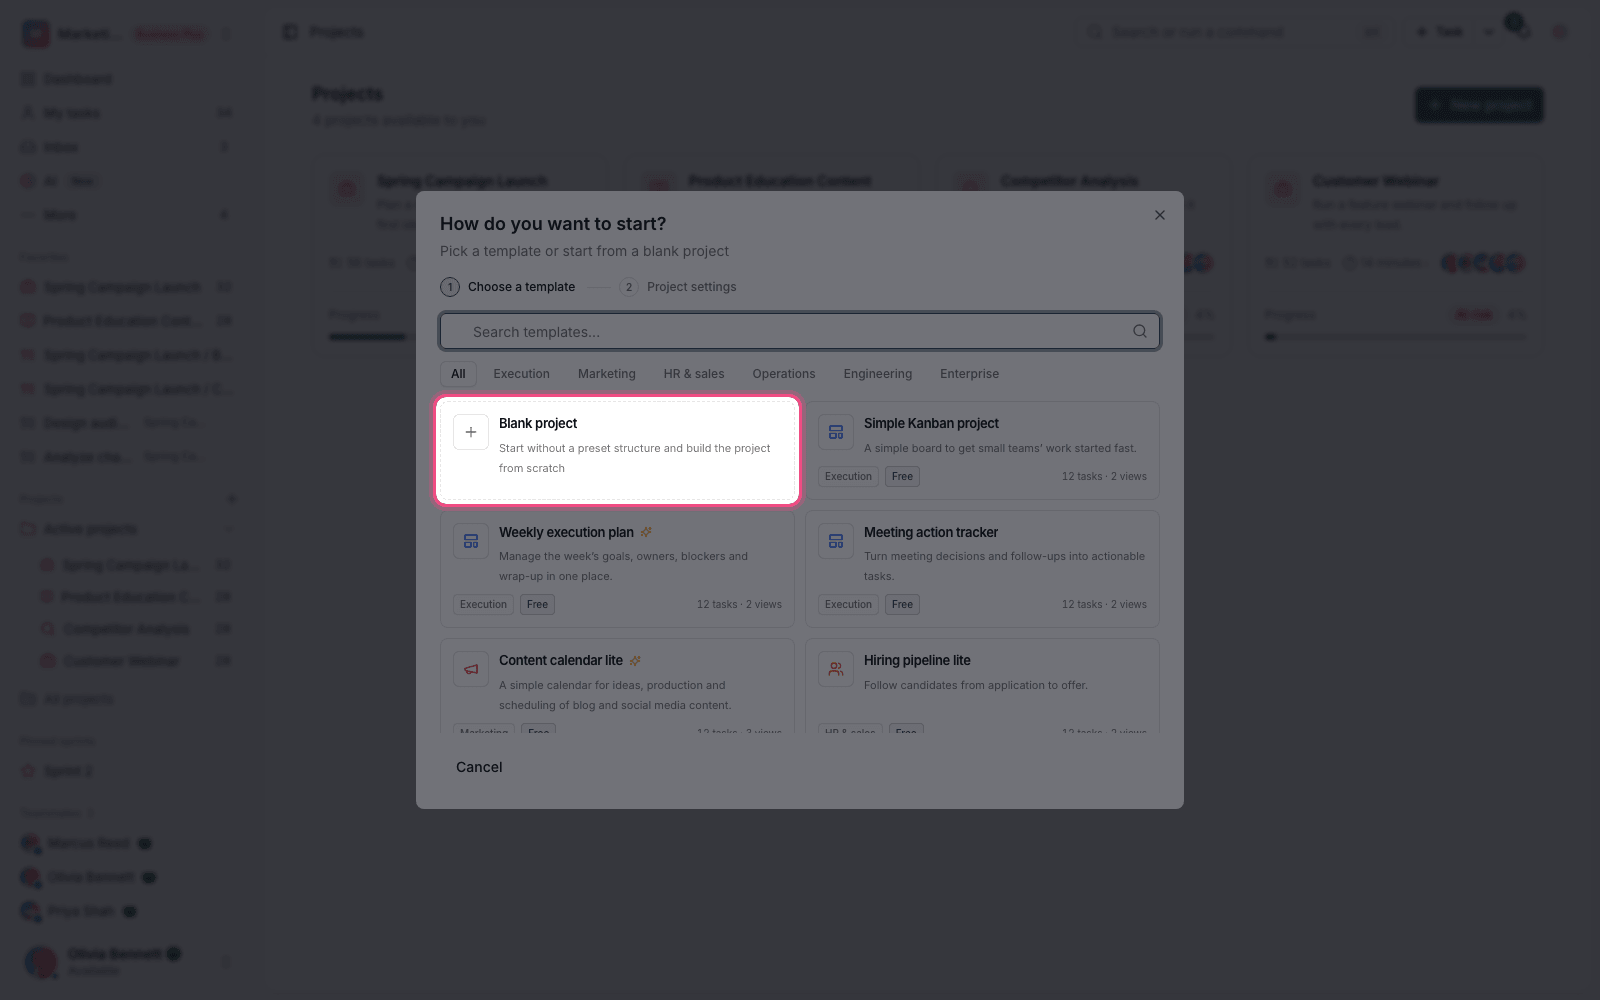
- In the same window, choose the option to create a project without a template.
- Set the project name and, if needed, its icon and color.
- Choose the destination folder so the project lands in the right place in your structure.
- Create the project. It starts with the workspace's default statuses.
- After it's created, invite members and add the views you need.
Tip: If you have a project whose structure you like, copy it instead of starting from scratch. Statuses, fields and views all carry over together.
The project overview page
Every project has an overview page that shows its overall status at a glance. It's the place to check before a status meeting so you know where things stand.
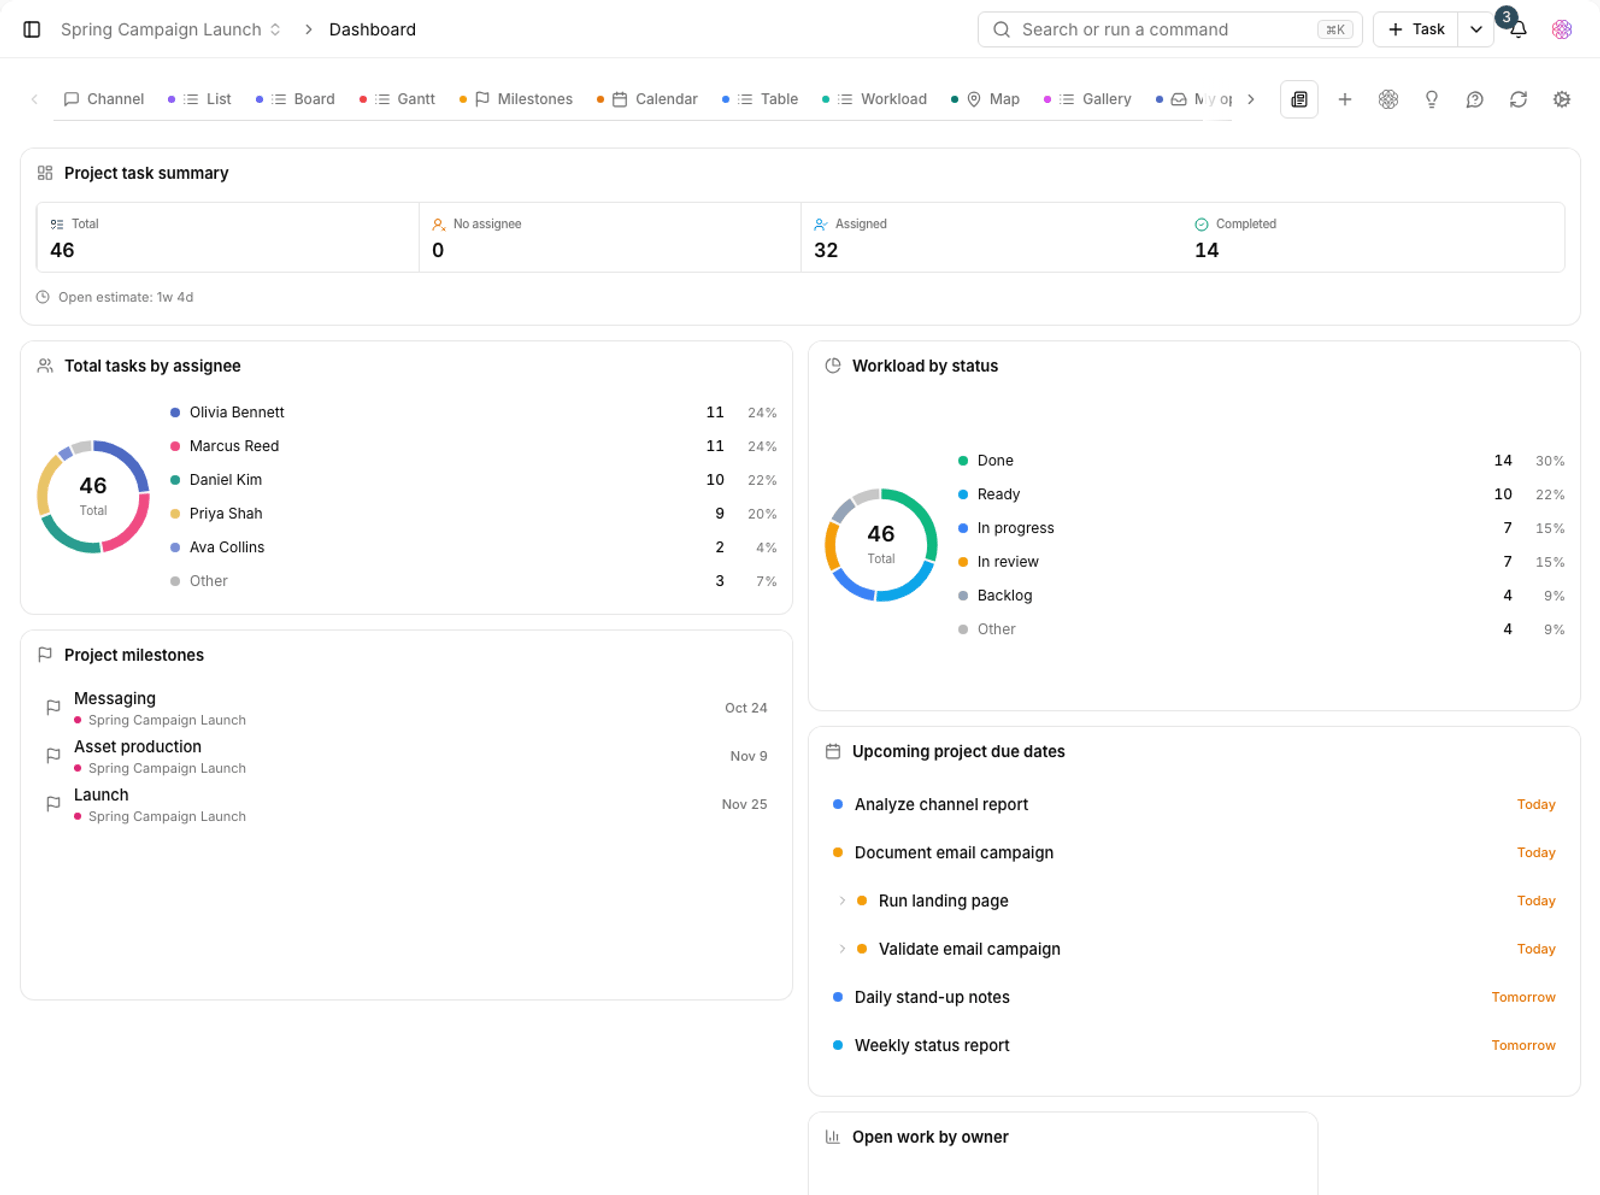
- Progress: the share of tasks that are closed out of the total.
- Members: who's working on the project.
- Milestones: key points in time and the status of each.
- Recent activity: the project's important changes over the past few days.
- Resources: shortcuts to the project's documents, files, forms and boards.
Next steps after creating a project
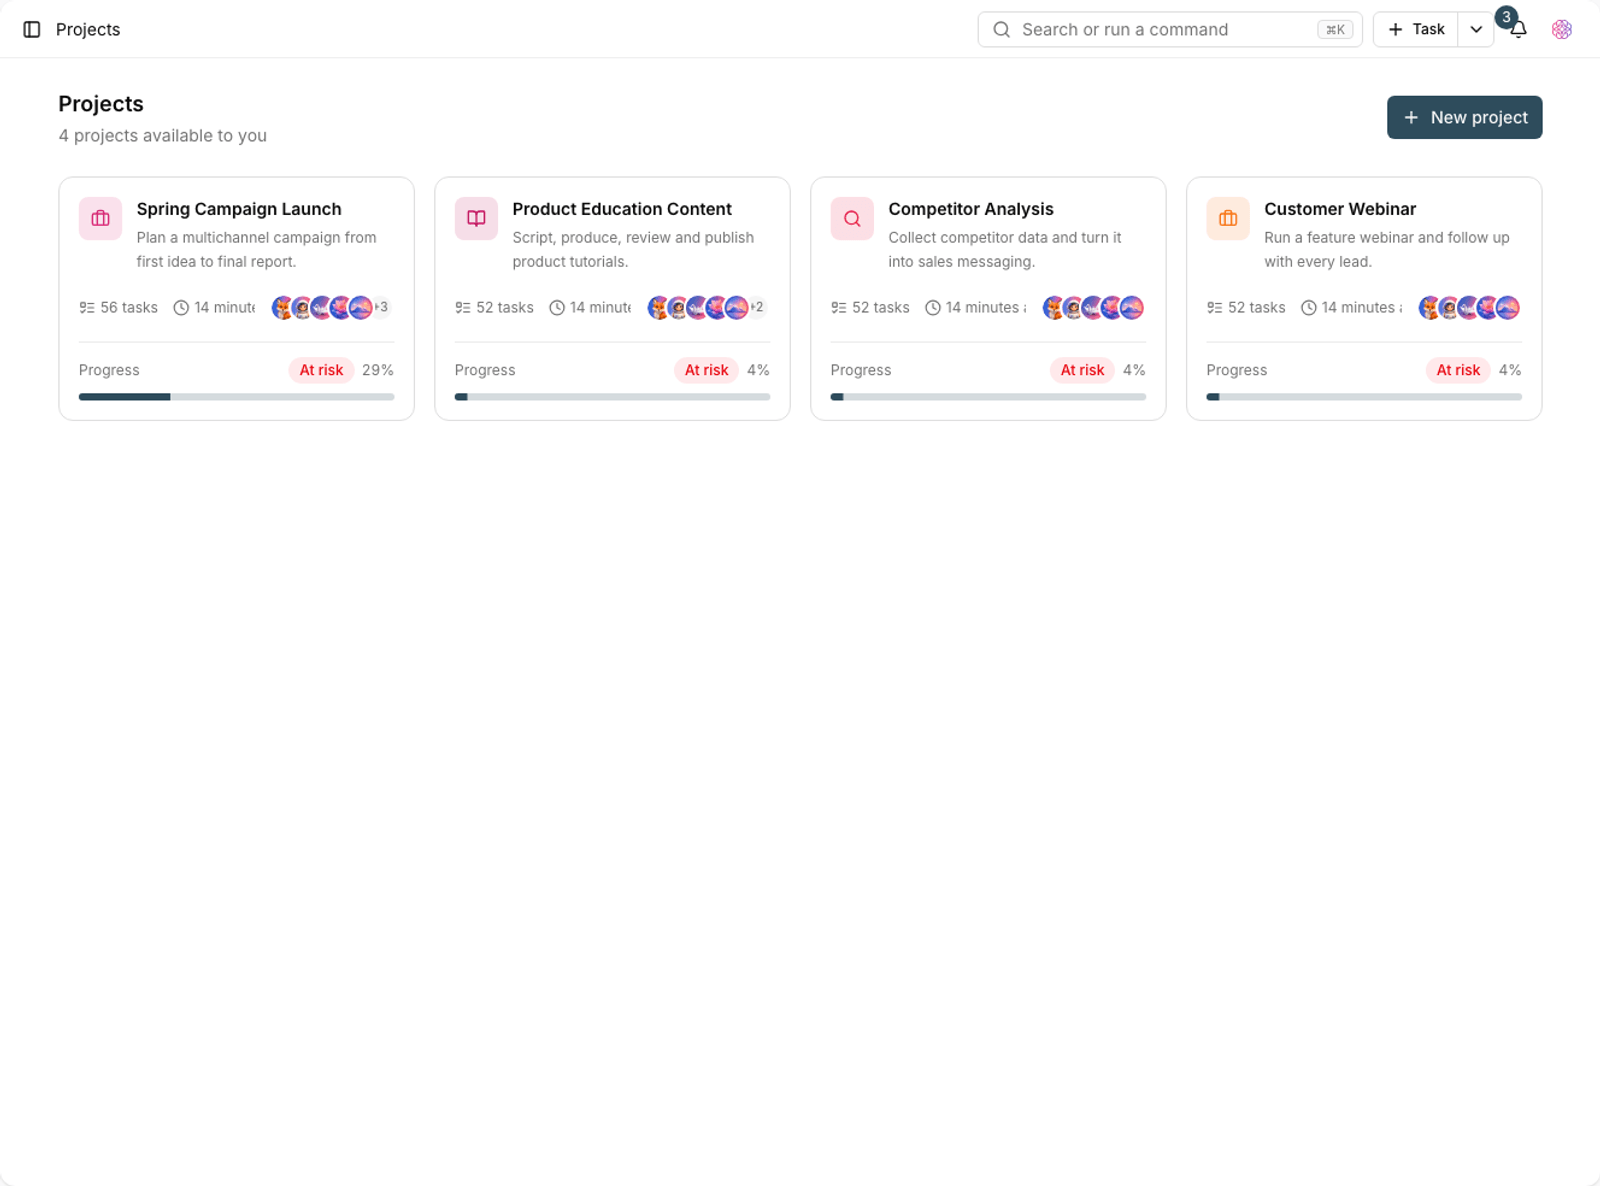
- Align the project's statuses with your team's real workflow.
- Add the custom fields you need, or use workspace fields.
- Build the views you need. For a quick start, use the starter view pack.
- If the project runs in cycles, define sprints or milestones.
Naming and folder structure
The project name is what your team sees every day and searches for. Generic names like "New project" or "Tasks" become useless after a few months.
- Name the project after its outcome or client, not after the team or time period.
- If you have several related projects, put them all in one folder.
- For recurring projects, include the period in the name so different versions don't get mixed up.
- Use a distinct icon and color so the project is quicker to find in the sidebar.
To structure a project, see Create and structure projects, and to copy an existing project, see Duplicate projects and use templates.