
Project statuses and workflow
Statuses show where each piece of work is. See how to define them and use a workflow to set rules for moving between statuses.
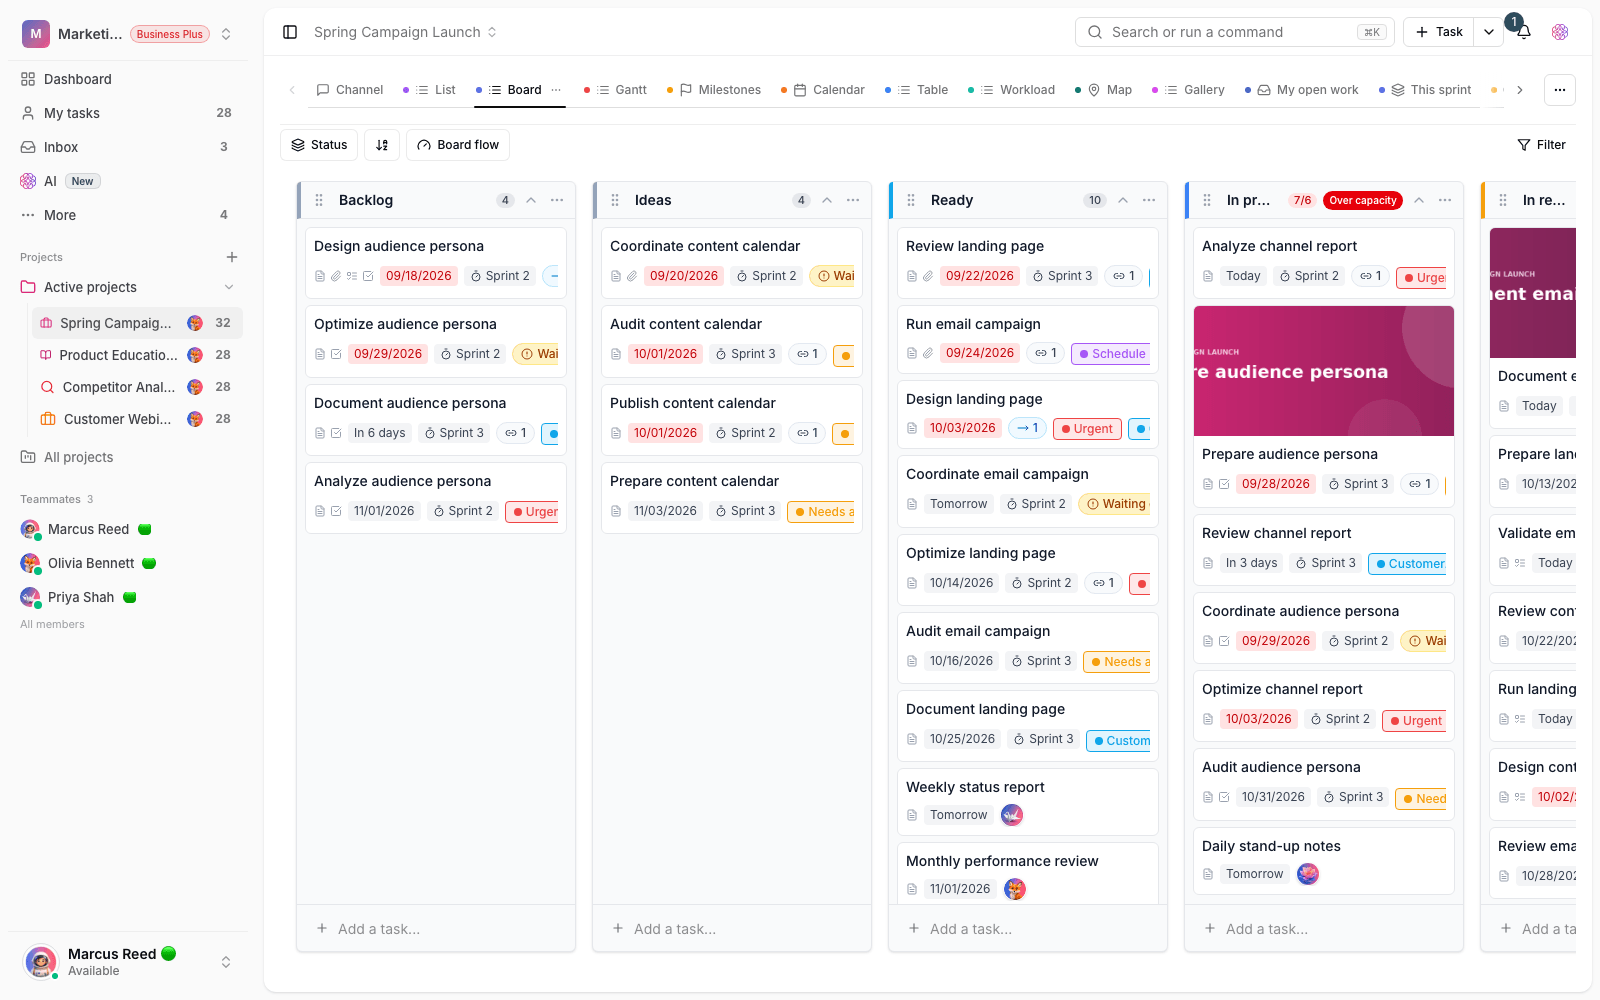
Statuses are at the heart of tracking work in Taskie. Every task is in one status at any moment, and that status shows where the work is along the way. When statuses are defined well, the team can tell without asking what's waiting, what's in progress and what's finished.
Sometimes seeing the status isn't enough, though, and you need rules for the path each task takes. For example, a task shouldn't move to the next stage until it has an assignee. That's where the project workflow engine comes in, controlling transitions between statuses.
What is a status, and what levels are there?
Each status has a name and a color and belongs to a level, which tells the system what the status means:
- Not started: work that hasn't begun yet and is waiting in the queue.
- In progress: active work. These statuses can have a progress percentage so the progress bar fills up.
- Done: work that has been completed successfully.
- Closed: work that was set aside or dropped without being done.
The Done and Closed levels count as final, meaning a task that reaches them is no longer open. Taskie relies on these levels for automatic completion and for counting open work, so choosing the right level for each status matters.
Create and order statuses
Statuses can be shared at the workspace level or specific to one project. The first time you change a project's statuses, Taskie creates an independent copy of the workspace statuses for that project, so your changes don't affect other projects.
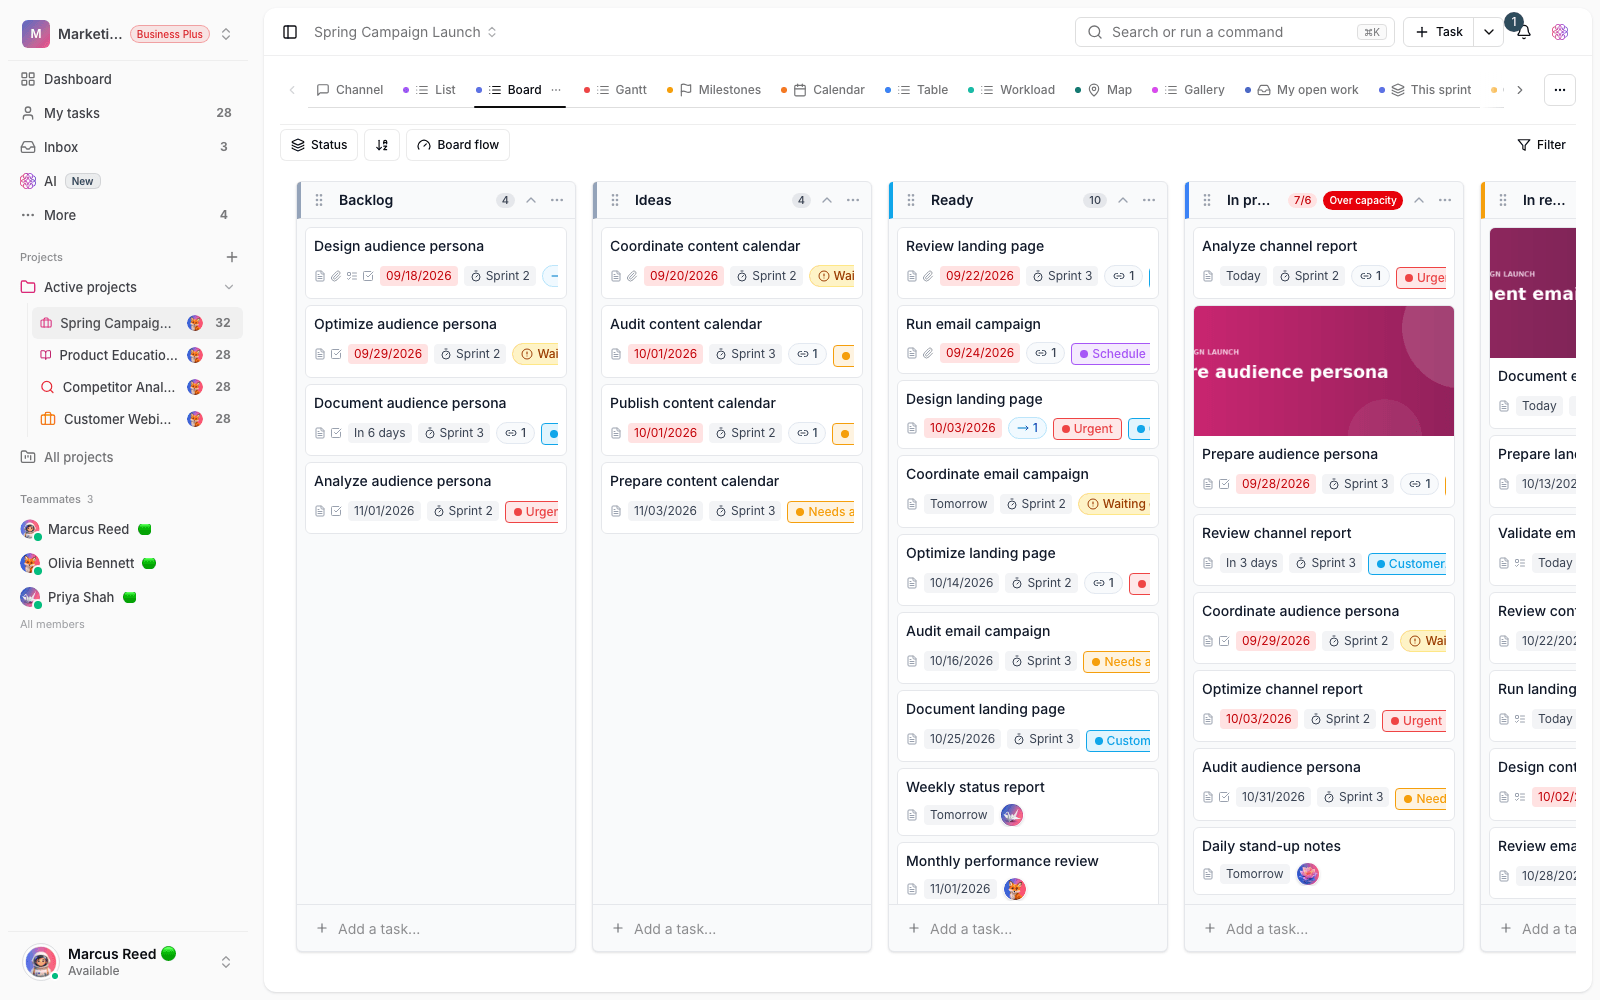
- In the project's status settings, open the option to add a status.
- Set the status name and color, and choose the right level (Not started, In progress, Done or Closed).
- For In progress statuses, you can set a progress percentage so you can see how far along the work is.
- Arrange the order of statuses by dragging them. The order is the path work usually follows.
- Save your changes.
The number of statuses per project is limited by the workspace plan. If you reach the limit, you can delete or merge statuses that are rarely used. Managing statuses requires edit access in the project.
Workflow: setting rules for status transitions
A project workflow is a map of statuses and the transitions allowed between them. When you turn it on, only the transitions defined in the map are allowed, and any undefined status change is stopped. This feature is available on higher plans and applies to every way a status can change: manual changes, bulk changes, automations and even channel messages.
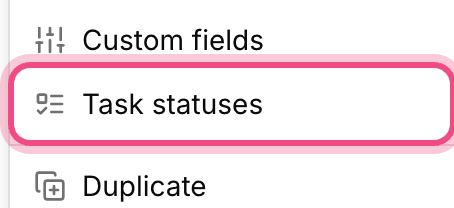
You first build the workflow as a draft, then publish it and finally turn it on. Until the map is published and turned on, the project behaves freely as before and no restrictions apply, so you can build the map without worry and switch it on later.
Conditions on transitions
Each transition can have conditions that must be met before the task is allowed through. You can combine these conditions with AND and OR. A few examples of available conditions:
- The current user is the task's assignee or creator, or has a specific role in the workspace.
- A custom field has a value, or a field's value equals a specific number or text.
- No checklist items are left open and all subtasks are done.
- The task has a required attachment, a time estimate or a due date.
- The required approval on the task has been given.
Important tips and behaviors
- If you're an owner or admin and the admin bypass option is on, you can get past workflow restrictions in exceptional cases.
- If a task's current status isn't in the workflow map (for example, because the status was deleted), all outgoing transitions are temporarily allowed so the work doesn't get stuck.
- Independently of the workflow, if a task depends on another task or has unfinished subtasks, moving it to a final status may be blocked.
Note: Before turning on the workflow, test the map with a few real tasks to make sure your team's common paths aren't blocked by mistake.
To see how these statuses are reported in practice, go to Project activity and summary, and if you're just creating a project, start with Create and structure projects.
To control transitions between statuses, see Status workflow builder, and to define them once for the whole workspace, see Workspace-level work structure.