
Status workflow builder
Decide which statuses each status can move to, with a visual builder, transition conditions, drafts and publishing.
By default, a task can move from any status to any other status. That freedom works well for small teams, but when you have a defined process, such as "nothing goes to Done without review", you need to control transitions.
The status workflow builder does exactly that: it's a visual diagram where statuses are nodes and allowed transitions are the connections between them.
Getting started: template or manual build
When you open the builder, you have two paths:
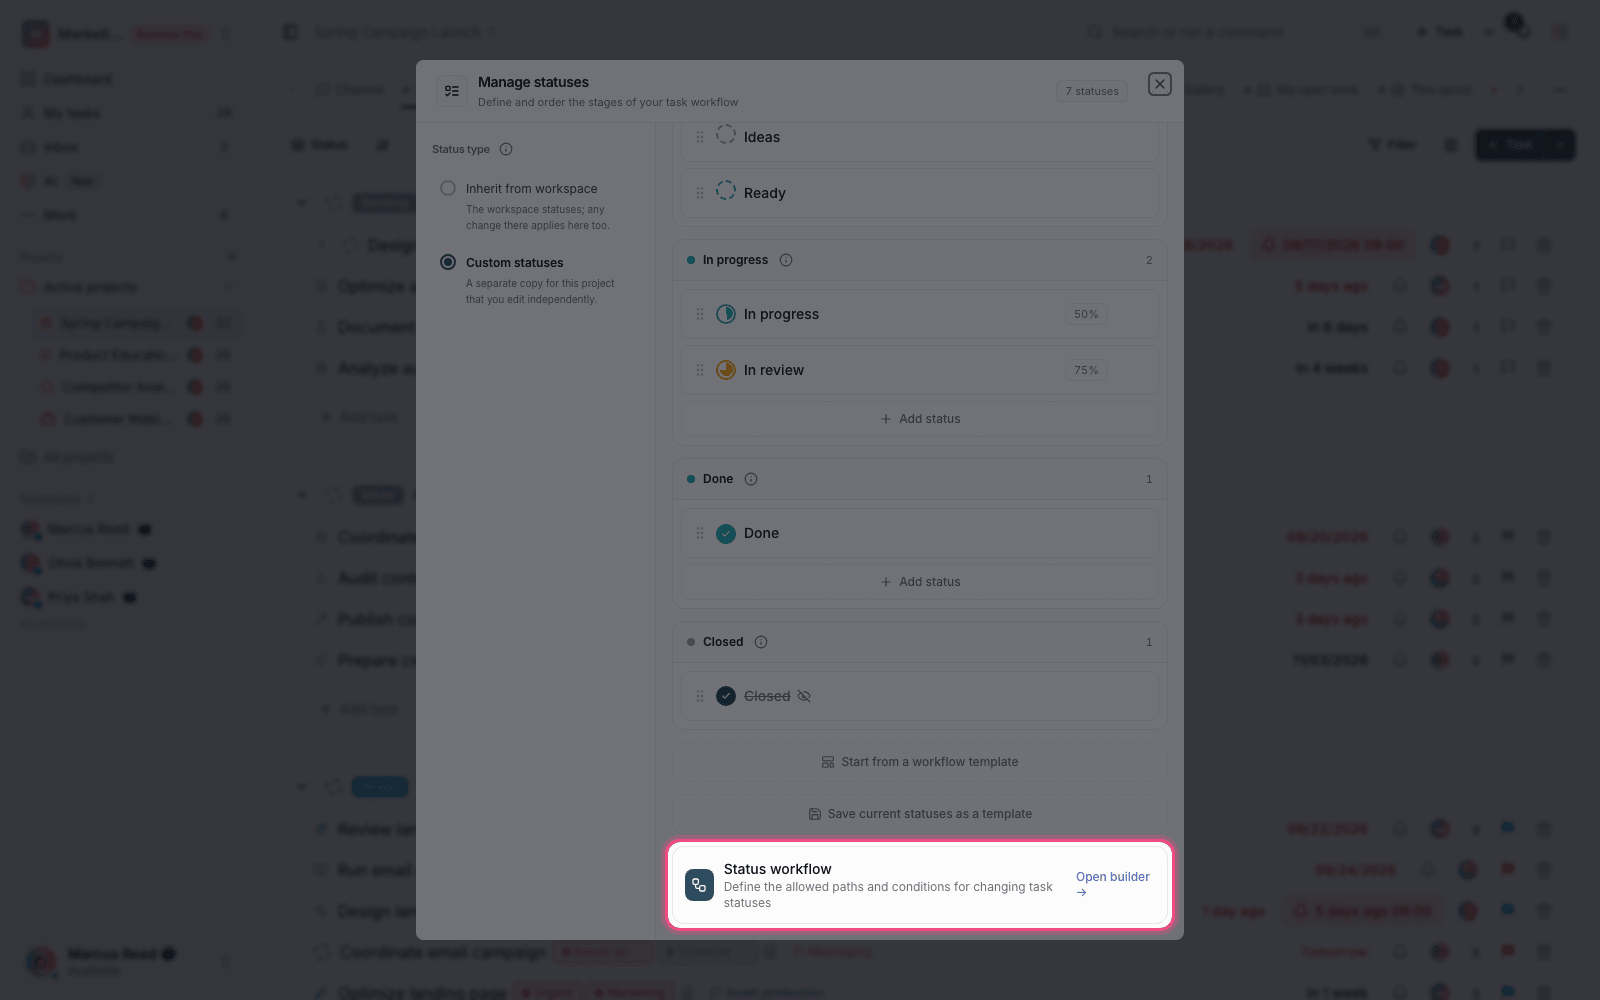
- Start from a template: choose one from the library of ready-made workflow templates. You can search across templates, statuses and transitions.
- Build manually: add statuses yourself and draw the allowed transitions one by one.
The template you choose is applied to the draft, so you can change it before publishing. If you already have a workflow, applying a new template replaces the current one, and you'll get a warning before that happens.
Define transitions and conditions
Each connection between two statuses means "this transition is allowed". You can set conditions for each transition:
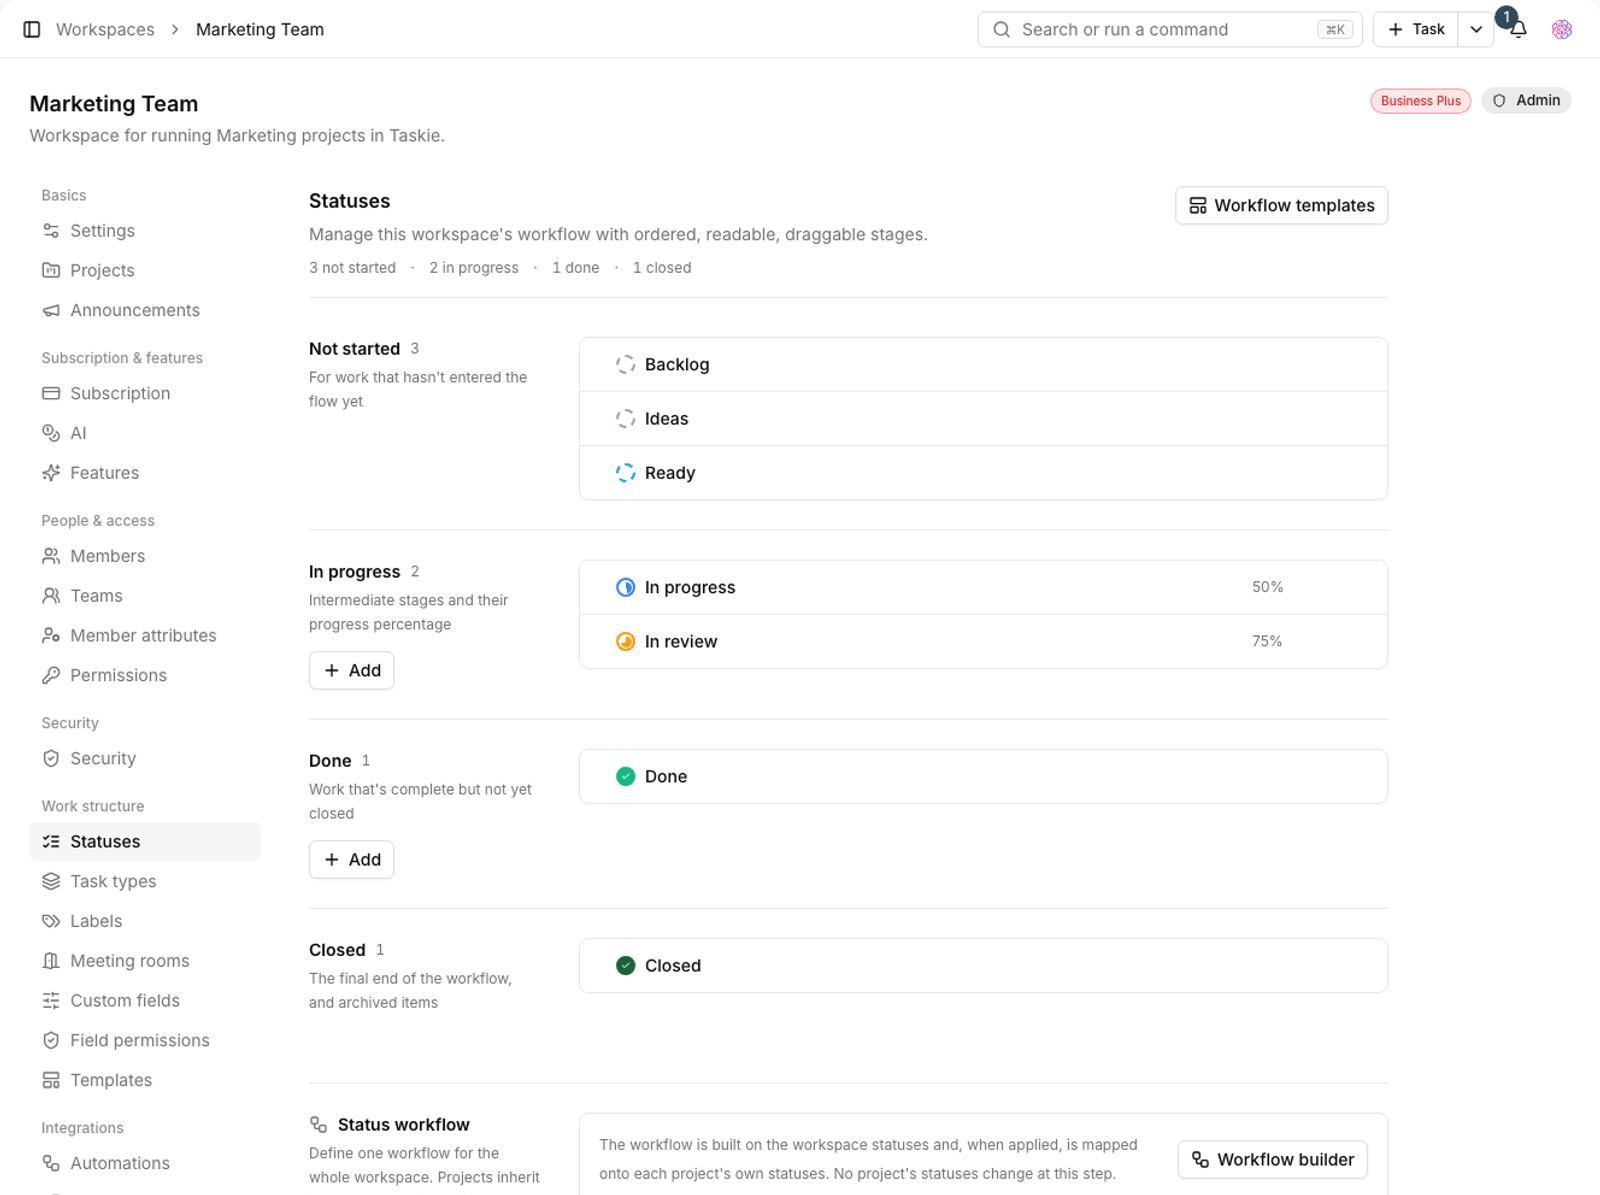
- No condition: the transition is always allowed.
- Transition conditions: the transition is only allowed when the conditions you set are met.
- Admin/owner bypass: admins can get past the restriction, for exceptional cases.
- Two-way transition: allows going back to the previous status, for example when work fails review.
Drafts and publishing
Changes in the builder don't affect the project right away. Until you click Publish, they stay in the draft as Unpublished changes.
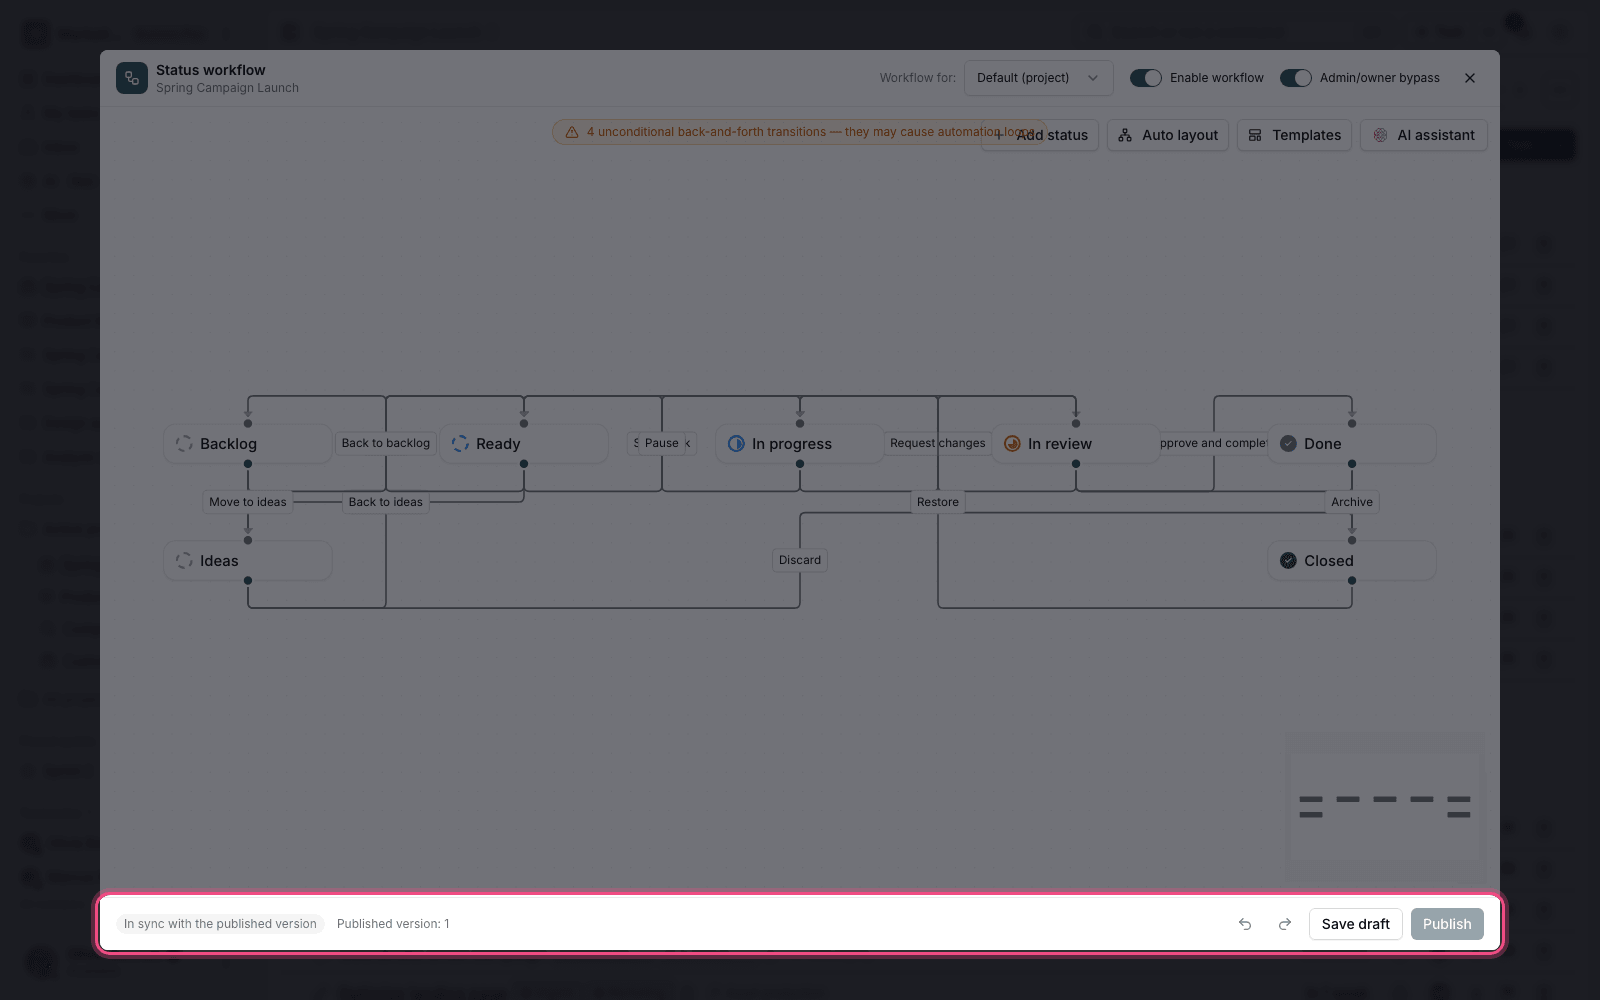
- Make your changes in the builder.
- Click Save draft so unfinished work isn't lost.
- When you're happy with the result, click Publish.
- Click Enable workflow to start enforcing it on the project's tasks.
Note: Only statuses with no tasks in them can be deleted. If a status has tasks, you'll see the message "This status has tasks and can't be deleted." Move the tasks first.
Workflows at the workspace level
If every project must follow the same process, define the workflow at the workspace level instead of repeating it in each project. It applies to every project in the workspace and is translated to each project's own statuses.
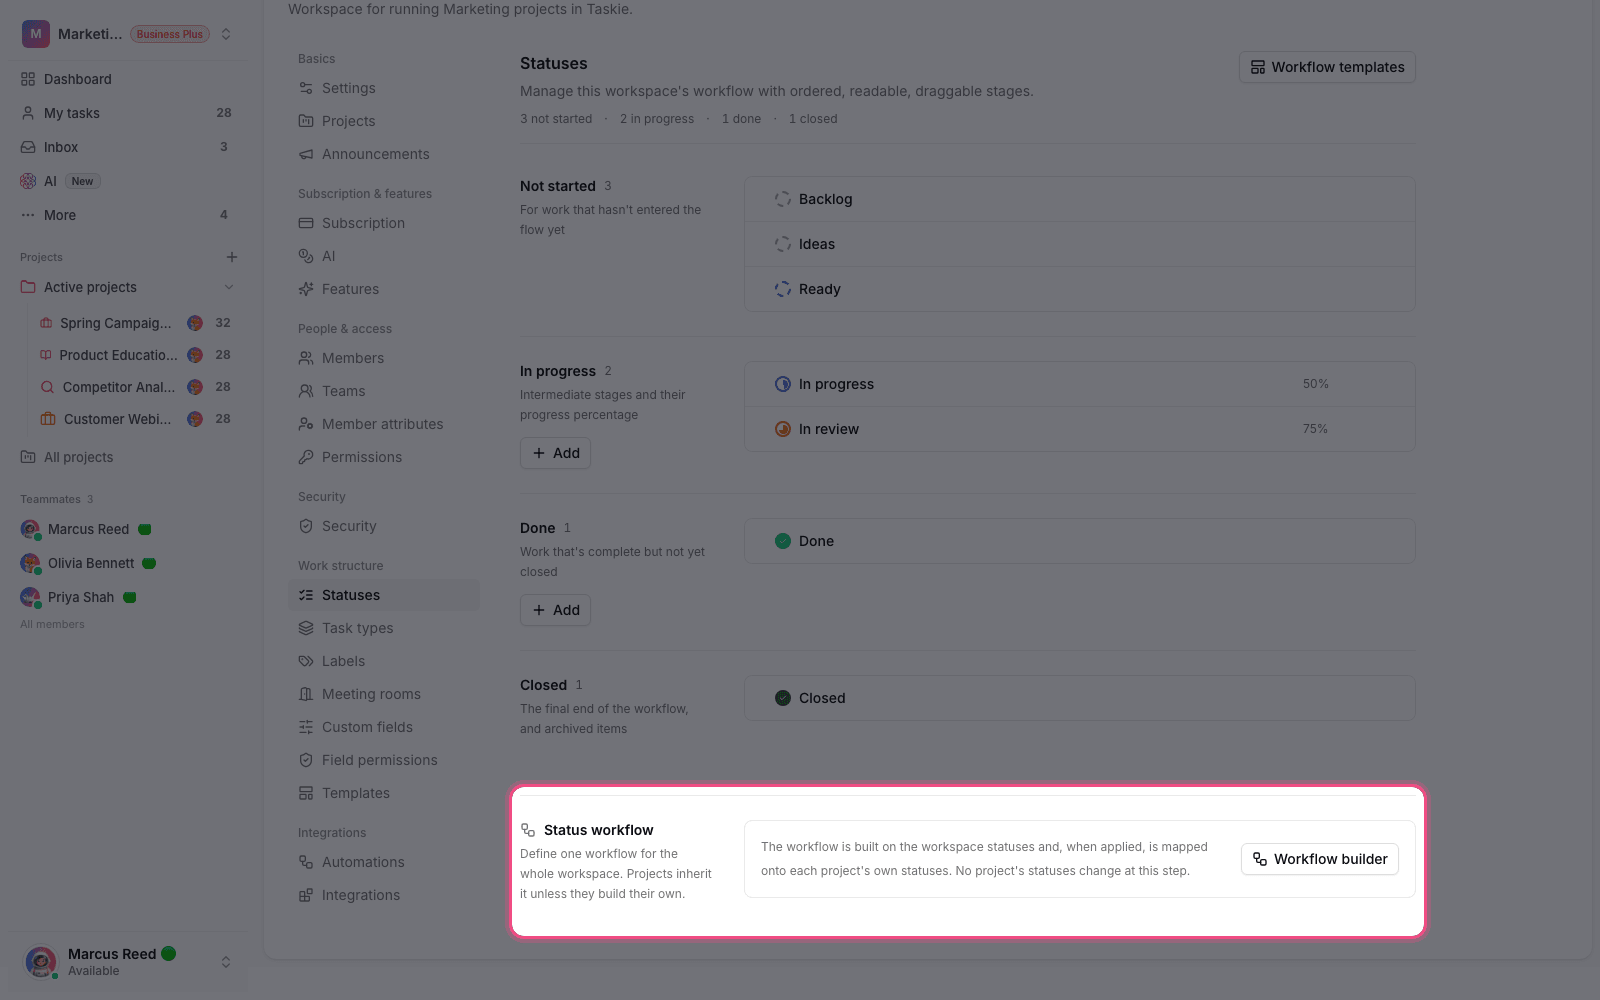
Plan required: Status workflows at the project level are available on the Ultimate plan and above, and at the workspace level on the Business plan and above.
Designing a good workflow
An overly strict workflow is as harmful as having none. The goal is to close off paths that make no sense, not to slow down everyday work.
- Start from how things are now. First see how the team actually works, then add rules.
- Only block transitions that are truly wrong, not every path you think is unusual.
- Set up Admin/owner bypass for exceptional cases so work doesn't get locked.
- Keep the path from review back to in progress open. Failing review is a normal part of work.
- After two weeks, look at the team's complaints and remove unnecessary rules.
To define the statuses themselves, see Project statuses and workflow, and to apply a workflow to every project at once, see Workspace-level work structure.