
Project chat channels
Channels are each project's organized space for conversation. This guide shows how to turn them on, create channels and manage notifications.
Besides tasks, every project needs an organized place for conversation: somewhere decisions, updates and ideas are recorded instead of getting lost among scattered messages. Project chat channels provide exactly that space inside the project itself, so the team's discussions stay next to the tasks instead of in a separate tool.
Unlike the conversation under a task, which is only about that piece of work, a channel is built for ongoing, more general project discussions. Below you'll see how to turn channels on, create a channel and use mentions and notifications to get messages to the right people.
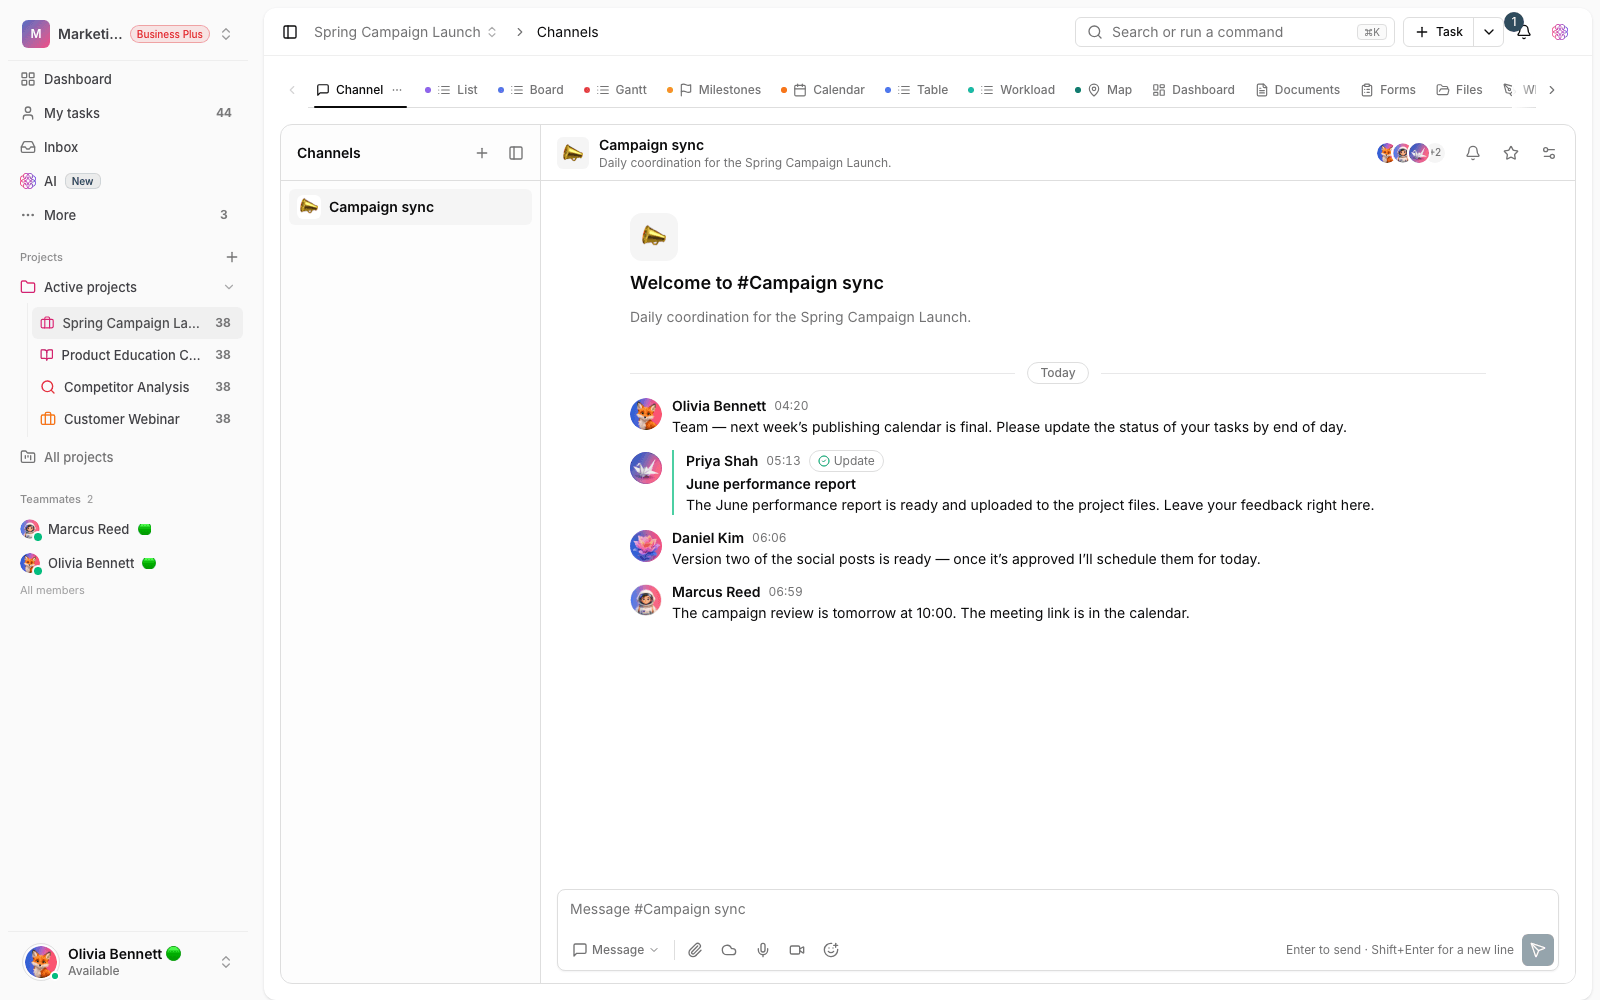
What is a channel, and how is it different from task comments?
A channel is a continuous conversation thread at the project level, not a task. Project members can post in it, reply to posts in threads and mark important posts. While a comment under a task is scoped to that task, a channel suits topics that concern the whole project: daily coordination, announcements, ideas and progress reports. When needed, you can also link to a task from inside a post.
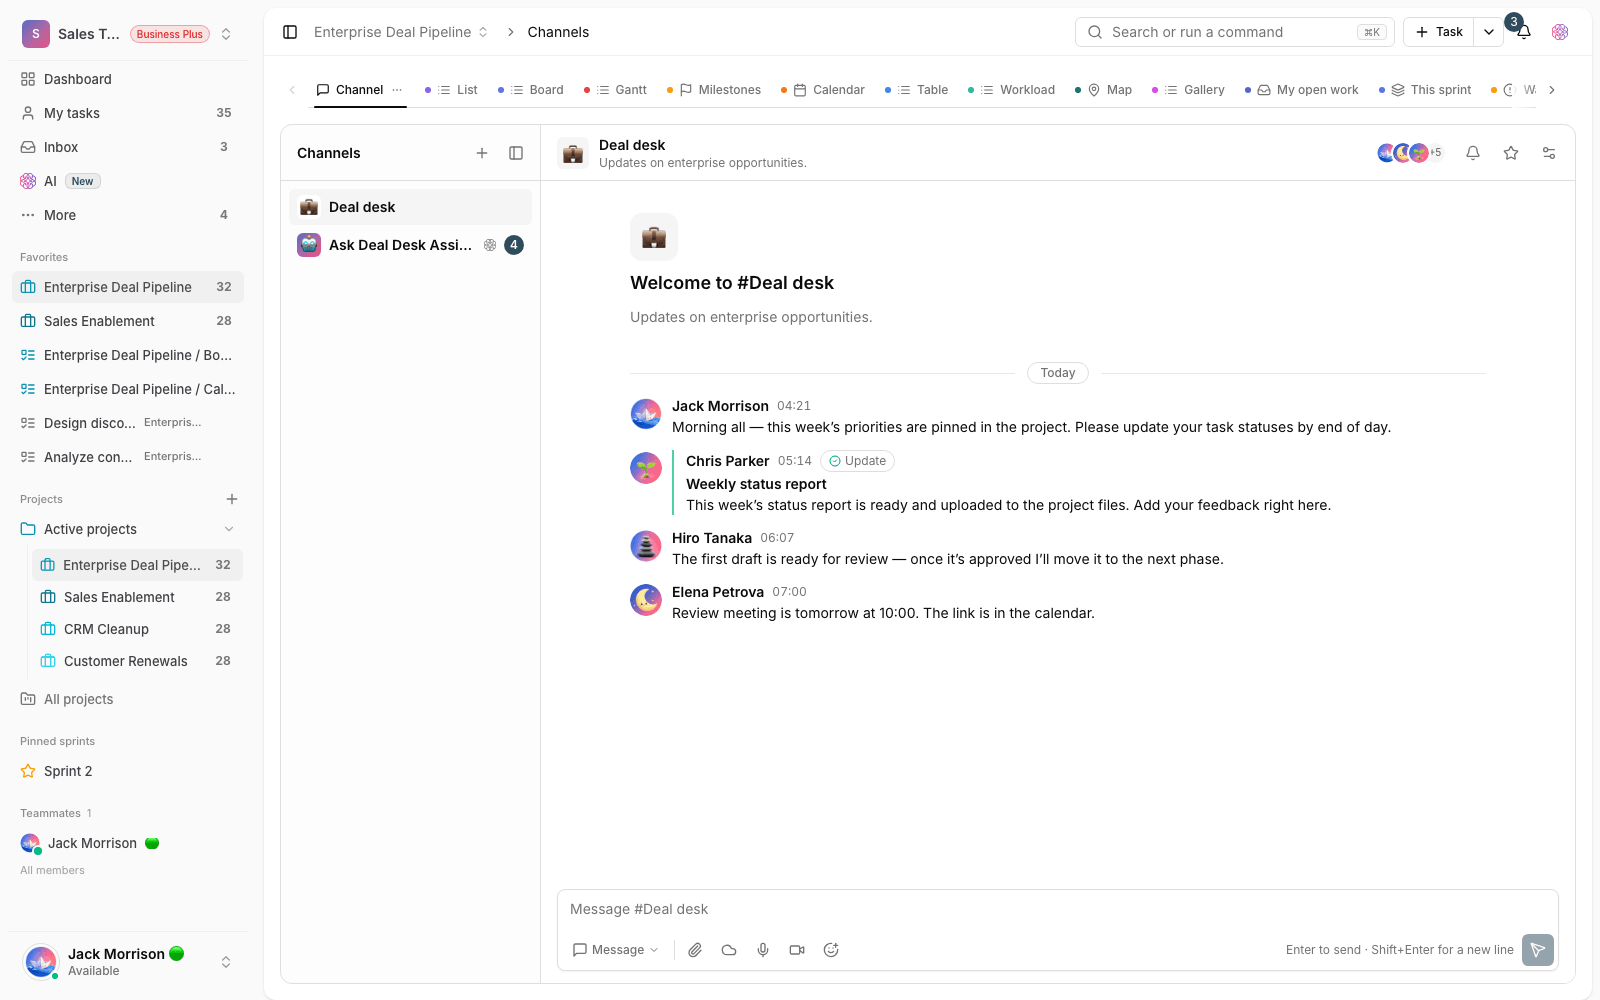
Turn on channels in a project
Channels aren't on by default and are a plan-based feature. They must be available on the workspace plan and then turned on for the project. Managing this feature requires the right access to the project.
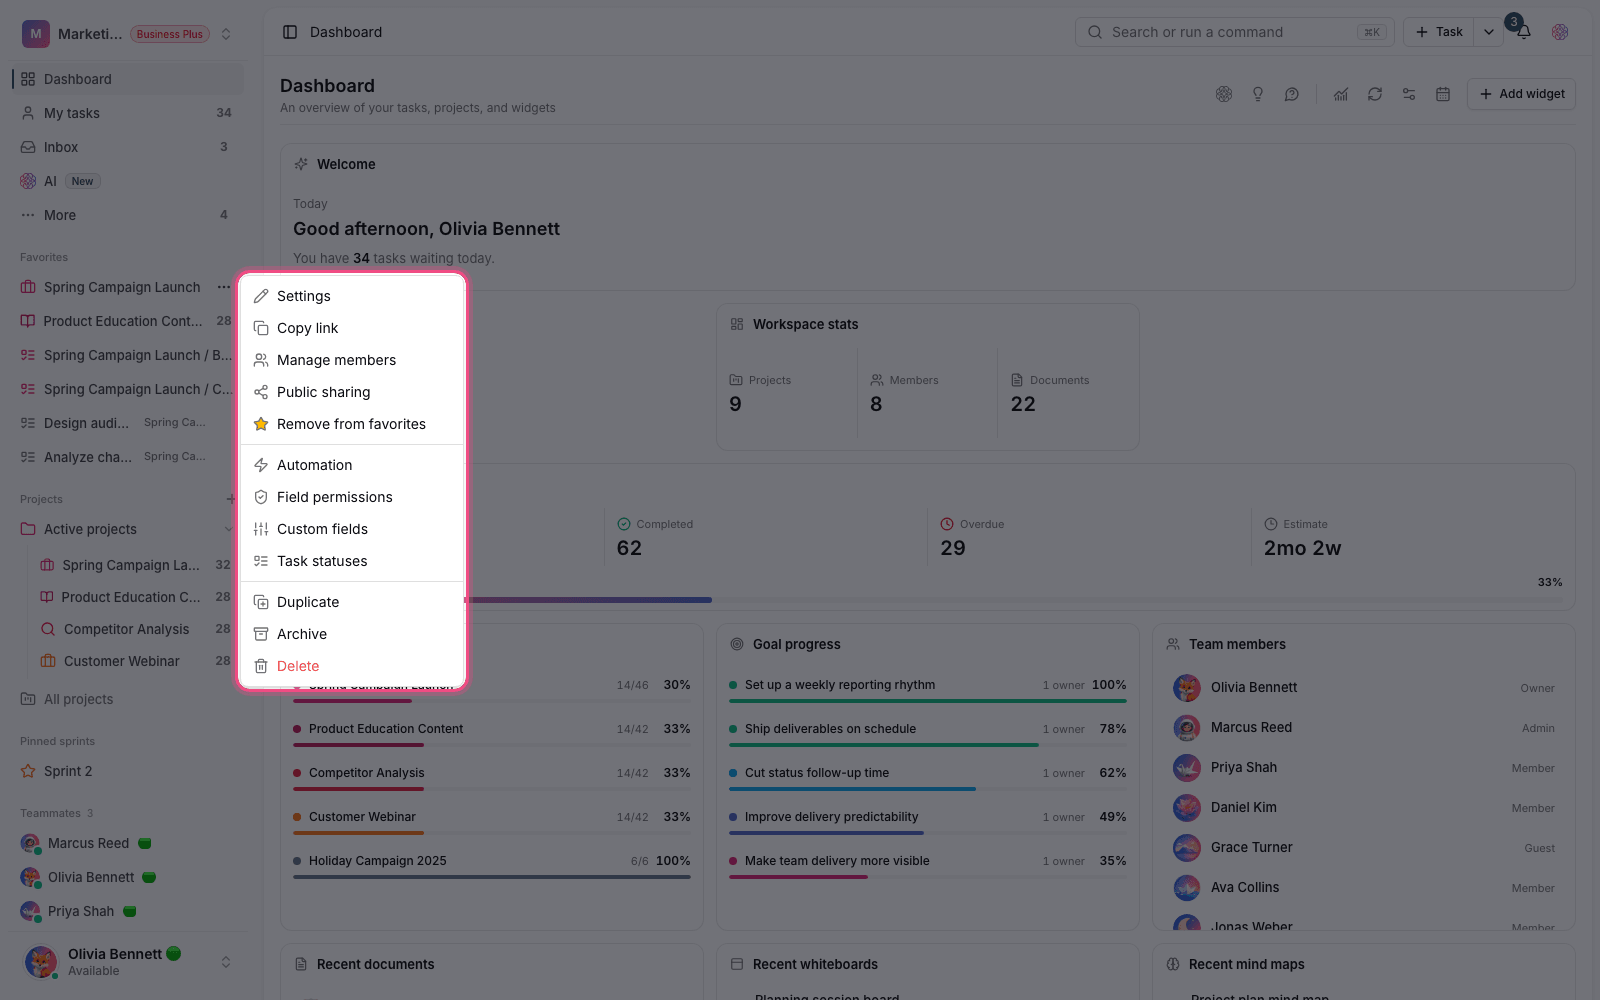
- In the project's views bar, turn on channels for that project.
- Once they're on, a Channel tab is added to the project's views.
- A default general channel is created automatically so the conversation can start right away.
Note: If the workspace's current plan doesn't support channels, an upgrade message appears when you try to turn them on.
Create and set up a channel
Alongside the general channel, you can create other topic channels so conversations stay organized and every discussion has its own place.
- Name and emoji: give each channel a descriptive name and, if you like, an emoji.
- Description and cover image: you can add a short description and a cover image for the channel.
- Public or private: a public channel is available to everyone who can see the project. A private channel is only visible to its selected members and needs at least one valid member.
Post types, mentions and notifications
Each post can have a type that makes its nature clear: Regular message, Idea, Update, Discussion or Announcement. To get a message to a specific person, mention them in the post; they'll get a notification that they were mentioned in the channel. Notifications for thread replies and important posts are supported too, and each user can set their own notification level for every channel so they only see what they need.
Tips and common mistakes
- Don't put every conversation in the general channel. Create separate channels for separate topics so things are easier to find.
- Keep discussions about a specific piece of work under that task, not in the channel.
- For a private channel, make sure to add the members it needs. Without a valid member, a private channel can't be created.
Recommendation: Only use the Announcement post type for important news, so it keeps its weight and members take announcements seriously.
To see how the project's conversations and events are reported side by side, go to Project activity and summary, or if you're just getting started, see Create and structure projects.