
Build a dashboard with widgets
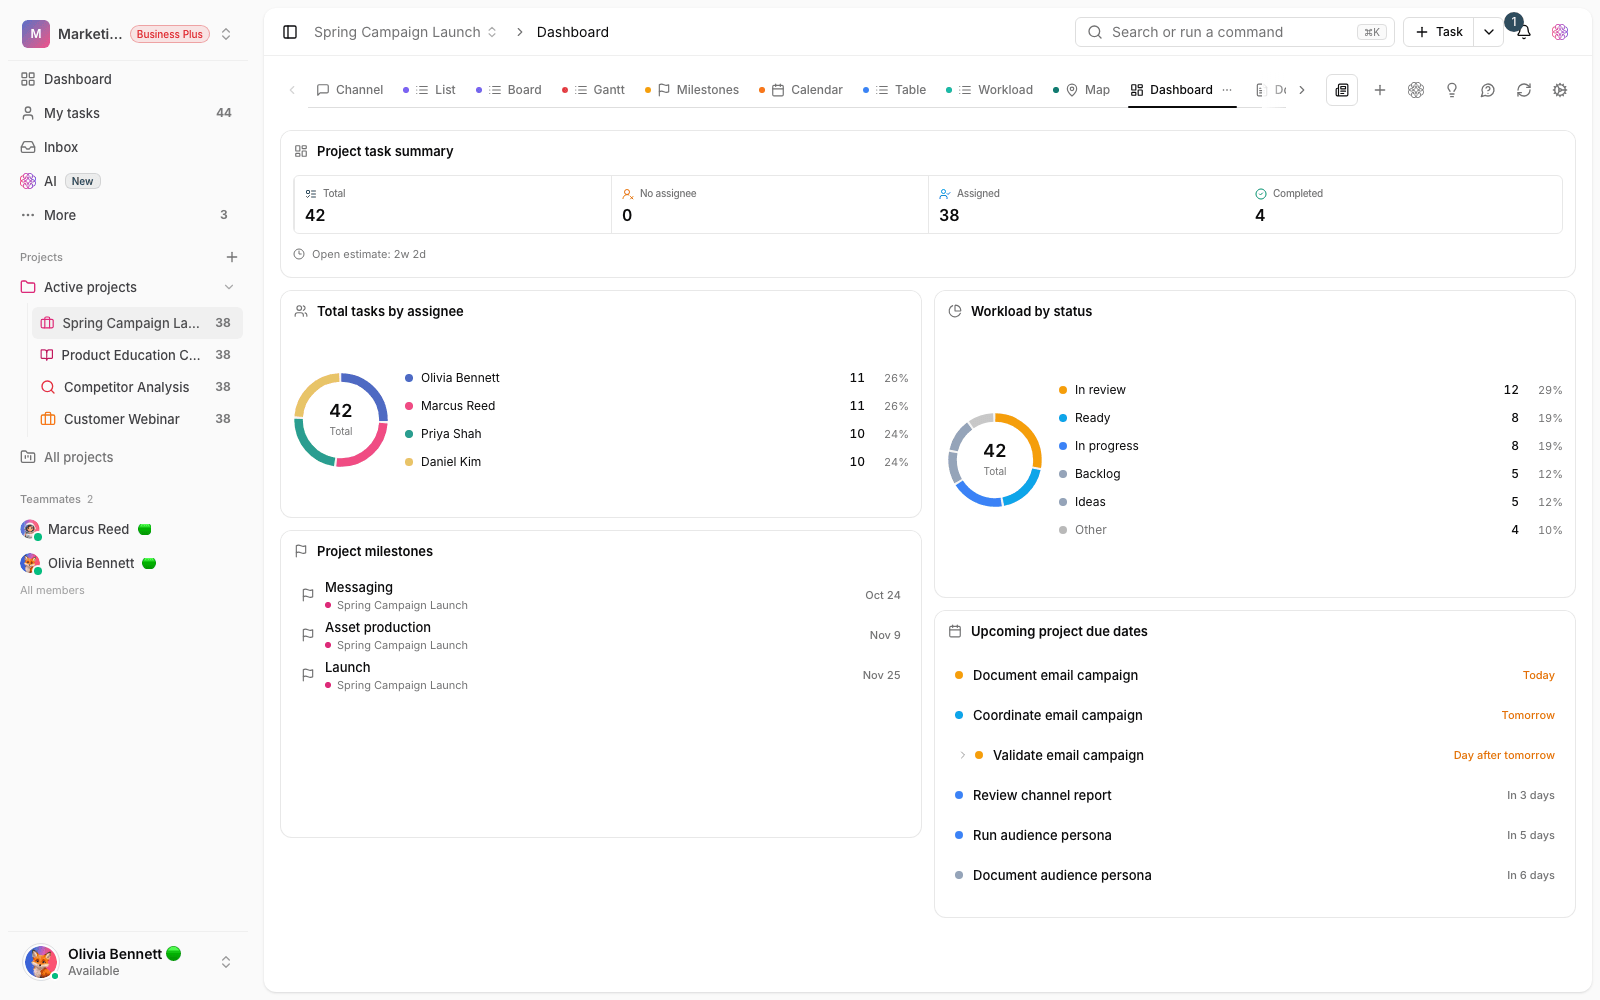
A dashboard with arrangeable widgets shows the state of your tasks, projects and team side by side at a glance.
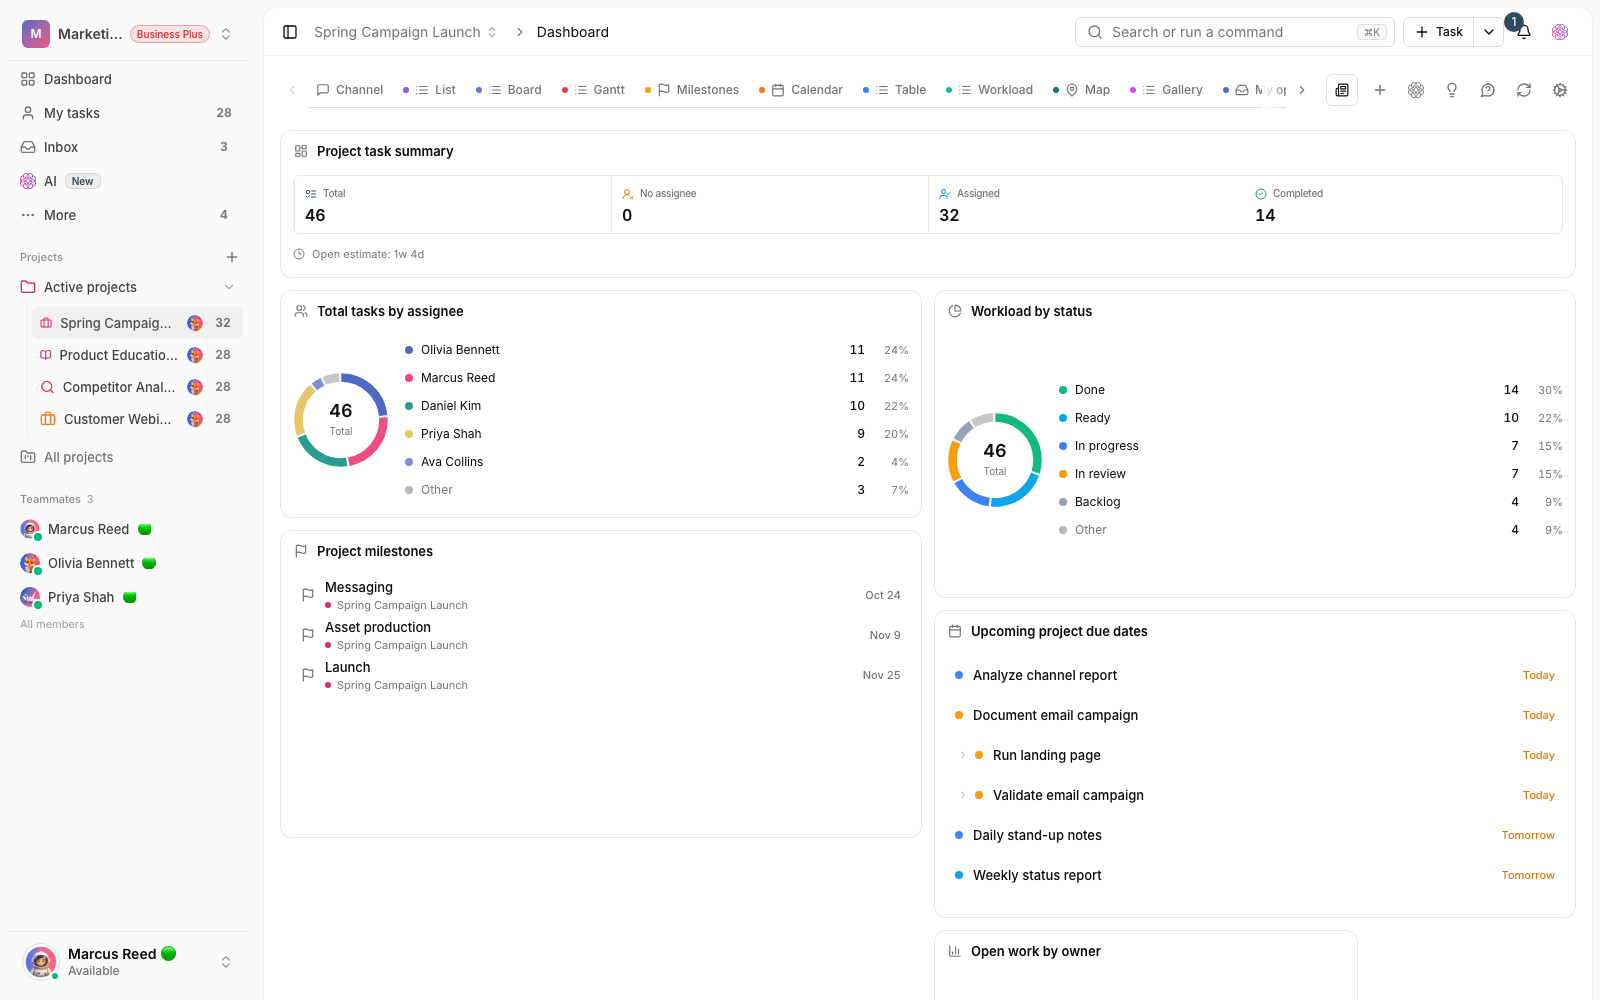
The dashboard is where you see a summary of everything on one page instead of opening each project: today's tasks, upcoming due dates, overdue work, project progress and team activity. Each part of this page is a "widget" — a small card that shows one kind of information — and by arranging these cards side by side you build your own daily operations view.
Taskie has two kinds of dashboards: the main dashboard, which you open from the sidebar and which covers your whole workspace, and the project dashboard, which is added as a tab inside each project and shows only that project. The layout of both is entirely up to you.
Build a dashboard step by step
- Open Dashboard from the sidebar.
- Click Add widget (the plus button) to open the Widget library.
- Pick a widget from the categories and click Add widget to place it on the page.
- In the dashboard settings menu, turn on Edit layout so you can drag widgets and resize them.
- When the layout looks the way you want, click Save layout to keep it.
What do widgets show?
Widgets in the library are grouped by purpose so they're easy to find:
- Tasks: task stats, my tasks, tasks due in the next 14 days and overdue tasks.
- Charts: workload by status, priority breakdown and tasks by assignee.
- Projects and goals: project progress, milestones, recent activity and goal progress.
- Content and tools: recent documents and whiteboards, calendar, quick-add task, notes and bookmarks.
- Workspace and time: workspace stats, team members and a time-tracked summary.
Each widget has a default size and a minimum size, and many of them can be customized from the settings icon on the widget itself. For example, you can choose whether a task list widget shows work from the whole workspace or from just one specific project.
Get started fast with templates
If you don't want to build the dashboard widget by widget, the same library has a Templates tab. Each template is a complete, ready-made layout, labeled with its complexity level — Simple, Balanced, Advanced or Complex — and the plan it requires.
- In the widget library, go to the Templates tab.
- Pick a template that fits your work. You'll see a preview of the layout and the number of widgets.
- Click Apply template. The template's layout replaces the current dashboard, and the previous widgets are removed.
How many widgets you can add and access to the more advanced templates depend on the workspace plan. Locked templates are marked with a badge showing the plan they need.
Tips and common mistakes
- Forgetting to click Save layout after moving widgets. Layout changes don't stick until you save.
- Not noticing that Apply template replaces the current layout rather than adding to it.
- Filling the dashboard with too many widgets. A few key widgets are usually easier to read than a crowded page.
- Not using the project dashboard when you only care about the status of one specific project.
Tip: If the layout gets messed up, Reset dashboard in the dashboard settings menu restores it to the default. You can also use the calendar button to see a calendar view instead of the widgets.
To decide better where the tasks inside widgets come from, see Choose the right view, and to keep track of your own personal work, go to Inbox and My tasks.
For a metric of your own, see Custom widgets, and for a dashboard dedicated to one project, see Project dashboard.