
Smart views and nested filters
A smart view is a filtered view that automatically shows only the tasks that match your conditions and stays up to date.
When a project has a lot of tasks, finding "the few things that matter right now" gets hard. Filters solve this: you set conditions once, and from then on the view shows only the tasks that match them. Because filters apply live, the list updates itself as tasks change status or assignee, so you don't have to search by hand every time.
A smart view is simply a saved, filtered view: you build its conditions once and keep it as a tab. This page shows you how to build filters, nest and group conditions, and turn the result into a permanent view.
Build a filter on a view
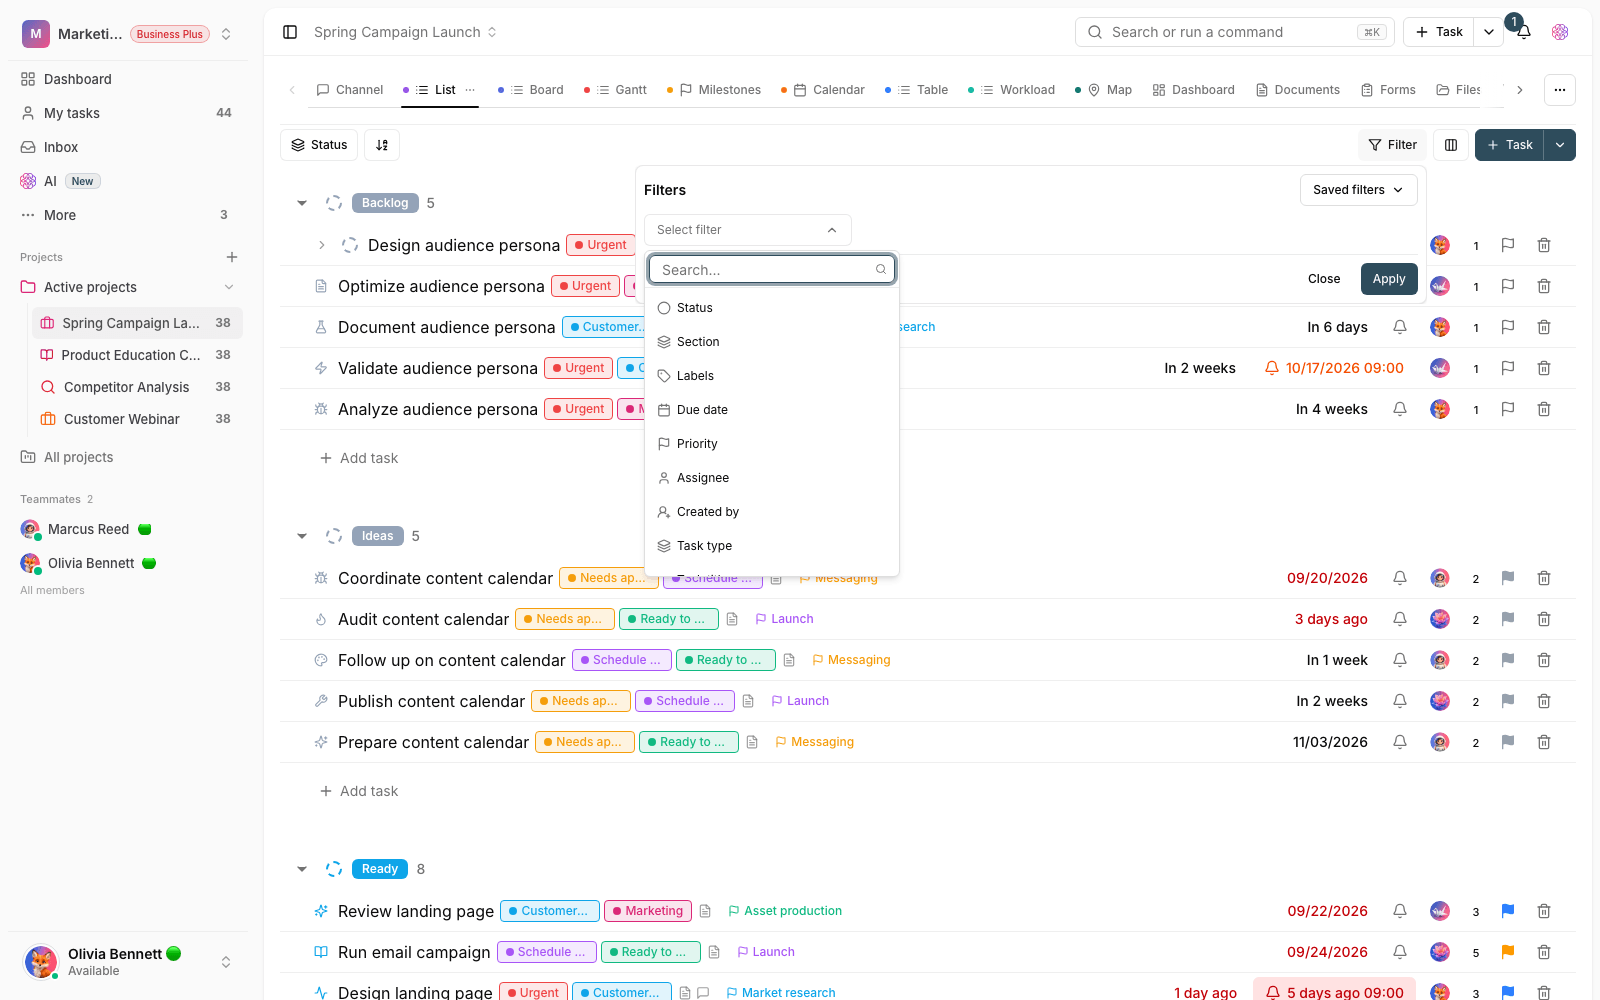
Every task view has a Filters button in its top bar. Click it to open the filter builder, where you can add conditions.
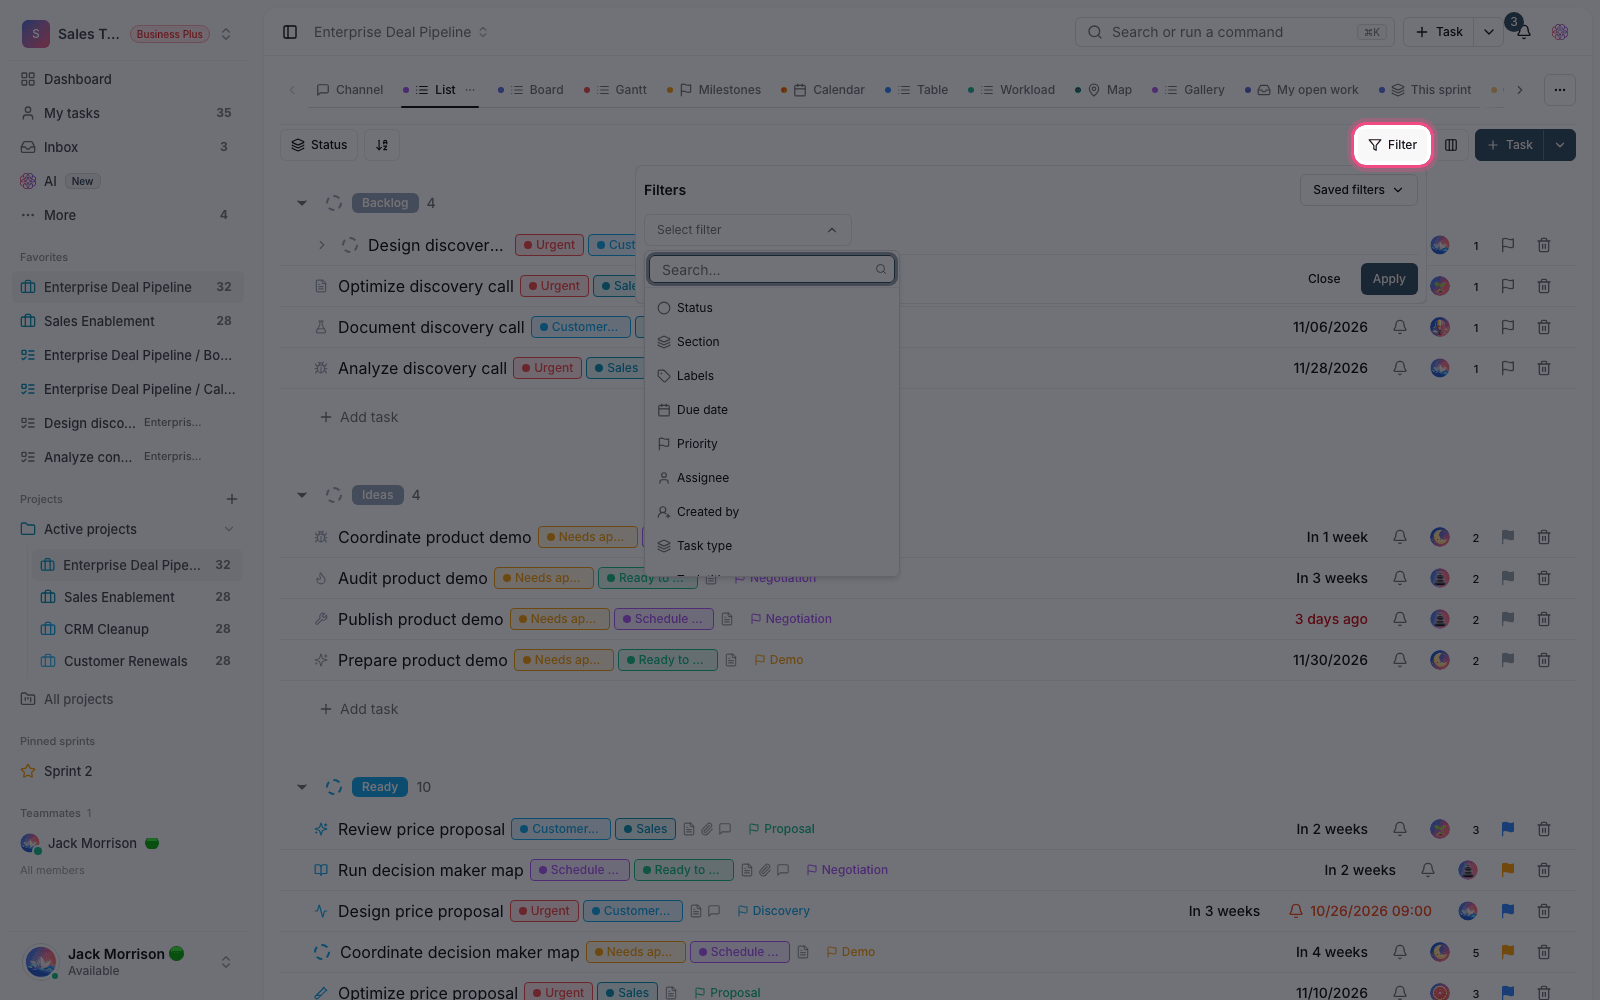
- Open the view you want, such as List or Board, and click Filters.
- Click Add filter to create the first condition.
- For each condition, set three things: a field such as status or assignee, an operator such as is or is not, and finally a value.
- Watch the live "… matching tasks" counter below the filter to see how strict your conditions are.
- The view stays saved with this filter, and every time you open it, it shows the same matching tasks.
Fields and operators
Each condition works on one task field, and the operators available depend on the type of that field.
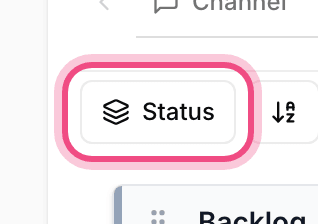
- Common fields: status, assignee, priority, due date, labels and task type.
- Text fields: task title and description, with the contains and doesn't contain operators.
- Time and number fields: duration, time estimate, time tracked and sprint points, with the greater than, less than and equals operators.
- Special fields: dependency, recurring, assigned comment, created by and date created, plus any custom field you've created in the project.
For date fields, instead of entering an exact day, you use ready-made ranges such as Today, This week, Overdue or No date. For assignee there's also a Me option, so the view shows each user their own tasks and you don't need to create a view for every person.
Nested conditions and groups
Conditions are joined with AND or OR logic. AND means every condition must be met, and OR means meeting one is enough. For more complex combinations you can put conditions inside a "group" and nest groups. For example: "priority is high, and at the same time the due date is this week or there's no assignee."
To add a nested layer, use Add nested condition. Keep these limits in mind:
- A view can have at most 10 conditions in total.
- You can nest groups up to 2 levels deep.
- Use Clear all to remove every condition at once and start over.
Example: To build a "My high-pressure tasks" view, add the condition "Assignee is Me", and then, in a second group with OR logic, add two conditions: "Priority is Urgent" and "Due date is Overdue".
Common mistakes
- Using OR without grouping. This often gives you broader results than you want.
- Making conditions so strict that the view ends up empty. Keep an eye on the live counter.
- Forgetting to turn on "Show closed tasks" when you expect completed tasks to appear too.
- Picking a fixed assignee instead of the Me option when you want the view to stay personal for each member.
If you don't want to build filters from scratch, the starter view pack creates several ready-made filtered views. To pick the best layout for showing these tasks, see Choose the right view.
For workspace-level filters and saving filter combinations, read Workspace views and saved filters.