
Choose the right view
Views are different ways of looking at a project's tasks. This guide helps you pick the right view for each job.
Every project in Taskie has one fixed set of tasks, but how you look at those tasks is entirely up to you. A "view" is the window you look at the work through. The right view makes the state of the work clear in seconds; the wrong one makes the same information confusing. That's why, before anything else, you should know which view gives you the most clarity for the job at hand.
In Taskie you can keep several views side by side as tabs in a project, and each team member can also create their own views. All views are available from the Add view button in the project's top bar, and they fall into two groups: Task views, which show the same tasks in different layouts, and One-time views, which can be added to a project only once.
Task views: one set of data, many angles
These views all work on the same project tasks and only change how they're displayed. Which one you pick depends on the kind of work you do:
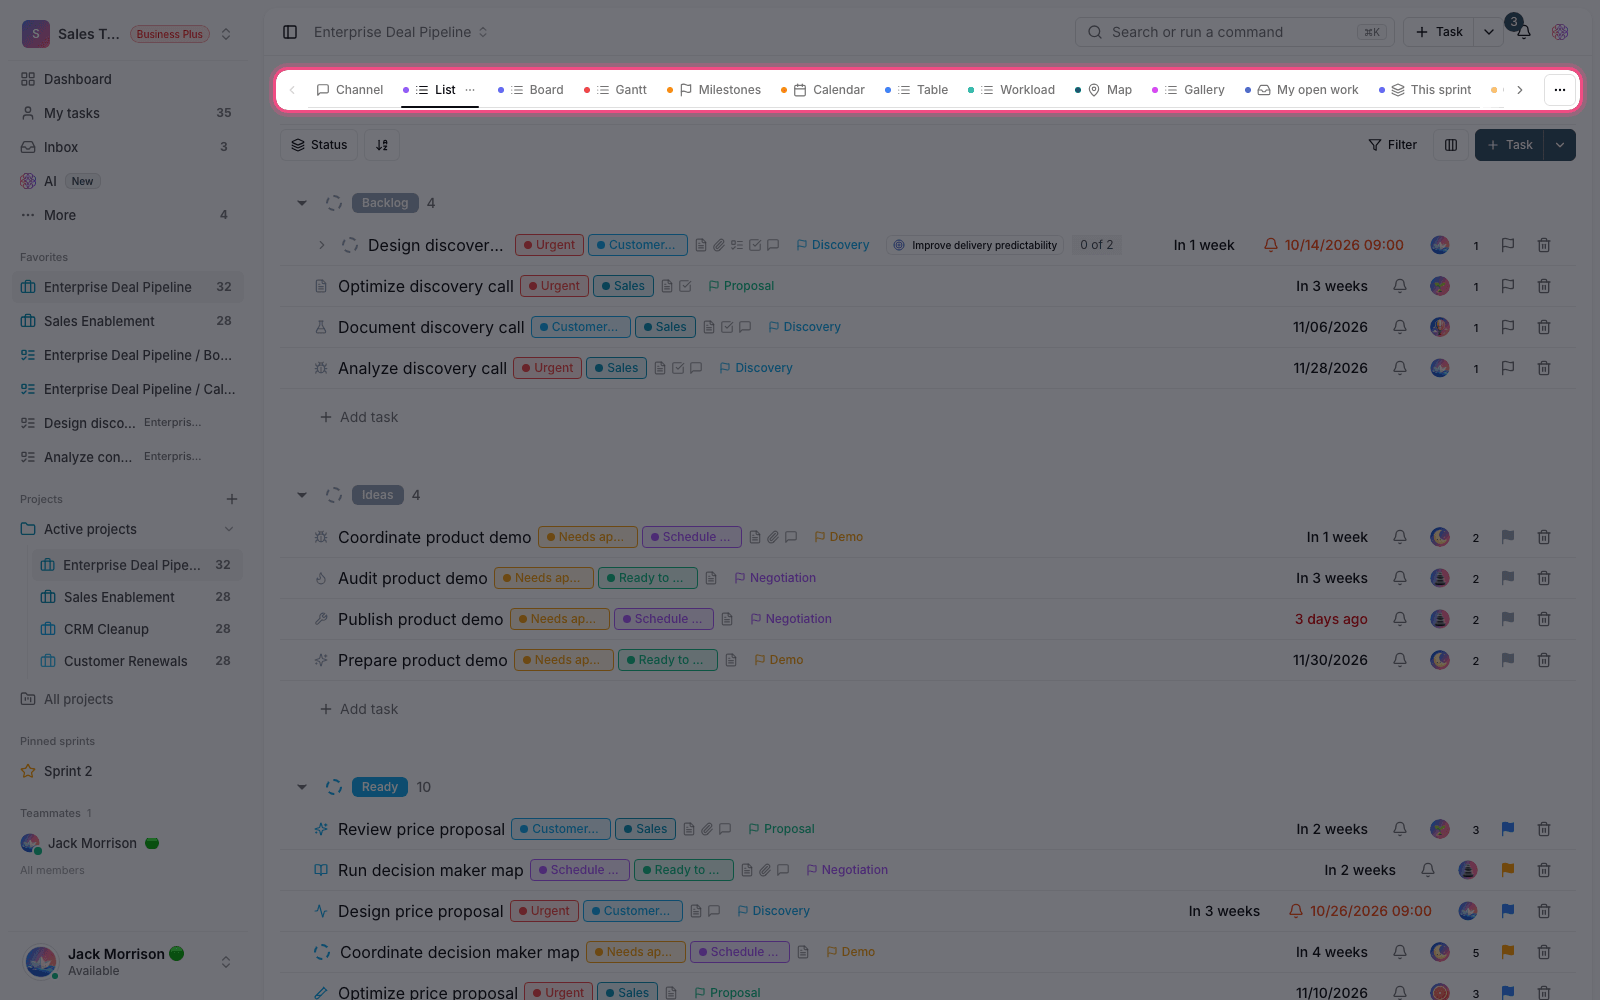
- List: shows tasks as simple rows you can group. The best choice for day-to-day work, quick reviews and adding tasks one after another.
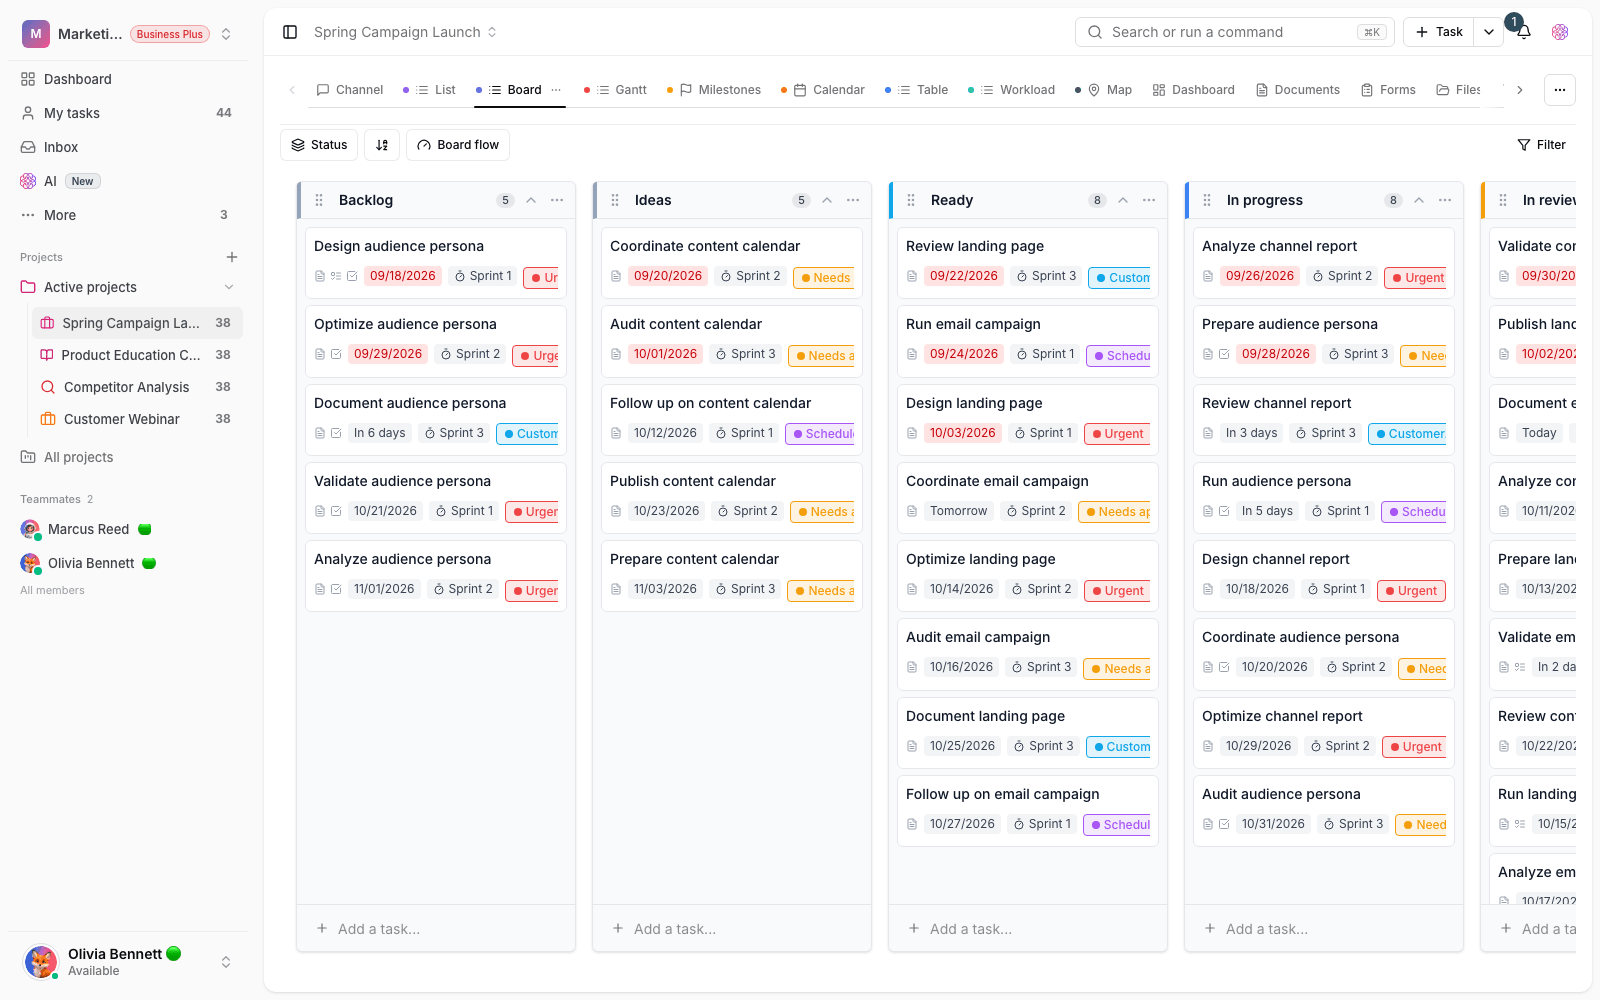
- Board: lays tasks out as cards in columns, and you change a task's status by dragging its card between columns. Good for stage-based workflows, with work-in-progress limits and swimlanes.
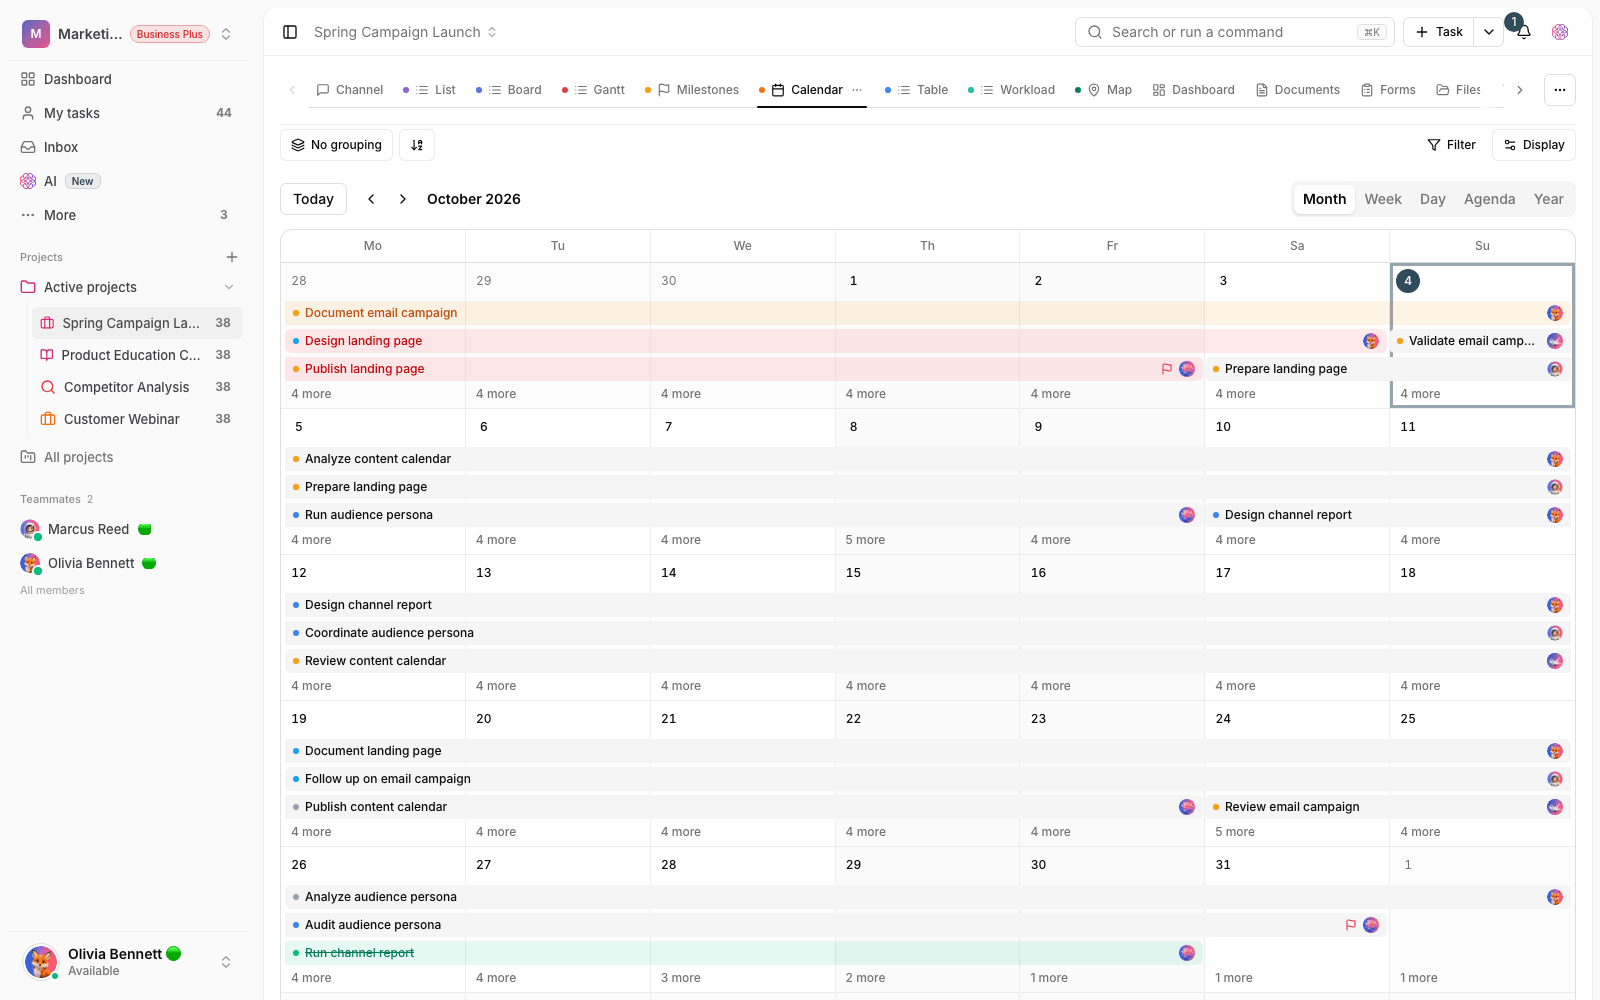
- Calendar: places tasks on a calendar by due date. Use it to see time pressure and spread work across the week and month.
- Gantt: shows tasks on a timeline along with their dependencies. For scheduled projects where the order and overlap of tasks matter.
- Table: shows tasks like a spreadsheet, with configurable columns and custom fields. Good for data-driven work and bulk editing.
- Gallery: shows tasks as visual cards with a cover or image attachment. For visual work such as design and content.
- Milestones: lists the project's key checkpoints with each one's target date and progress.
- Team workload: shows how work is distributed across members over time.
- Map: shows tasks on a map based on a location field. For field work spread across different places. It requires the project to have a location field.
- Embed: instead of tasks, opens an external link inside a project tab. Use it to bring an outside dashboard or report next to the team's work.
On top of these, the Milestones view tracks progress against the project's key checkpoints, and the Team workload view shows how work is distributed across members over time — two useful views for planning and balancing work.
How do I add a view?
- In the project's top bar, click Add view to open the full list of views.
- Pick the type you want from Task views — for example List, Board or Calendar.
- The view is created right away as a new tab and opens. You can change its name, icon and color.
- If you want the view to be just for you, make it private. Otherwise it's shown to the whole team.
- If needed, create several views for one project so each purpose — execution, planning and reporting — has its own view.
One-time views and non-task tabs
The second group is One-time views. Each one can be added to a project only once, and instead of a task list it opens a different workspace: the project's widget dashboard, documents, files, chat channel, activity, whiteboard, mind map, sprints, forms and timesheet. They complement the task views and you turn them on based on what the project needs.
Set up a view for the work you're doing
Every task view has a bar above the list where you can set Group by to status, assignee, priority, due date or task type, change the Sort, apply Filters, and show or hide closed tasks. These settings let one view type serve several purposes. For example, a board grouped by assignee gives a completely different picture from the same board grouped by status.
Common mistakes when choosing a view
- Creating duplicate views instead of changing the grouping or filter of an existing one.
- Forcing one view on everyone. It's better for each role — manager, contributor and reviewer — to have a view that suits them.
- Choosing the Map view without setting up its prerequisite: a location field in the project.
- Ignoring plan locks. Some views are locked depending on the workspace plan, and a badge next to them shows the plan they need.
Tip: A view only changes how things are displayed; it doesn't change the project's data. Feel free to create and try out different views — switching views never deletes or moves a task.
To narrow each view down to the relevant tasks, see smart views and nested filters. If you want a quick start, the starter view pack creates several popular views for you at once.
Guides for each view
This page is only about choosing. To work with a specific view, read its own guide:
- Board view: Kanban, column limits and swimlanes.
- Gantt view: zoom, dependencies and scheduling on a timeline.
- Baselines: compare the current schedule with the original plan.
- Calendar view: five display modes and drag-and-drop planning.
- Gallery and table views: visual cards and a column-based table.
- Task sections: organize tasks under headings of your choice.
- Milestones: the project's key checkpoints and each one's progress.
- All tasks page: the same views across the whole workspace.