
Create and edit documents
Learn how to create documents in Taskie, work with the editor, media and blocks, and keep your team's knowledge in one lasting place.
Much of any team's knowledge lives in scattered conversations, messages and a few people's heads, and it slowly gets lost. Documents in Taskie are where you make that knowledge last: key decisions, meeting minutes, process guides, release plans and anything else that should stay clear for the whole team in one place. Unlike a task, which is short-lived and gets closed, a document grows over time and becomes the team's permanent reference.
The Taskie document editor works like a smart notebook: content is saved as you type, and you can combine text, headings, lists, tables, images and all kinds of blocks. In this guide you'll see where to create a document, how to use the editor and the command menu, how to add media and attachments, and how to use documents to record your team's decisions and knowledge.
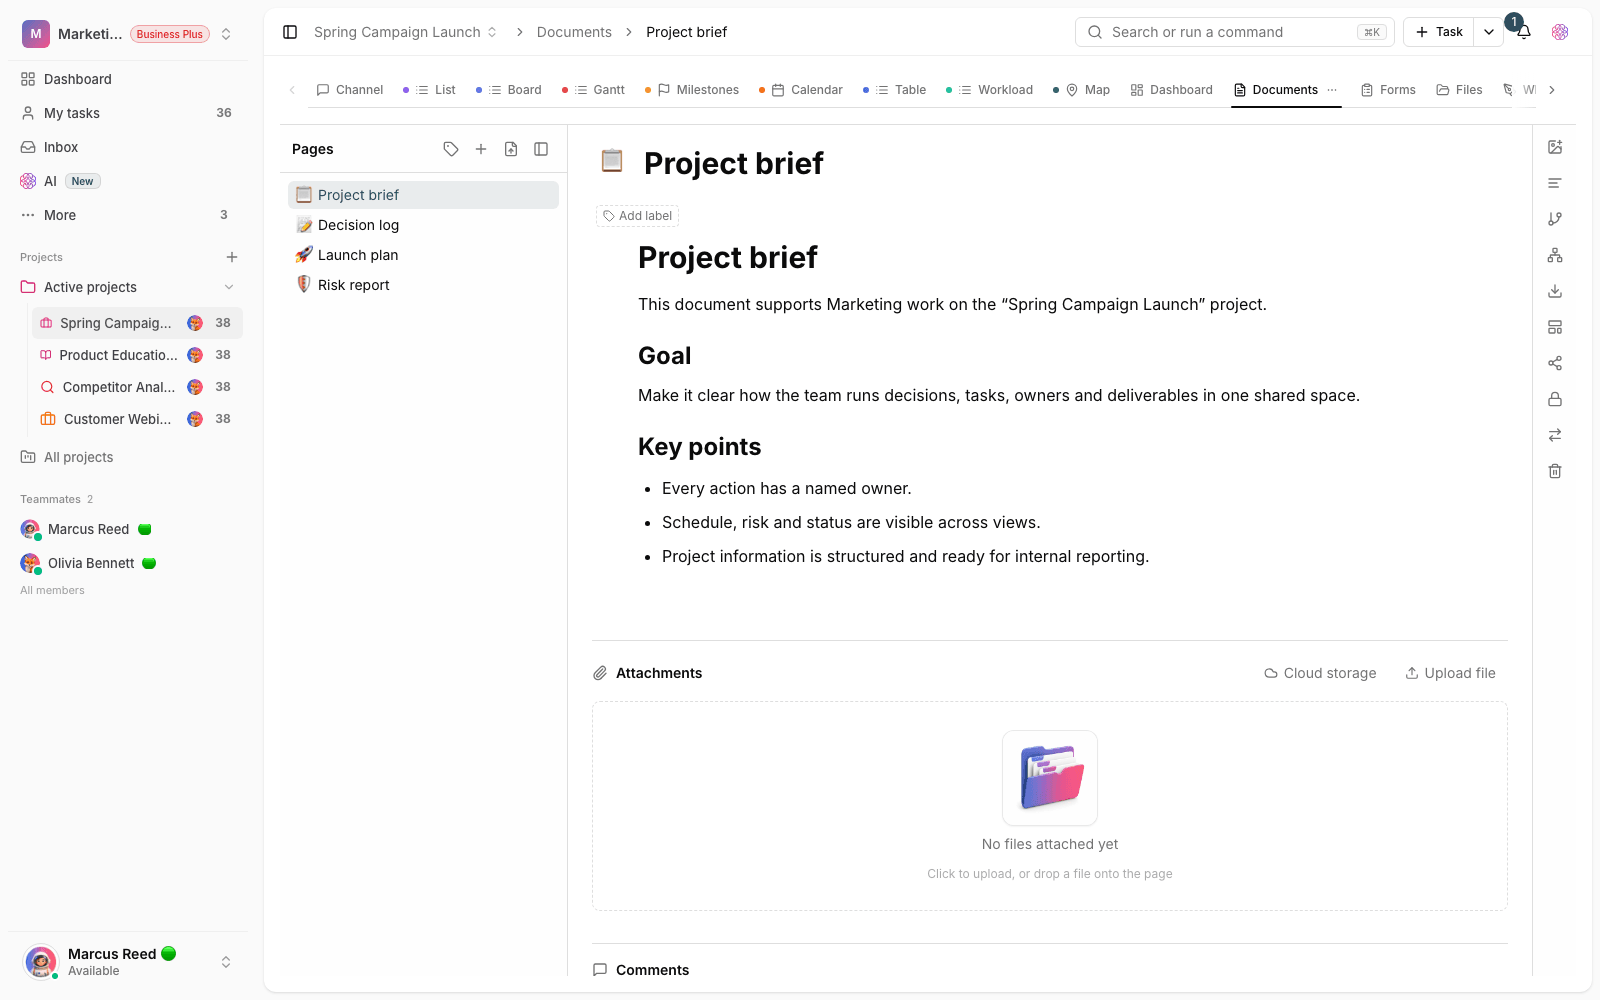
What are documents in Taskie for?
Documents are for lasting content that people come back to, not day-to-day tasks. Whenever you write something that will be read again later or serve as a reference for decisions, it belongs in a document. Common examples:
- Decisions and meeting minutes: record what was decided, why and by whom.
- Process guides and onboarding: the team's workflows that new members need to know.
- Project briefs and specs: define the scope, goals and expected outcome of a piece of work.
- Lasting team knowledge: tips, standards and answers to recurring questions that shouldn't have to be asked again every time.
Create a new document
Your workspace documents are kept in the Documents section, and you can organize them in folders. To create a new document, follow these steps:
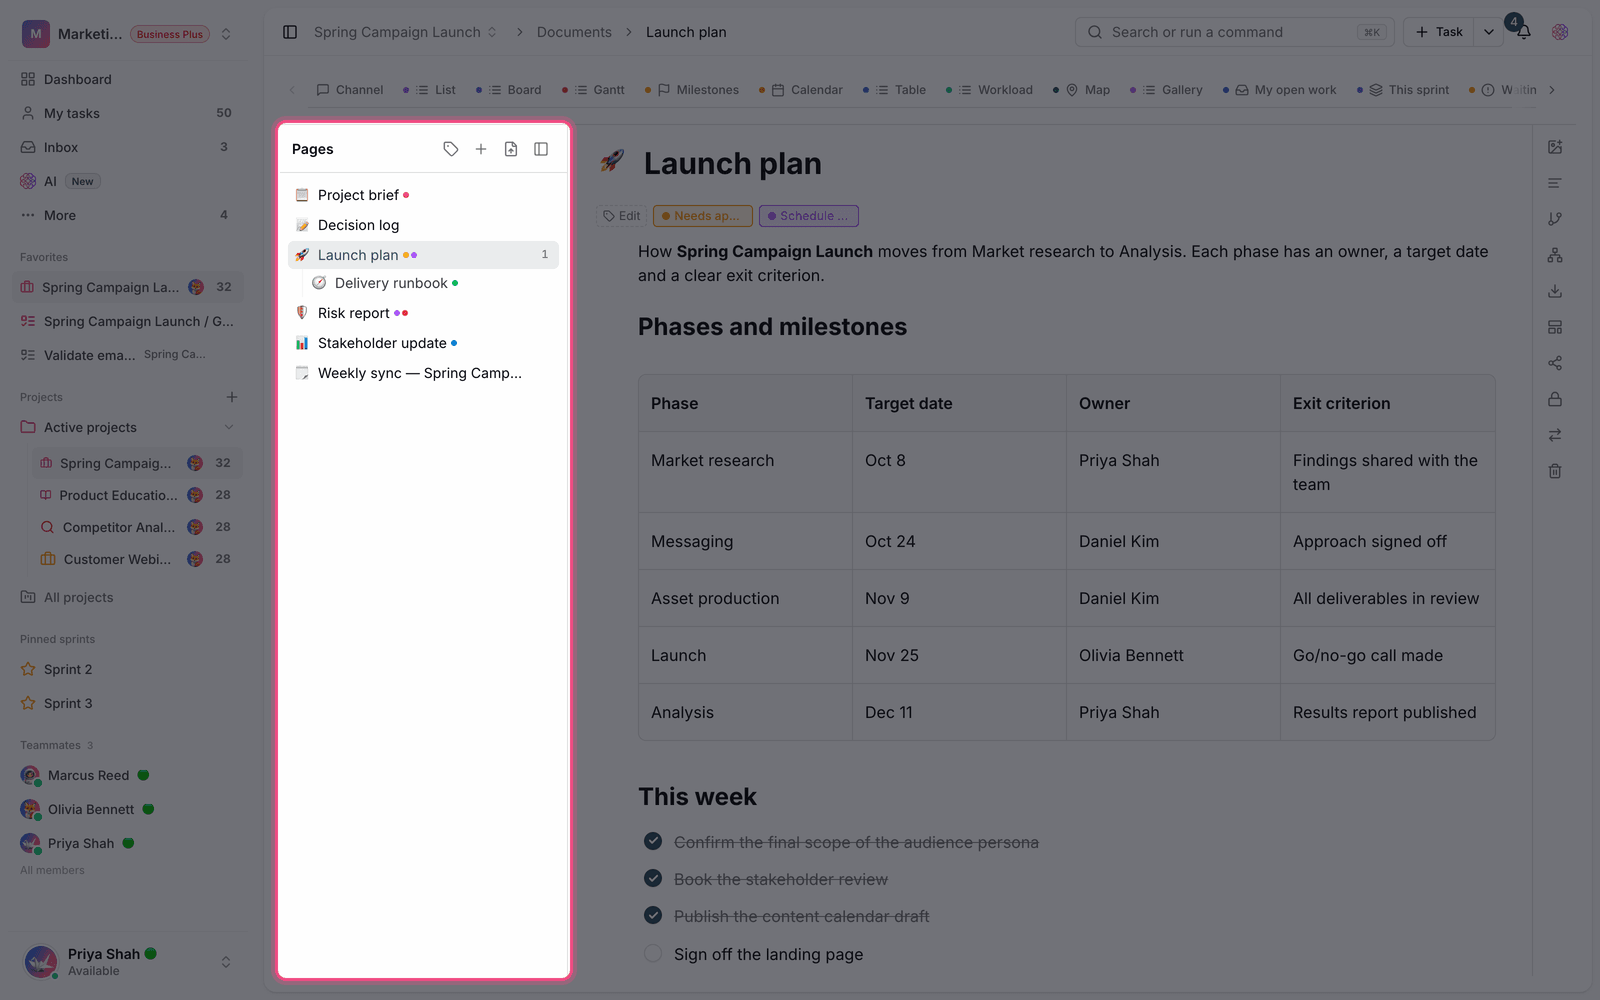
- Open the Documents section from the sidebar.
- Click New page to create a blank document.
- Give the page a title. Until you do, it's shown as Untitled.
- If you like, choose an icon (emoji) for the page so it's quicker to find in the page list.
- Now start writing in the body. Every change you make is saved automatically.
If you'd rather start from a ready-made structure, you can use a template instead of a blank page. Templates fill the page with starting content, headings and sections, so you don't have to write from scratch every time.
Use the editor and add content
To write, just type. Whenever you need something beyond plain text, type / to open the command menu and pick the block you want. Blocks are grouped into these categories:
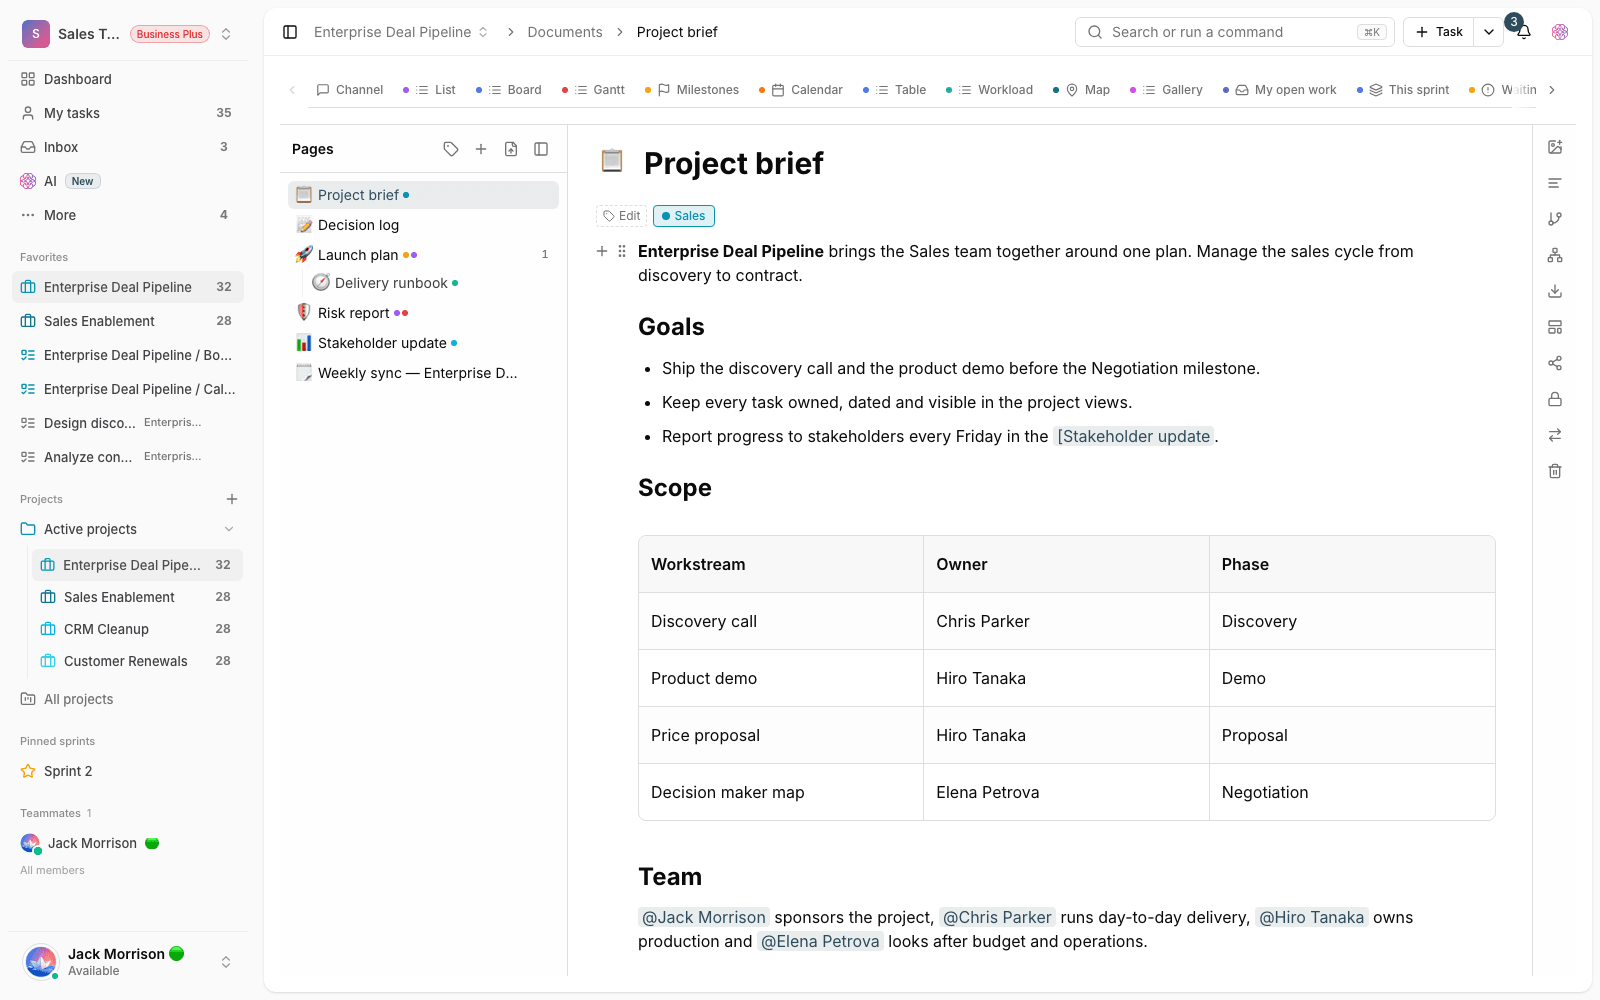
- Text and formatting: headings, lists, quotes, dividers and tables.
- Media: add images to the body of the document.
- Blocks: more advanced structural blocks for laying out content.
- Task actions: blocks that link the document to work.
- AI: get help from the AI assistant to write or rewrite text.
Besides text, you can also attach files to a document so related files stay next to the content. To mention team members, type @; the person you mention gets a notification. You can also comment on a document, so feedback and discussion about the content stay on the same page.
Link to other pages
To reference another document, type [ in the editor and choose the page from the list. This creates a live link and is the basis of backlinks and the knowledge graph, which are explained on a separate page.
Set the page's appearance and layout
Each page has a few appearance settings that make it easier to read. These settings don't affect your content; they only change how it's displayed:
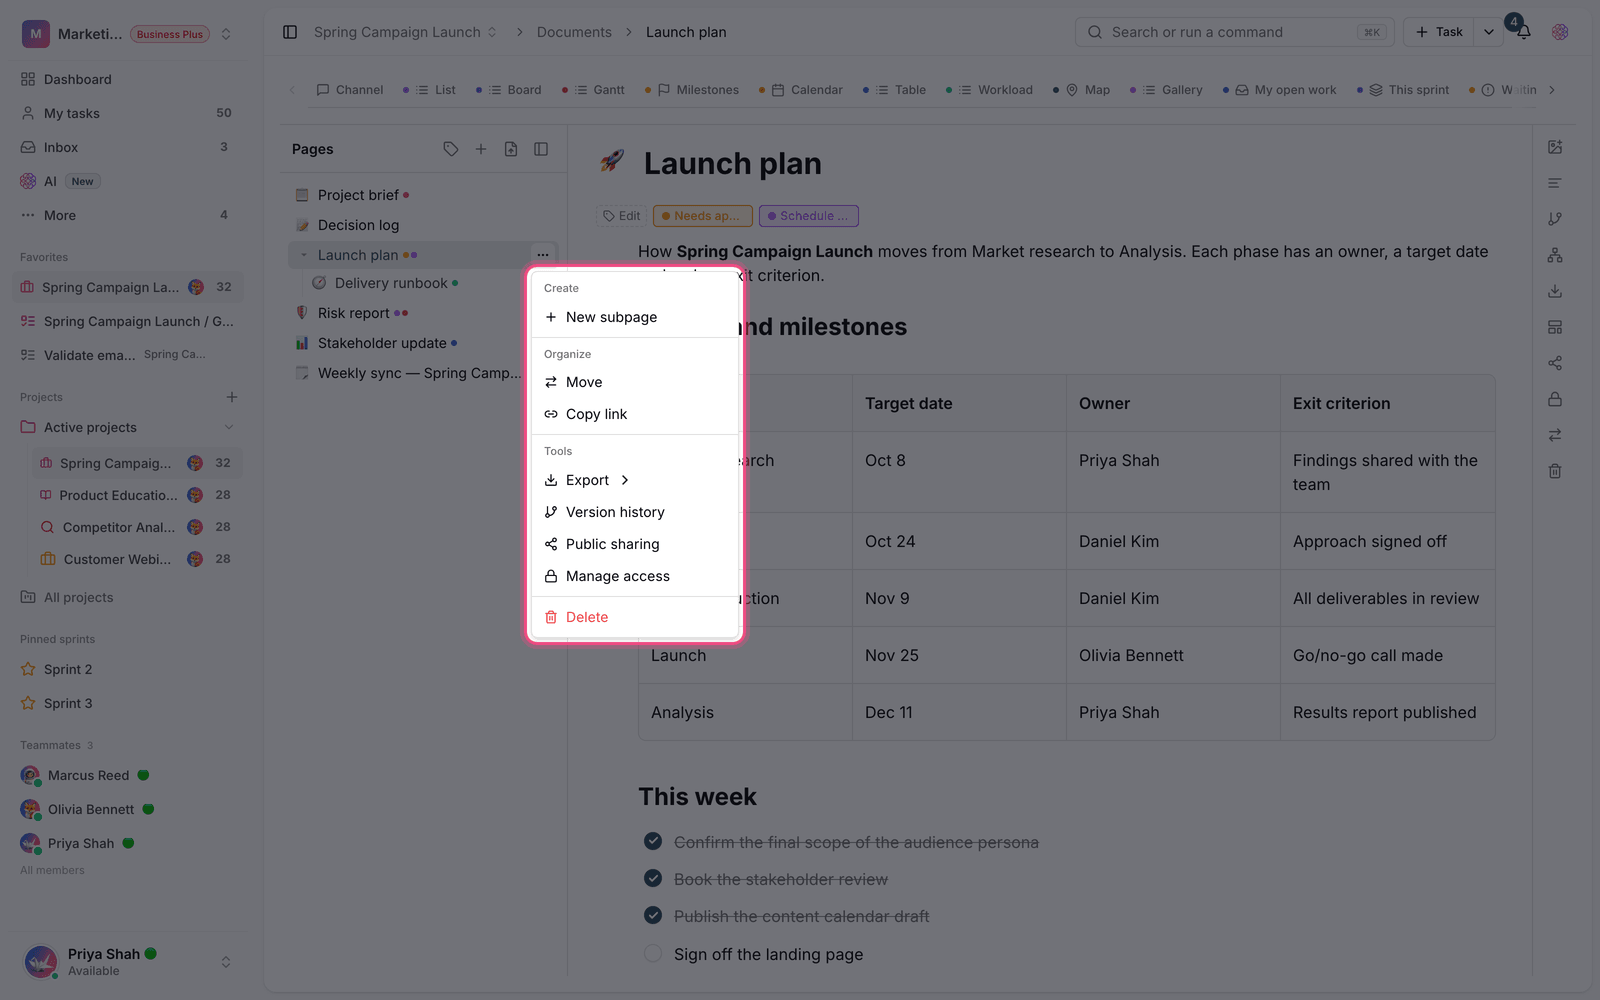
- Cover image: use Change image to add a cover to the top of the document.
- Font and text size: change the font and its size for better readability.
- Page width: show the content in a compact or full-width layout.
- Text direction: choose right-to-left for content in right-to-left languages, or left-to-right for English and other left-to-right languages.
Autosave and lasting knowledge
There's no save button to worry about: every change is kept right away, and Taskie automatically creates backup versions as the document changes, so you can go back to an earlier state if you need to. You can arrange pages in a tree with subpages, breaking a large document into smaller sections that are easy to navigate.
Tip: Some advanced document features depend on the workspace plan. For example, automatically extracting tasks from meeting minutes with AI is available on higher plans. Creating, editing and maintaining documents for your team's everyday work is always available.
Common mistakes
- Don't write everything inside tasks. Lasting reference content belongs in a document, not in the description of short-lived work.
- Don't wait for a save button. Saving is automatic, and the lack of a button doesn't mean your change is lost.
- Don't let a single document grow too large. Use subpages to split up the content instead.
Next step: to organize pages and control who can access them, see Document pages, moving pages and page access, and to build a network of related documents, read Backlinks and the knowledge graph.
To bring in existing files and export documents, see Import and export documents, and to add boards and diagrams, see Embed boards and diagrams in documents.