
Invite members and manage team capacity
Learn how to invite members by email or mobile number, how team capacity depends on your plan, and how to manage members.
A workspace becomes a team the moment you invite your first member. Taskie keeps member management simple: you can invite people by email or mobile number, choose each person's role and change your team's makeup at any time. At the same time, the number of members you can add is tied to the workspace subscription, and understanding that relationship saves you surprises as your team grows.
On this page you'll see how to invite a new member, how an invitation is accepted, how member capacity is calculated, and how to remove a member or leave a workspace yourself. Member management is handled by the workspace owner and admins.
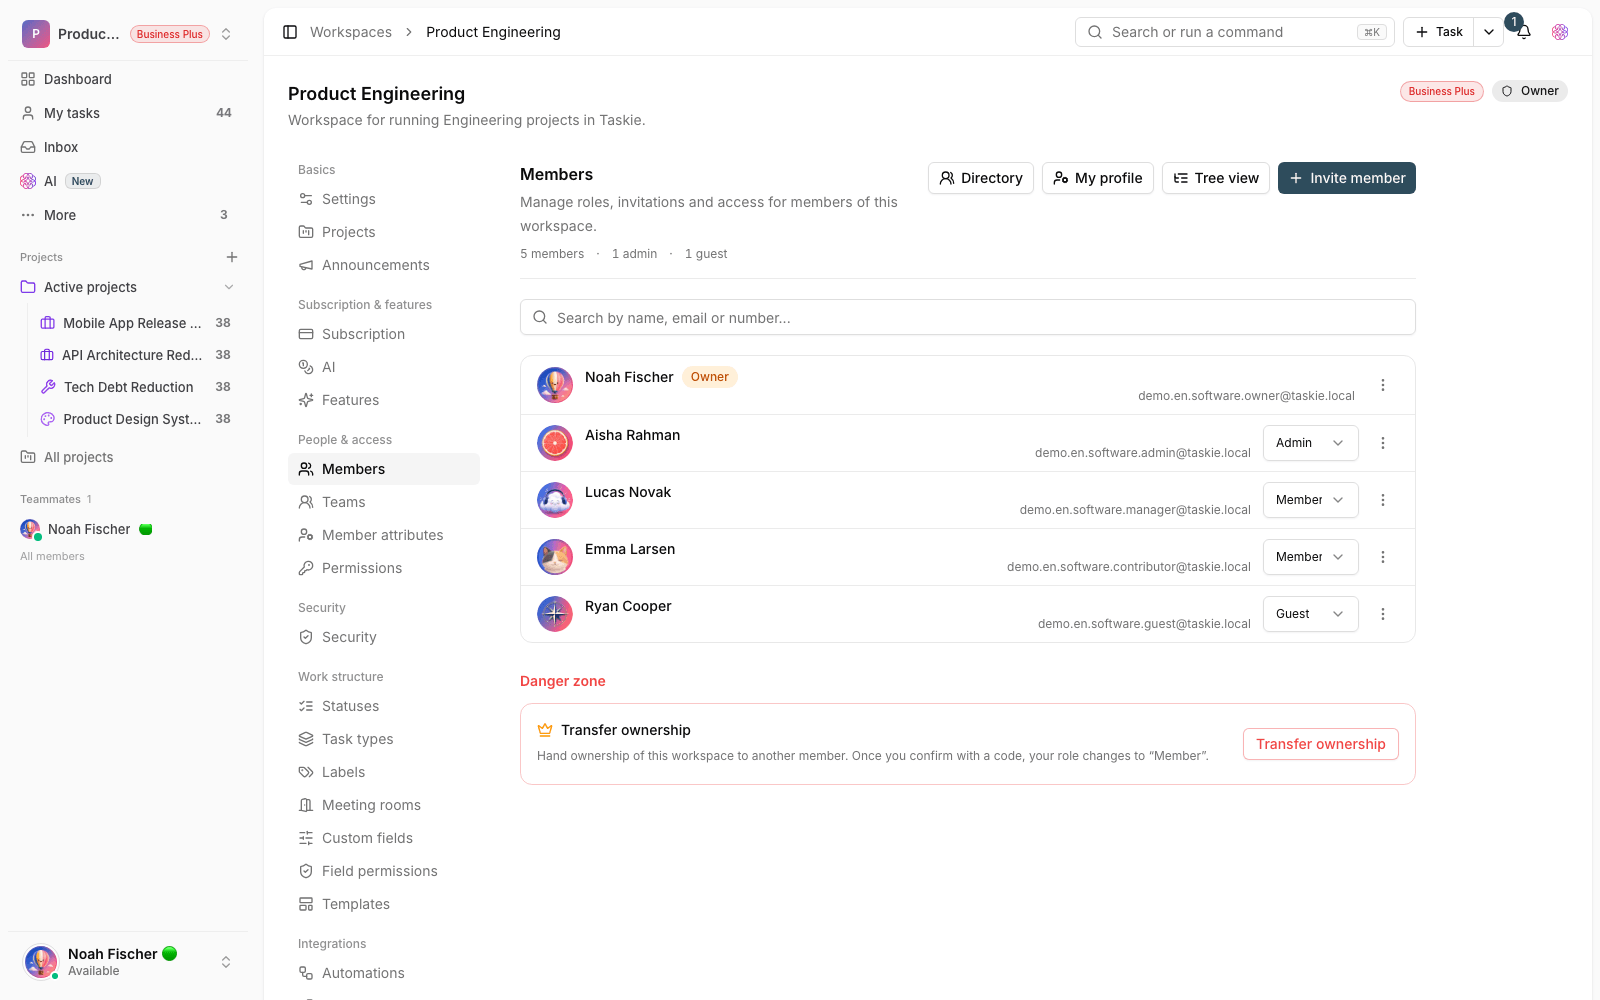
Ways to invite a new member
To add someone, just enter their contact details. Taskie accepts both email addresses and mobile numbers, and if the person doesn't have an account yet, it guides them through creating one when they accept the invitation. When you invite someone, you also choose a role for them (admin, member or guest), which sets their access level.
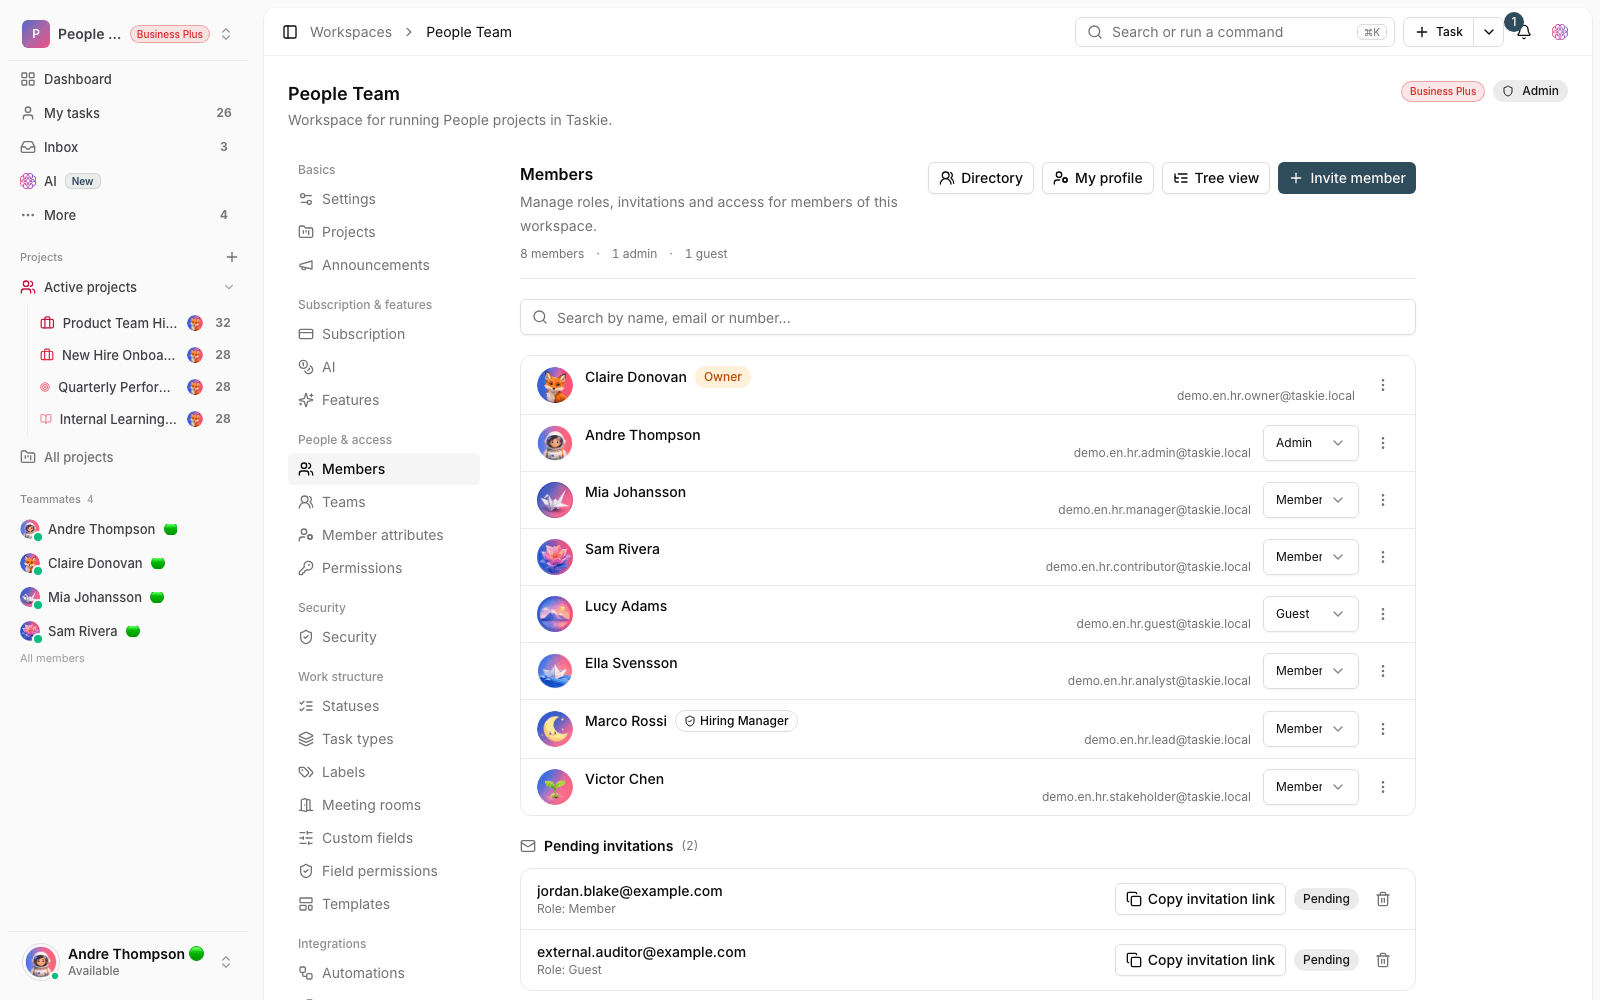
- Open the workspace and choose the option to invite a member from the members section.
- Enter the person's email address or mobile number.
- Choose the right role. For read-only access, pick the guest role.
- Send the invitation to create a personal invitation link for that person.
- Track pending invitations in the same member list and cancel them if you need to.
Each invitation creates a personal link. The person joins the workspace by opening the link and signing in or signing up. Until a pending invitation is accepted or expires, it holds one spot of your team's capacity so the limit isn't exceeded by mistake.
Accepting an invitation and joining
When the invited person opens the link and signs in, their membership is created and the acceptance date is saved. From then on, they can access the workspace and the projects they're allowed to see, based on the role you gave them. If you invited the member with access limited to specific views, those same restrictions are applied to their membership when they accept.
Member capacity and how it relates to your plan
Every workspace has two member limits. The first is the number of editable seats you buy with your plan. The owner, admin and member roles each take up one editable seat. The second is the total member limit, which is three times the number of seats. Guests don't use editable seats and only count toward the total limit, so you can add up to three guests for every seat.
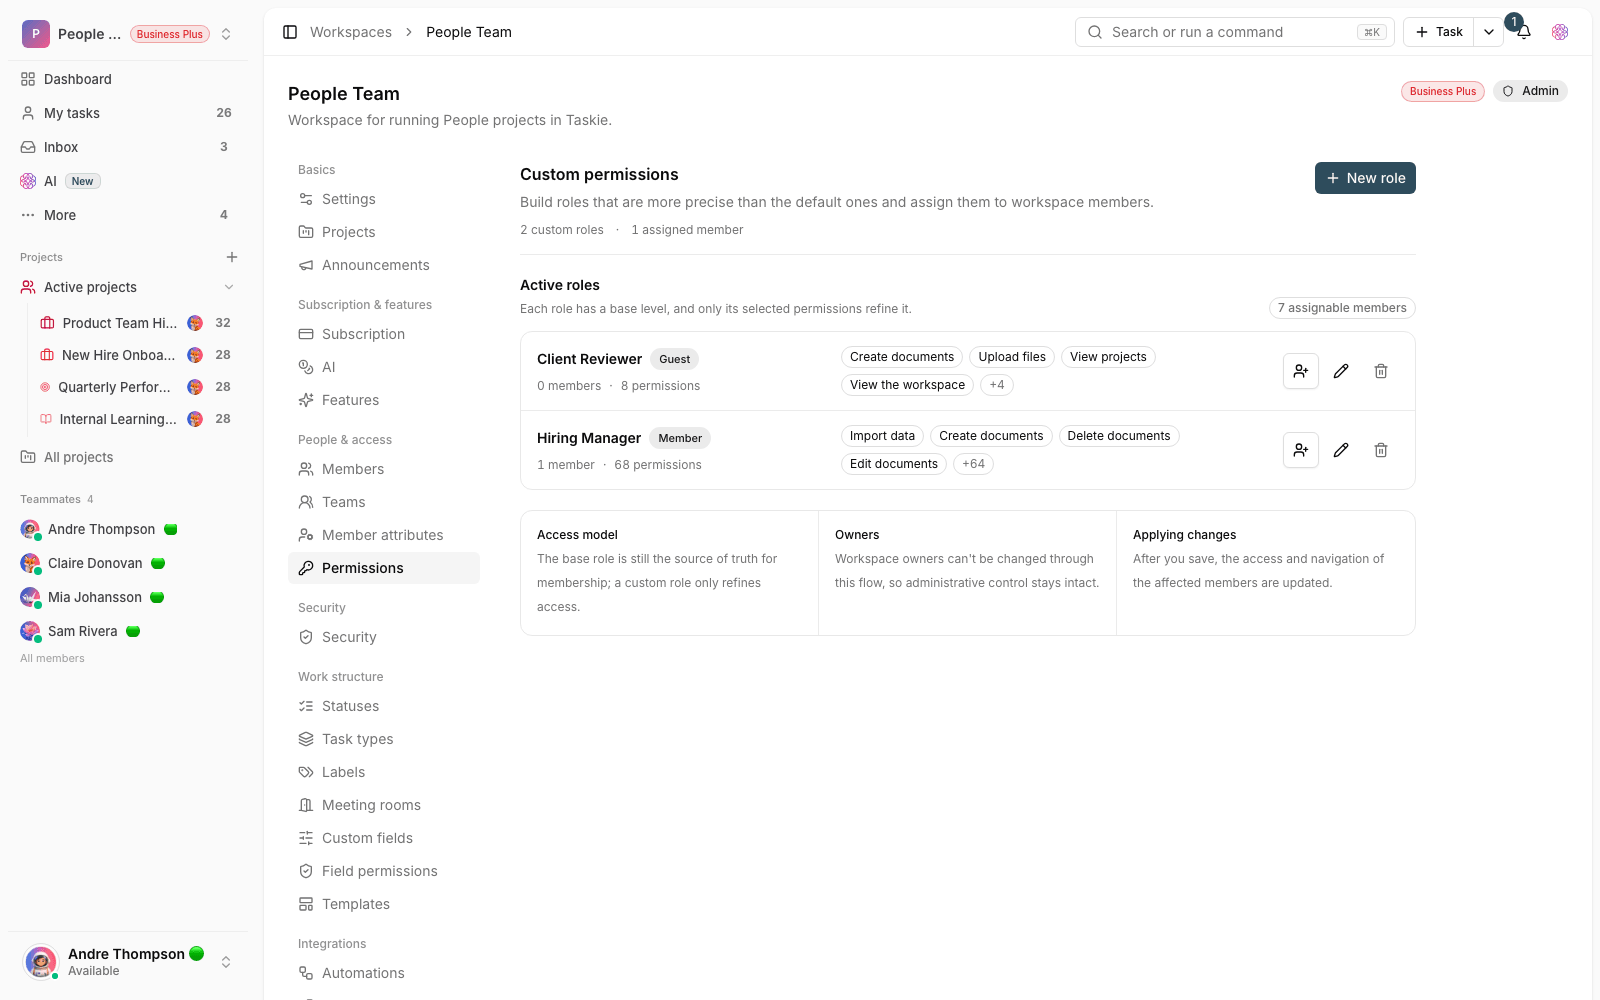
Every new workspace starts on the Free plan with five editable seats. That means up to five active members and up to fifteen members in total, including guests. When you upgrade your plan or add seats, both limits grow.
- If the total capacity is full, you'll see a message that the workspace's member capacity on the current subscription is full when you try to invite someone, and you'll need to upgrade your plan or add seats.
- To promote a guest to the member role, you need a free editable seat. If you don't have one, add a seat first.
- You can't set the number of seats lower than the current number of workspace members.
- Each project also accepts up to fifty members on its own.
Remove a member or leave a workspace
To shrink your team or remove a colleague, you can remove the member from the member list. The workspace owner can't be removed, and if a member is managed through your organization's identity system (SCIM), they must be deactivated there, not here. Any member can also choose to leave the workspace themselves. When a member is removed, the seat or capacity they used is freed up so you can add someone else.
Note: Before you upgrade your plan, review your current members and pending invitations. Sometimes cancelling a few unused invitations or changing a member to a guest gets you the capacity you need at no extra cost.
To learn exactly what each role is allowed to do, read Member roles and access levels. If you want to limit what a member can see to just part of a project, Restricted access and fine-grained member control is the natural next step.
To group members, see Teams, and for organizational profile fields, see Member attributes.