
What a workspace is and how to set it up
A workspace is your team's home. See what lives inside it and how to set its name, logo and basic settings.
Everything you do in Taskie, from creating a simple task to running a large project, happens inside a workspace. A workspace is your team's outer boundary: the place where members, projects, the subscription, roles and shared settings come together to form one environment for collaboration. Put simply, the workspace is your team's home, and everything else sits under its roof.
One account can belong to several workspaces at the same time, for example one for your main company and one for a joint project with an outside team. One of them is marked as your default workspace, so that's where you land when you sign in. This guide explains exactly what a workspace does, what lives inside it and how to set its name, logo and basic settings.
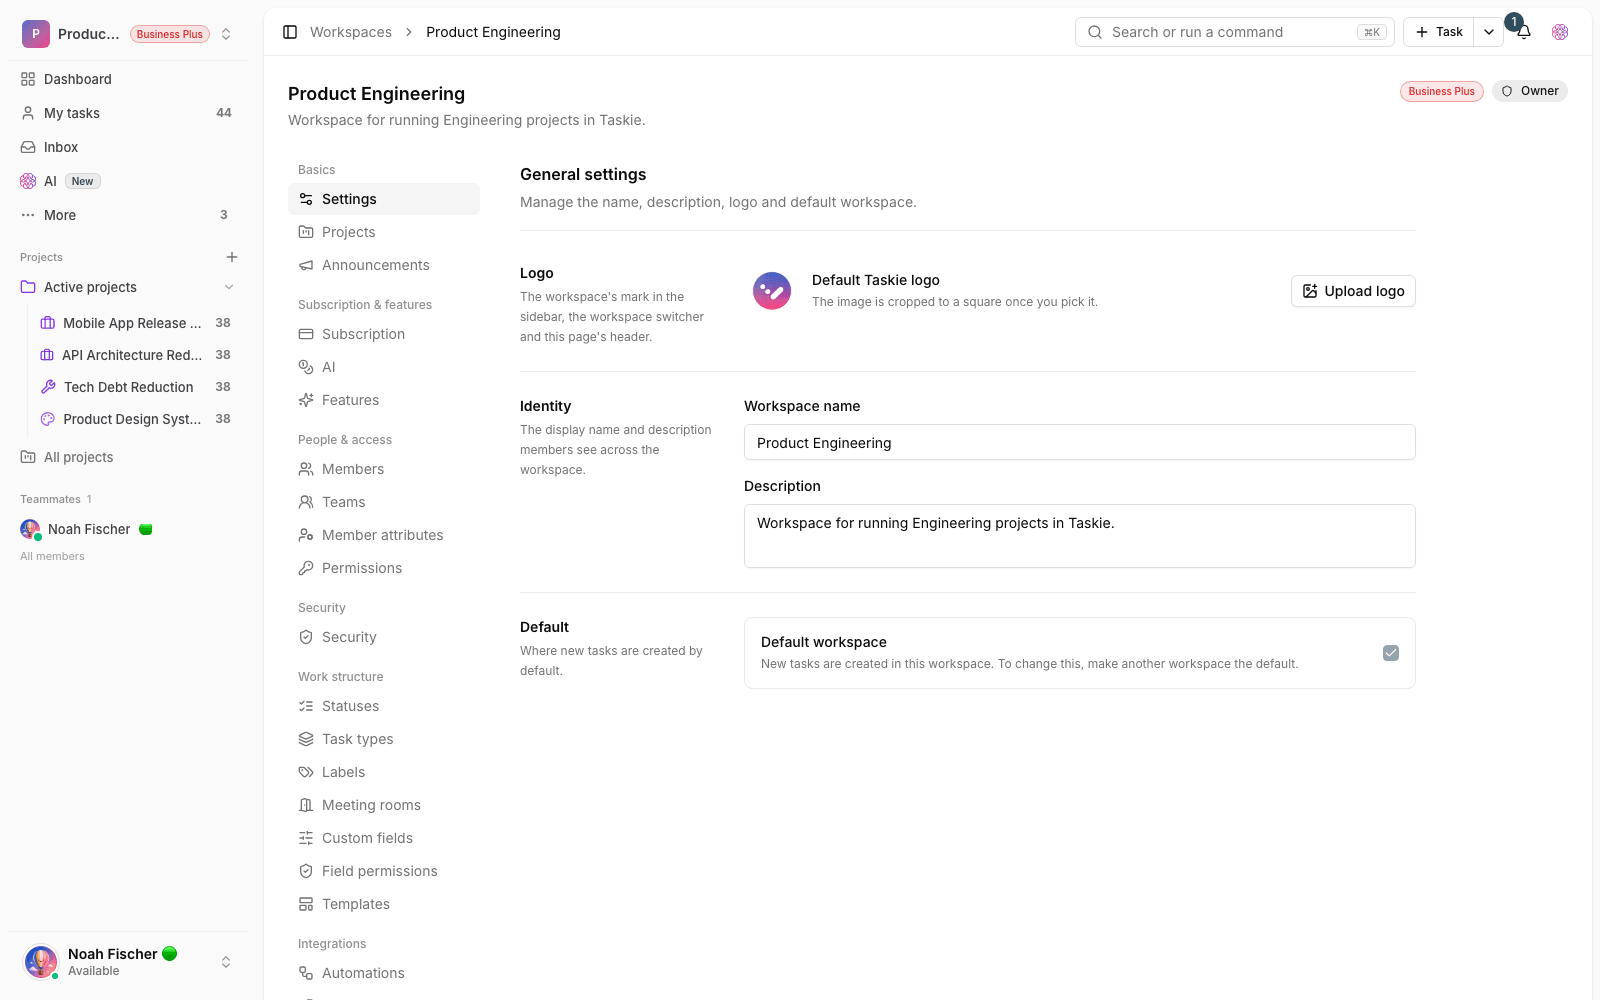
What does a workspace actually do?
A workspace isn't just a folder. It's the unit that ownership, the subscription and permissions are tied to. When you create a new workspace, a Free subscription with five editable seats is activated for it automatically, and you become its owner. From there you can invite members, create projects and start using team features. All plan limits, member capacity and advanced features are set at the workspace level, not per project.
What lives inside a workspace?
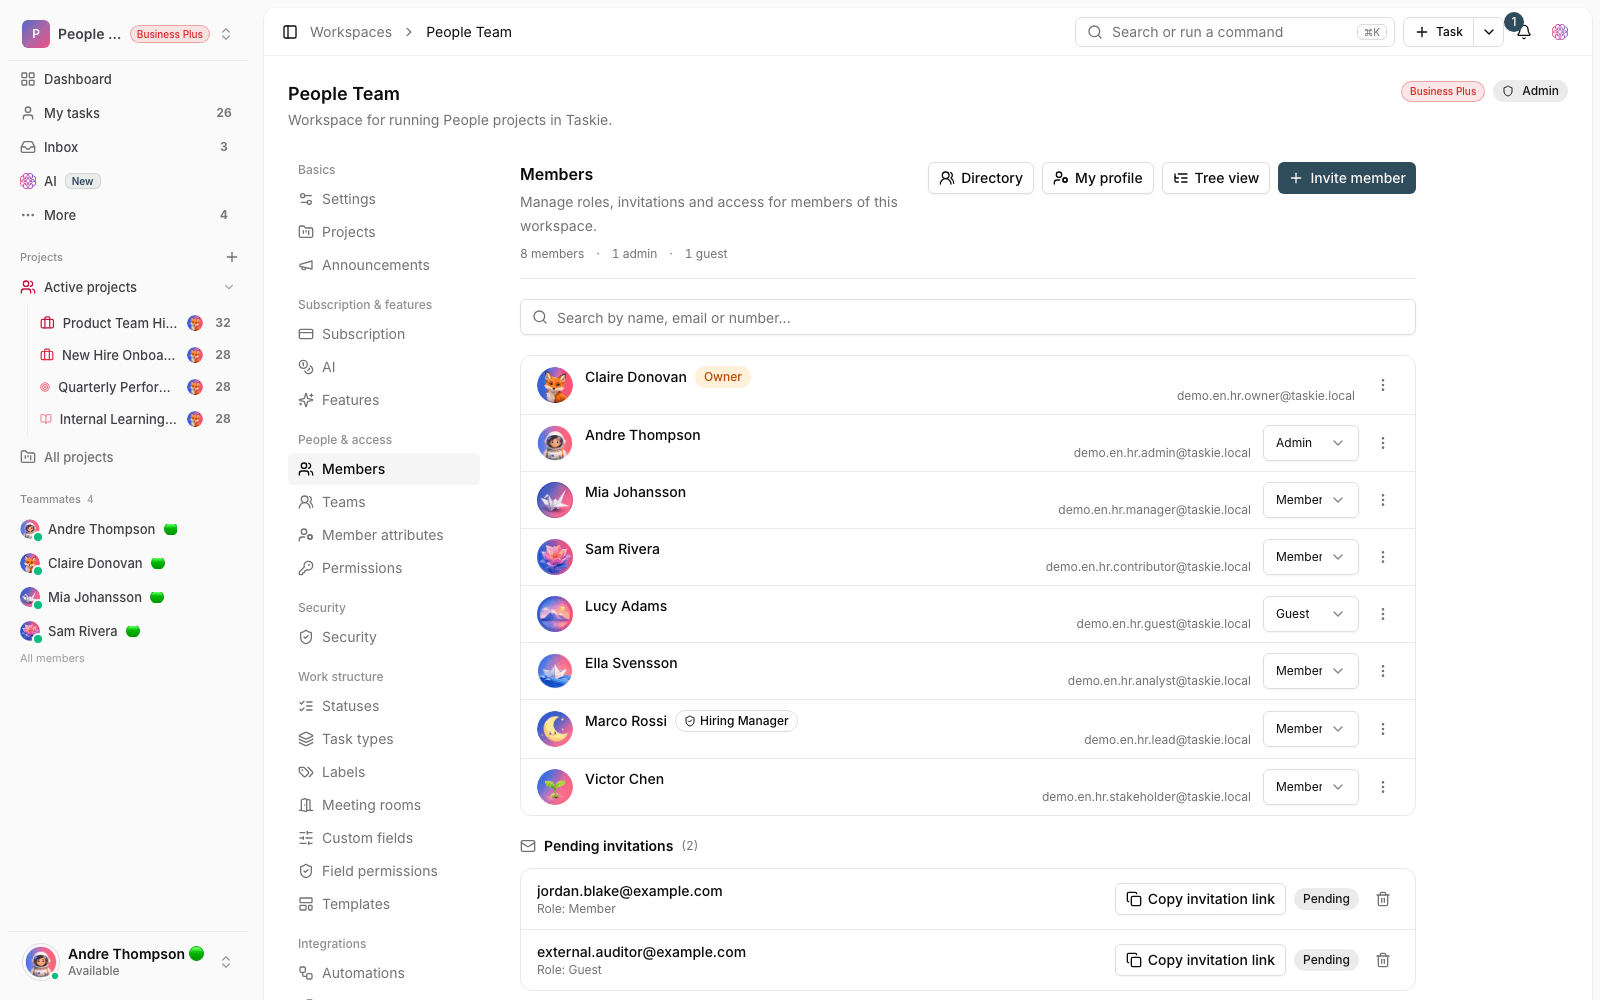
- Projects: each independent stream of work, with its own tasks, views and members.
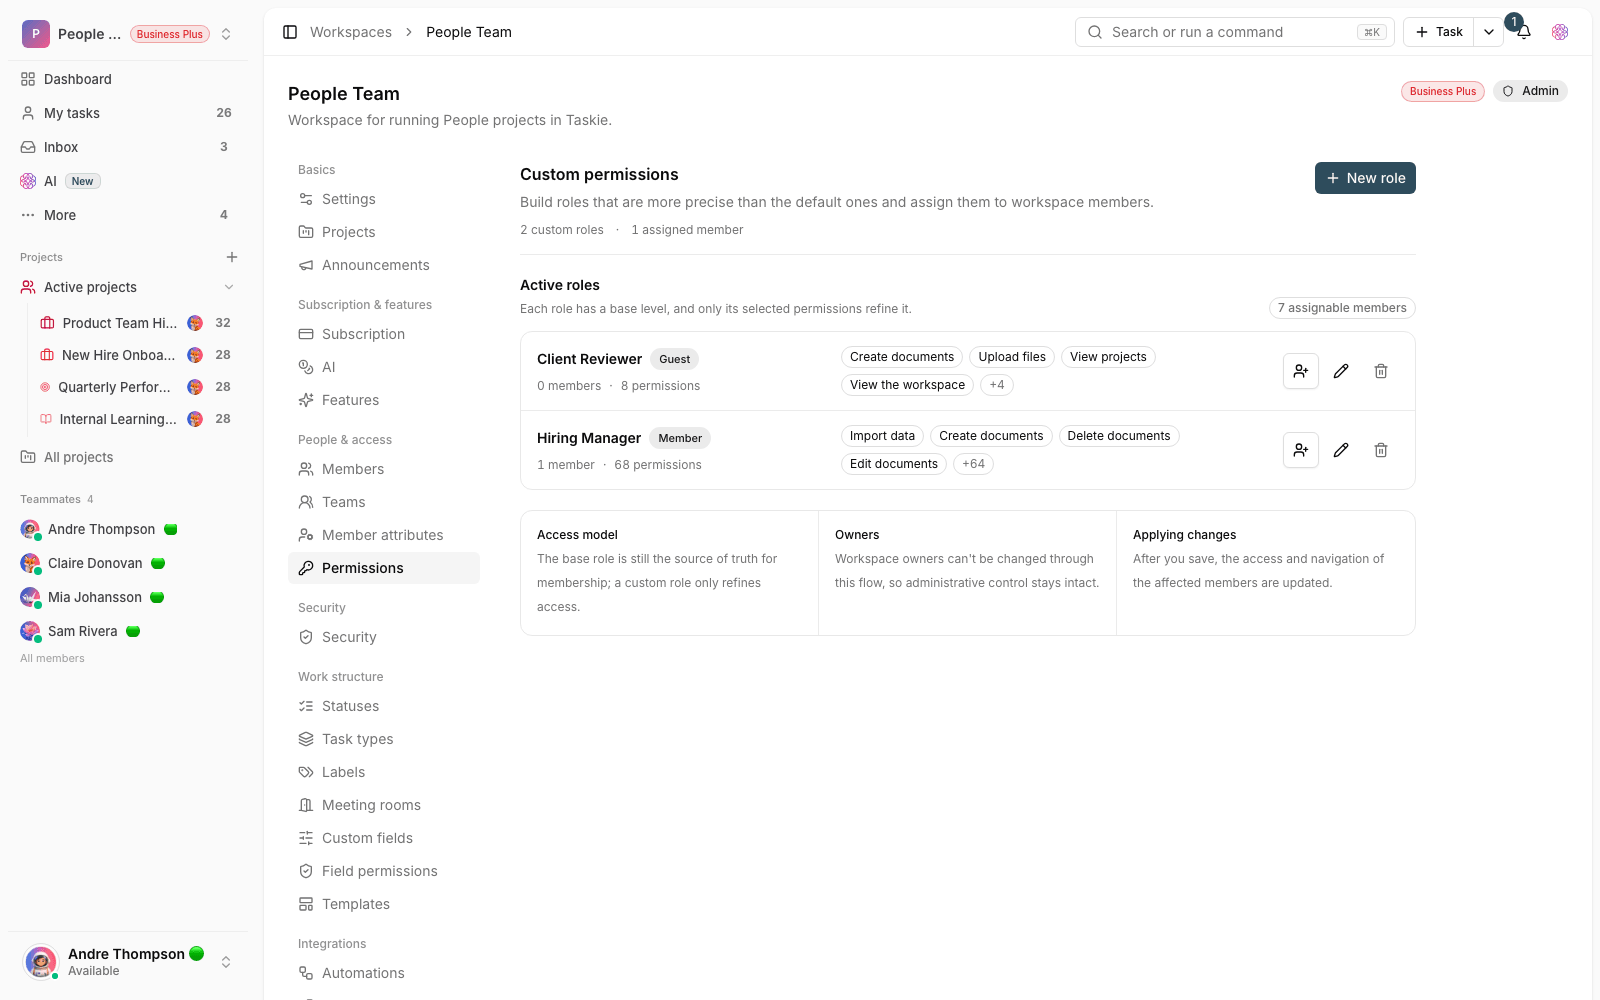
- Members and roles: the people you invite and each person's access level (owner, admin, member and guest).
- Subscription and seats: the current plan, the number of seats and how many members you can have.
- Shared elements: statuses, labels, task types and templates that are shared across projects.
- Documents, files and teams: the knowledge base, company files and groups of members organized as teams.
- Work settings: the work calendar, working days, holidays and options such as time estimates and time tracking.
Set the workspace name, logo and details
The workspace name and visual identity are managed in settings, on the General tab. Here you can set the workspace name, a short description and its logo. Members see the logo in the sidebar, the workspace switcher and the header, which helps you tell workspaces apart quickly when you belong to several. Only the workspace owner and admins can change these settings.
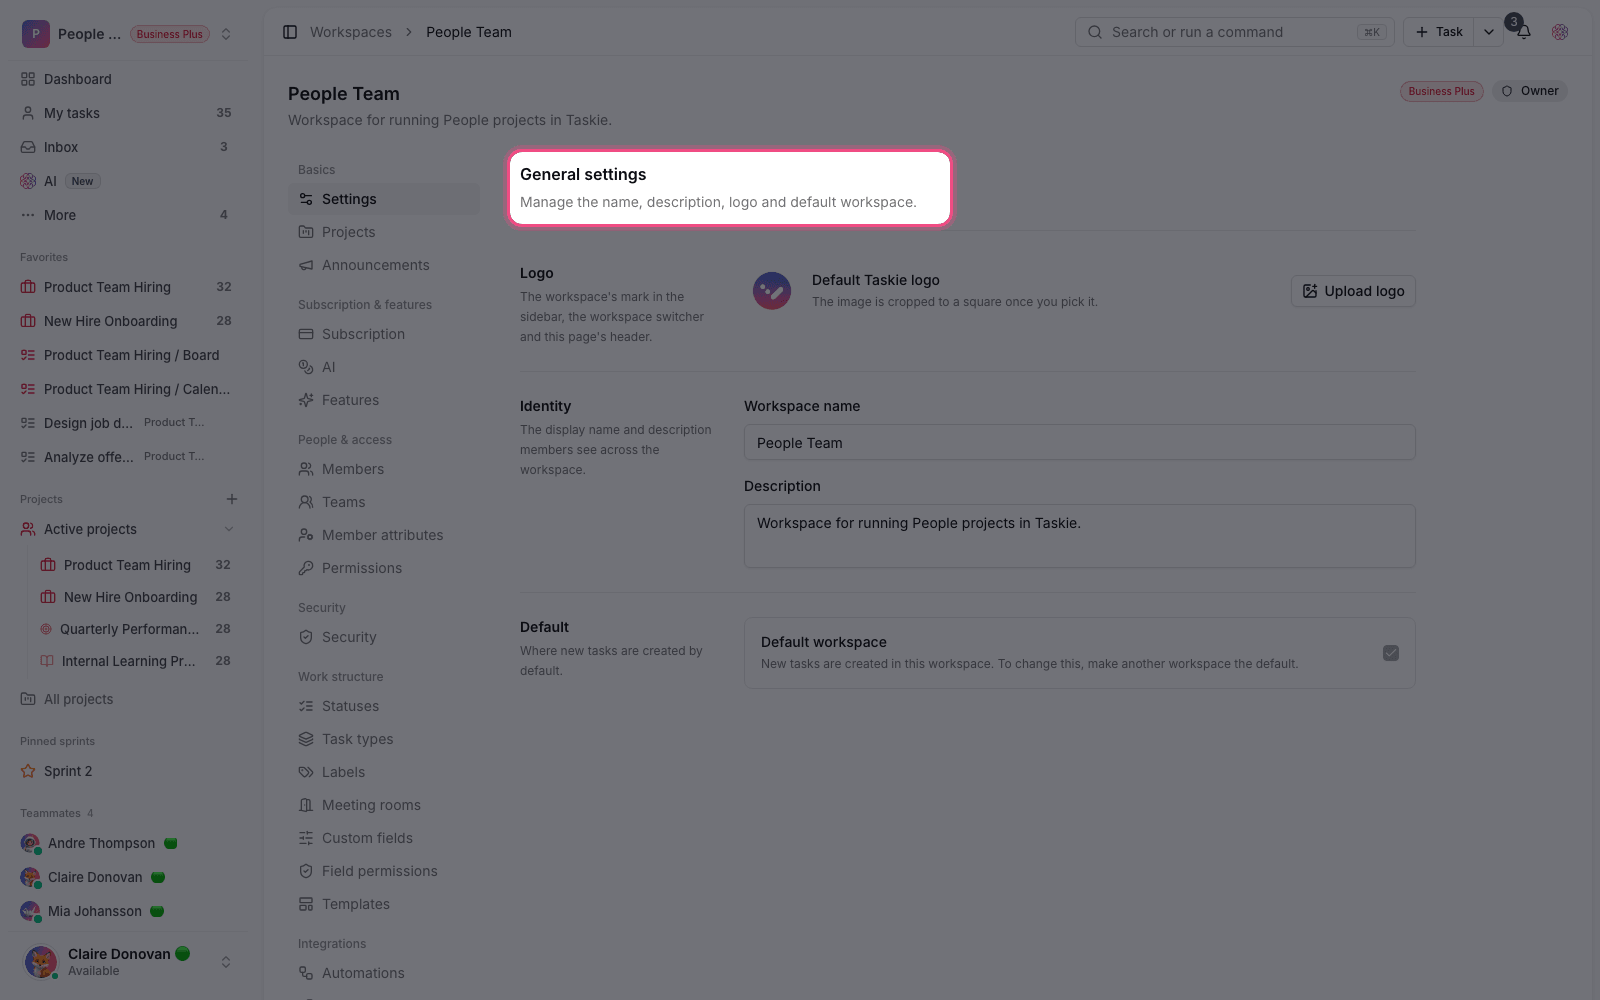
- From the workspace menu, open settings and go to the General tab.
- Change the workspace name to something short and recognizable, such as your company or team name.
- If you like, add a short description of what this workspace is for.
- Click Upload logo and choose a suitable image. You can change or remove it later.
- If you spend most of your time in this workspace, mark it as your default workspace.
Other key settings
Besides visual identity, a few other important settings live at the workspace level and shape how every project behaves. You don't need to turn them all on from day one; only enable what your team actually needs. Keep in mind that some of these features depend on your subscription plan and become available on higher plans.
- Work calendar: working days of the week and public holidays for more accurate scheduling.
- Time estimates and time tracking: log time spent and estimate time on tasks.
- Subtask depth and custom task IDs: control how tasks are structured and how their IDs are formatted.
- Approvals and time in status: advanced features for quality control and reporting.
Tip: If you want to try something out, create a separate practice workspace so your team's real data stays untouched. Each workspace has its own subscription and members.
Now that the workspace structure is clear, it's time to add your team. In Invite members and manage team capacity you'll learn how to add people, and in Member roles and access levels you'll see what each member can do.