
Connect external MCP servers to the agent
Connect external MCP servers such as Slack, Notion, GitHub, and dozens of other services to Taskie's AI agent from the App Center, so the agent can call their tools directly in a conversation.
By connecting external MCP servers, Taskie's AI agent is no longer limited to the data inside Taskie. It can also call the tools of external services such as Slack, Notion, or GitHub directly in a conversation and get work done for you.
MCP, the Model Context Protocol, is an open standard that lets AI assistants talk to external tools and data in a secure, consistent way. Each MCP server offers a set of "tools", such as "send a message to a channel", "create an issue", or "read a document". When you connect a server, the agent sees the list of these tools and uses them when needed.
How this differs from the built-in Connections & MCP
You may already know the Connections & MCP section in Settings. That section makes Taskie's own MCP server available to external tools, so the direction is from outside in: other assistants can get access to your Taskie data.
The feature in this guide works the other way around: you connect external MCP servers to Taskie's AI agent so the agent can call their tools in a conversation. Put simply, the direction here is from inside out, and the goal is to make Taskie's own agent more capable, not to open your data up to another service.
Where do I start?
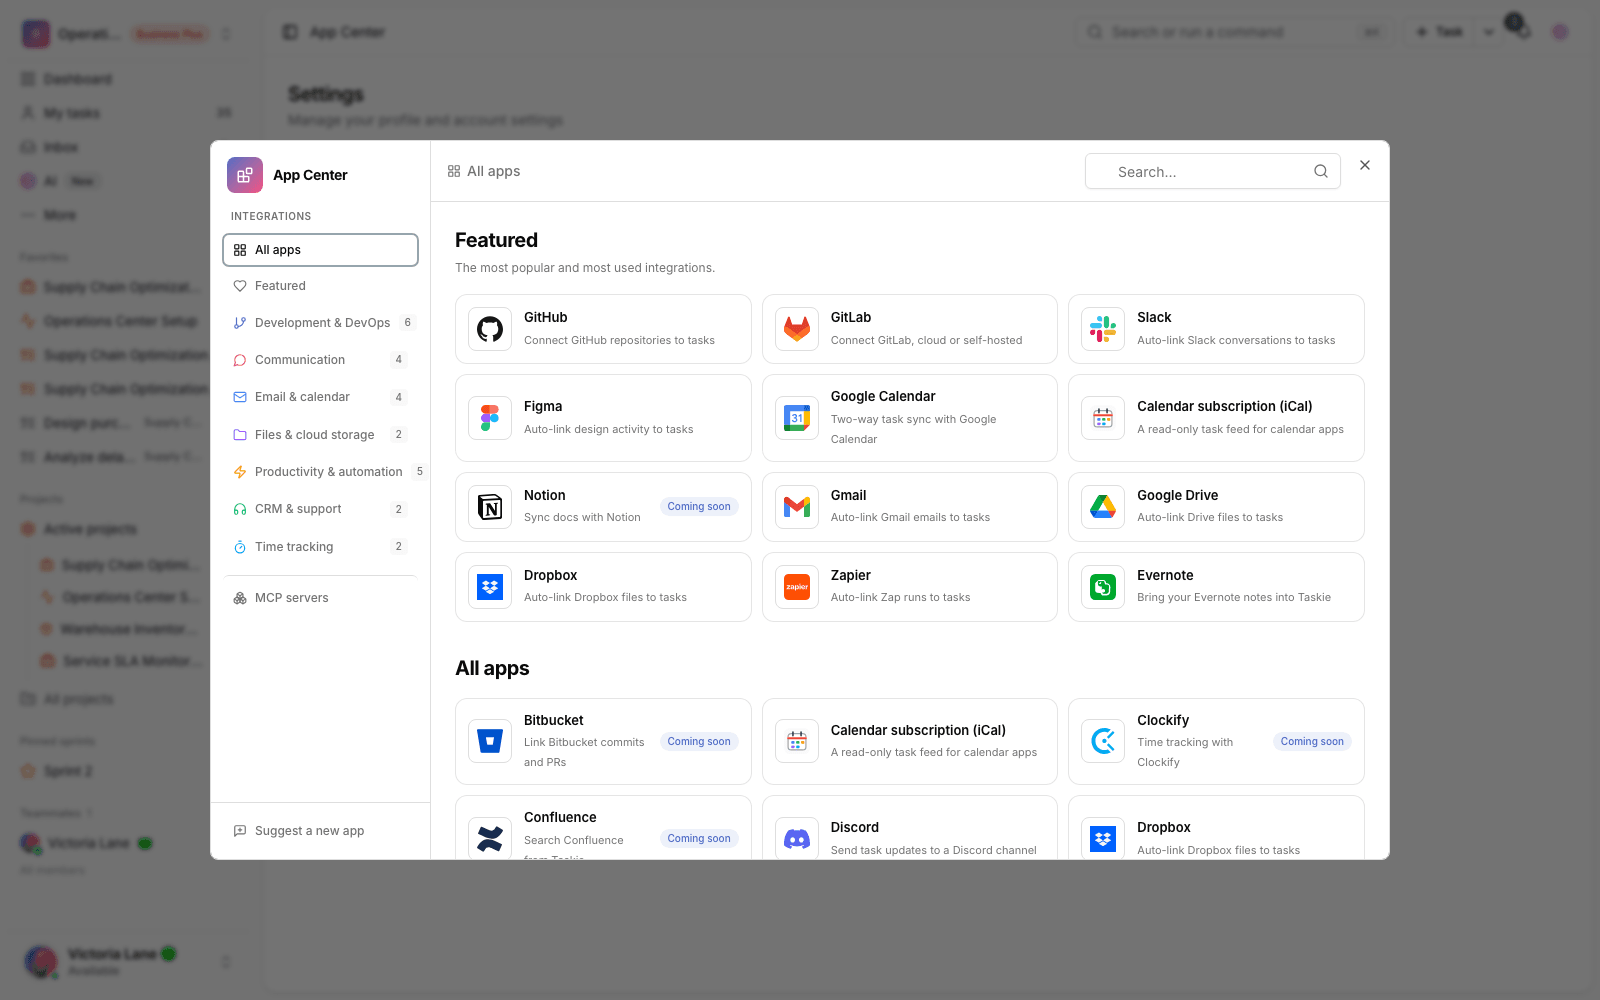
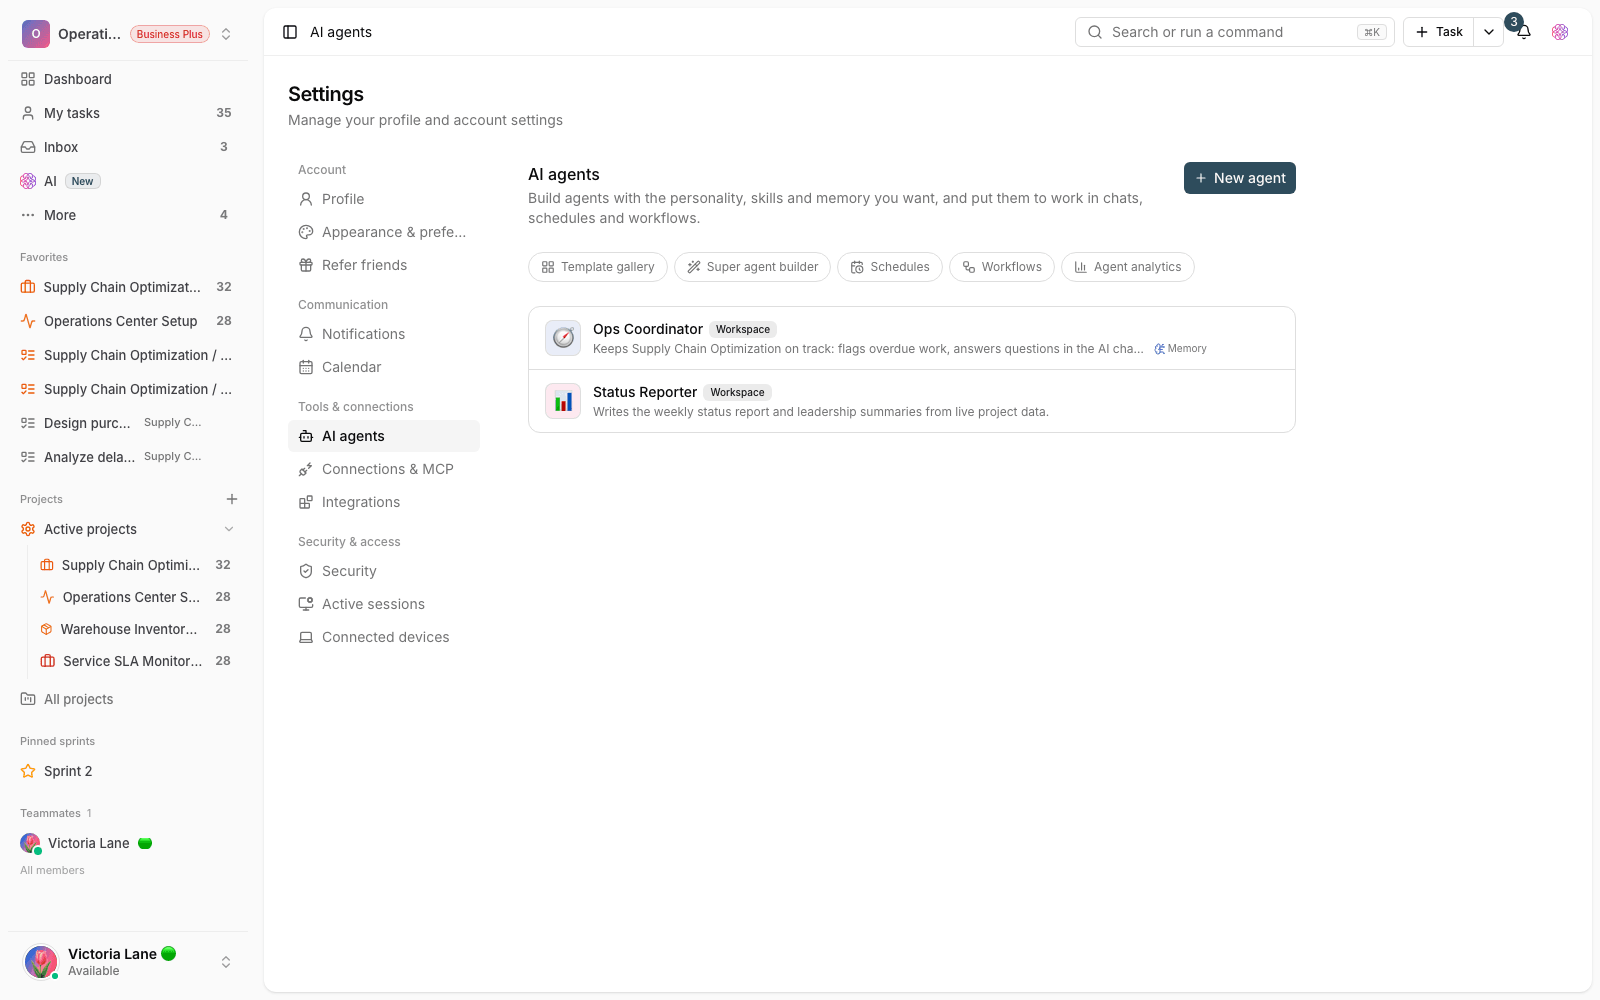
This feature is managed from the App Center and is no longer available from user settings. Open the App Center and go to the MCP servers section. There you'll see a list of popular ready-made servers, and you can connect any of them or define a Custom server.
Popular ready-made servers and custom servers
To make connecting easy, a list of well-known servers is ready to go. When you choose one, the server address and the recommended authentication method are filled in for you, and you only enter your own sign-in details. Ready-made servers include:
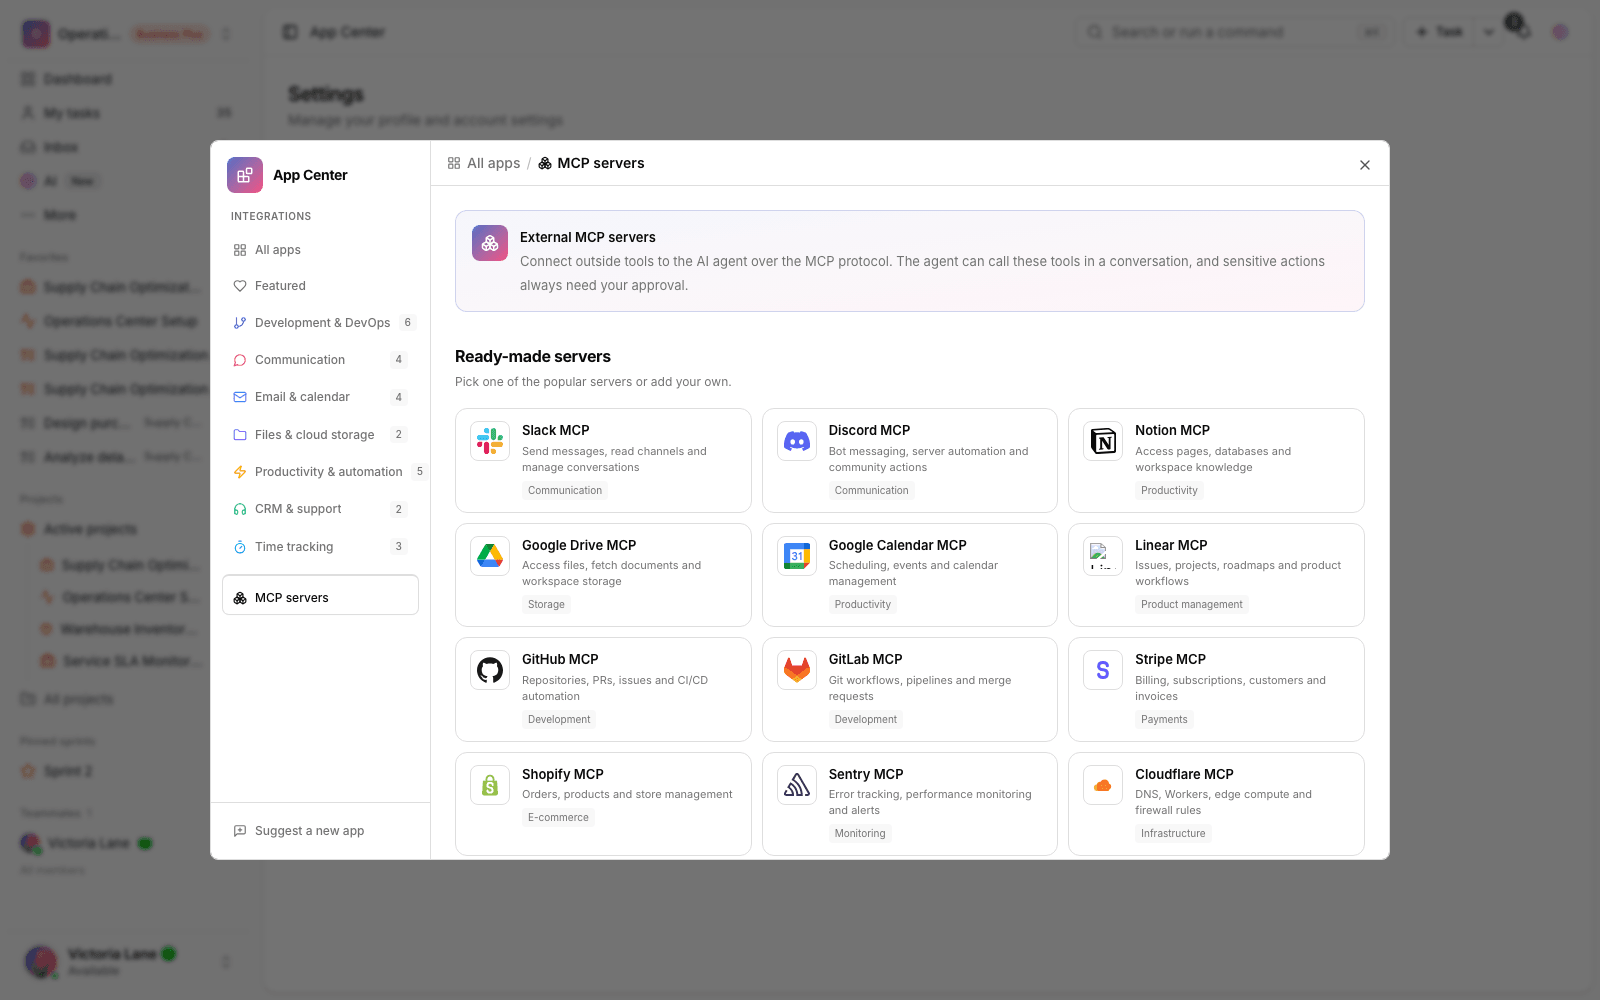
- Communication: Slack for searching and posting messages, and Mattermost on your own server.
- Productivity and knowledge: Notion and Google Calendar for pages, databases, and calendars.
- Development: GitHub and GitLab for repositories, merge requests, and issues.
- Storage: Google Drive for access to files and documents.
- Product and monitoring: Linear for issues and roadmaps, and Sentry for error tracking.
- Payments, infrastructure, and integration: Stripe for invoices; Cloudflare and AWS Knowledge for infrastructure; and Zapier to reach thousands of other apps.
If the service you want isn't on the list, choose Custom server. In this case you enter the server address and authentication method yourself, and the rest of the steps are the same as for ready-made servers.
Authentication methods
Depending on its design, each server accepts one of these four methods, and you choose the right one when you connect:
- No authentication: for public servers that don't need any credentials.
- Bearer token: a token or API key sent in the standard header; suits services like Stripe or Sentry.
- Custom header: when the server expects credentials in a header with a name of its choosing; you set the header name and value yourself.
- OAuth 2.0: the most secure method for large services, available in three forms.
For OAuth you have three options. With Sign in automatically, Taskie registers itself with the target service and you just approve access on its sign-in page; it's the simplest path for servers like Notion, Linear, and GitLab. With Own OAuth app, you create an OAuth app in the service, add the redirect URI the form shows, and enter the Client ID and Client Secret; your browser is sent to the service, and after you approve, Taskie receives and stores the token. If you already have an access token, choose Paste a token and enter it directly.
After connecting: discovered tools
As soon as the connection is made, Taskie discovers that server's tools and shows how many there are and their details. Each tool shows a title, a short description, and a "risk level" so you know what the tool does before you use it. Discovered tools are usually off; turn on the ones you want the agent to use from the same connection page:
- Read-only: tools that only read information and don't change anything.
- Writes: tools that create or edit data, such as sending a message or creating an issue.
- Destructive: tools that can delete data or take irreversible actions.
Approval before running: every write or destructive tool always asks for your approval before it runs. The agent never takes a change-making action without your explicit permission. Read-only tools can run immediately.
Who can use it, and on which plan?
Because this feature is sensitive, access to it is restricted:
- Only a workspace admin can create or configure a connection. Regular members don't see this section.
- The feature is available on Business plans and above and isn't shown on lower plans.
- There's a cap on the number of connections based on your plan; for example, the Business plan allows up to 5 connections and the Business Plus plan up to 20. When you reach the cap, you'll need to remove an existing connection or upgrade your plan.
Security and privacy
Connections to external services come with several layers of protection so you can rest easy:
- All credentials, including tokens and headers, are stored encrypted and are never shown in the interface or in exports.
- Every server address is checked against SSRF attacks before each call. Only safe, public addresses are accepted, and internal or private addresses stay blocked.
- All tool calls are audited so the usage history can be reviewed when needed.
- OAuth tokens are refreshed automatically as they near expiry, so the connection stays stable without any action from you.
Next step
After connecting a server, the best way to use its tools is to start a conversation with the agent and ask for the work you want done. To learn how to work and talk with the agent, read the AI assistant guide. For finer control over tools, plus risk and safety review, the "Manage MCP tools and safety" guide is also available. For step-by-step setup of each ready-made server, see Set up the ready-made MCP servers.