
Import tasks from CSV and Excel
Import a task list from a CSV or XLSX file, map the file's columns to Taskie fields, and track the status of each import.
If your to-do list lives in an Excel file, or you've exported it from another tool, you don't have to enter tasks one by one. With Import tasks, you upload the file and Taskie turns the rows into tasks.
Prepare the file
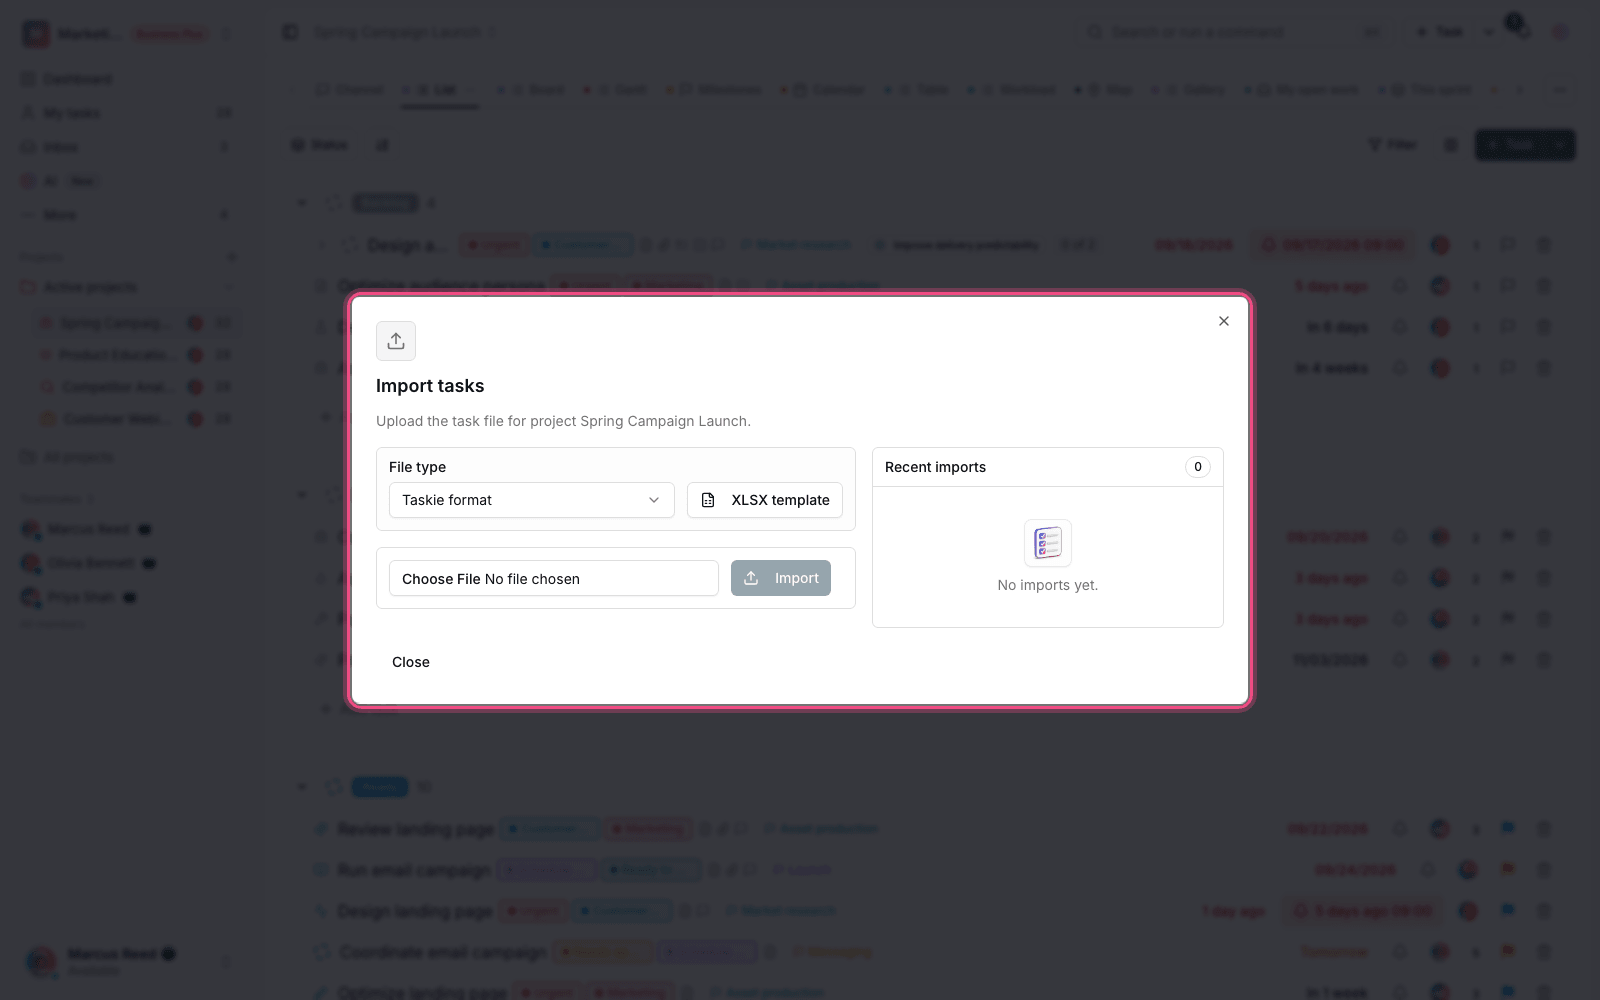
- File type: CSV and XLSX are supported.
- Header row: the first row must contain the column names so the columns can be mapped.
- Task title: a title column is required. Rows without one aren't imported.
- Ready-made sample: if you're starting from scratch, download the CSV sample or XLSX sample and put your data in the same format.
Map the columns
After you upload, the Column mapping screen opens. Here you choose which Taskie column each File column goes into.
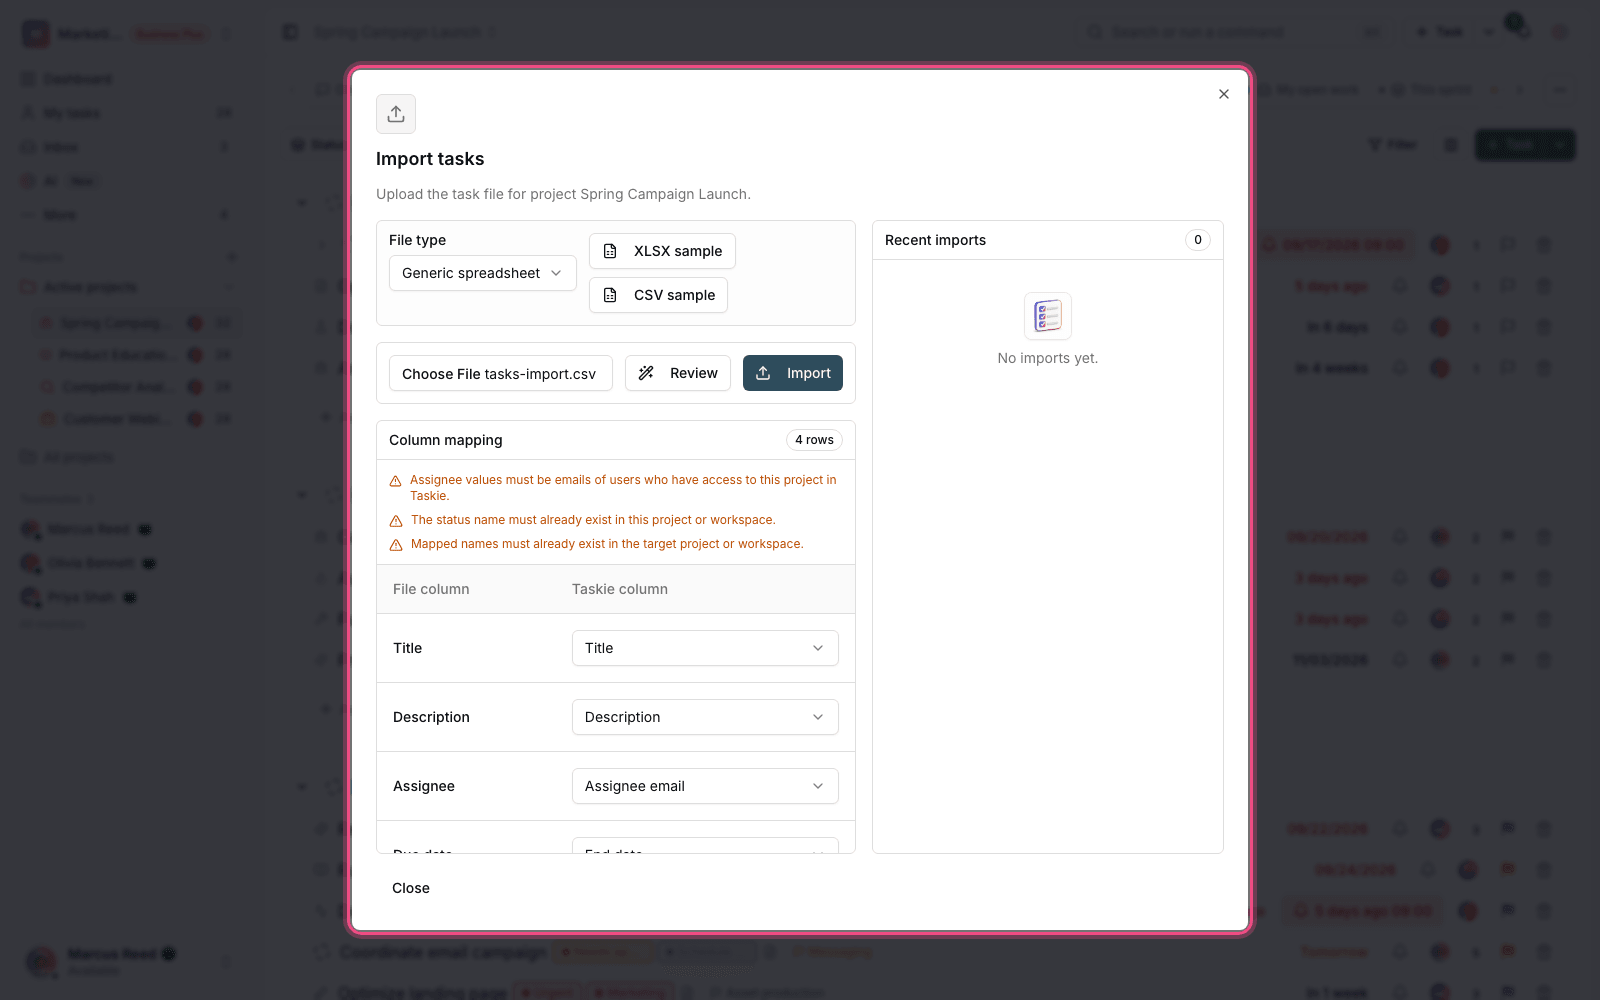
- Upload the file in the project's task import section.
- For each file column, choose the matching Taskie field.
- Set columns you don't need to Ignore.
- Before confirming, check a few sample rows to make sure the values landed in the right place.
- Confirm to put the import request in the processing queue.
Note: If the mapping isn't checked, you'll see the message "Could not check the file's columns." and the import won't run. This is a deliberate safeguard so the wrong data doesn't end up in your project.
Track the request status
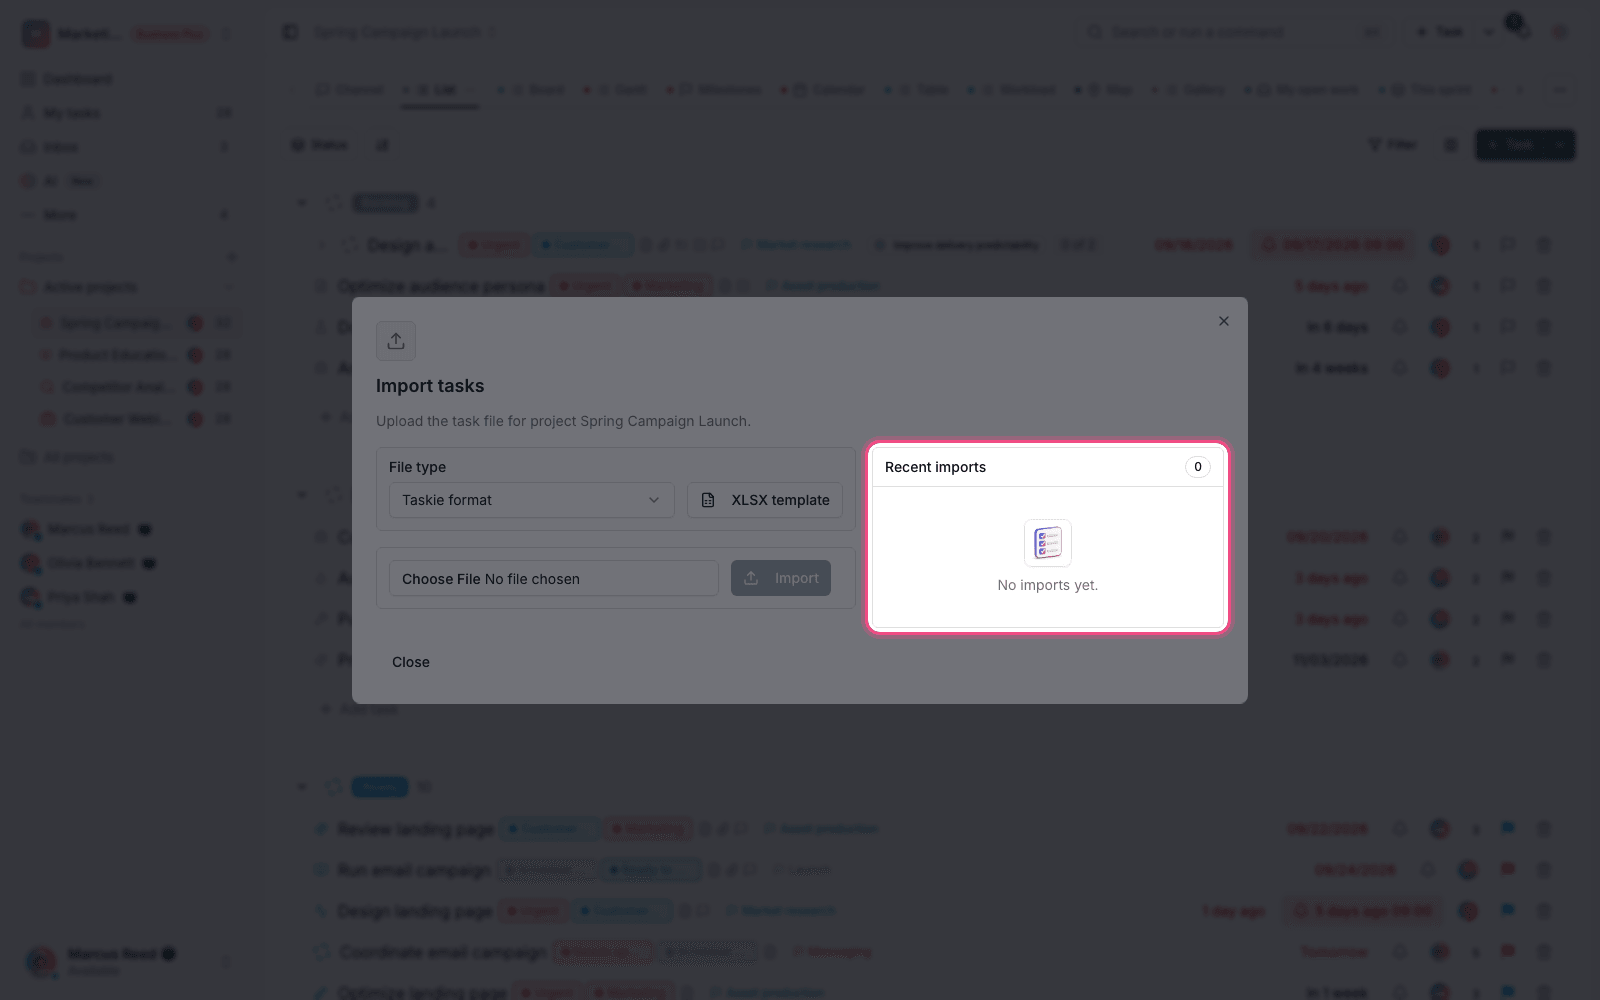
Imports run in the background, so you can close the page. In Recent imports, you can see the status of each request:
- Queued: processing hasn't started yet.
- Processing: rows are being turned into tasks.
- Complete: all rows were imported successfully.
- With errors: some rows weren't imported. Check the error details.
- Failed: the whole request failed, usually because of a problem with the file format or the mapping.
Ready-made mappings
If you regularly export from a particular tool, ready-made mappings save you from setting up the columns by hand every time.
Plan required: Ready-made import mappings are available on the Pro plan and above. If your current plan doesn't support them, you'll see the message "This mapping isn't available on your current plan." and you'll need to map the columns by hand.
What to do after importing
A successful import isn't the end. New tasks usually need a few adjustments before they're truly usable:
- Assign tasks that have no assignee. The No assignee filter is the fastest way.
- Check the statuses. If the source file had no status, every task is in the default status.
- Review the due dates, especially if the file's date format was different from your calendar.
- If needed, group tasks under the right sections.
- If the import went wrong, select the imported tasks with bulk actions, delete them, and import again.
To export tasks, see Quick add and bulk actions, and to set up your project structure before importing data, see Create and structure a project.