
Public API and webhooks
Read and write data with the Taskie public API, and use webhooks to send events to external services.
When ready-made integrations don't cover what you need, you can connect Taskie to other systems yourself. There are two paths: the API, for when you want data from Taskie, and webhooks, for when Taskie needs to tell your system something.
Public API
The Taskie API is versioned, and responses come back in a consistent structure. Full documentation and the list of endpoints are on the API documentation page.
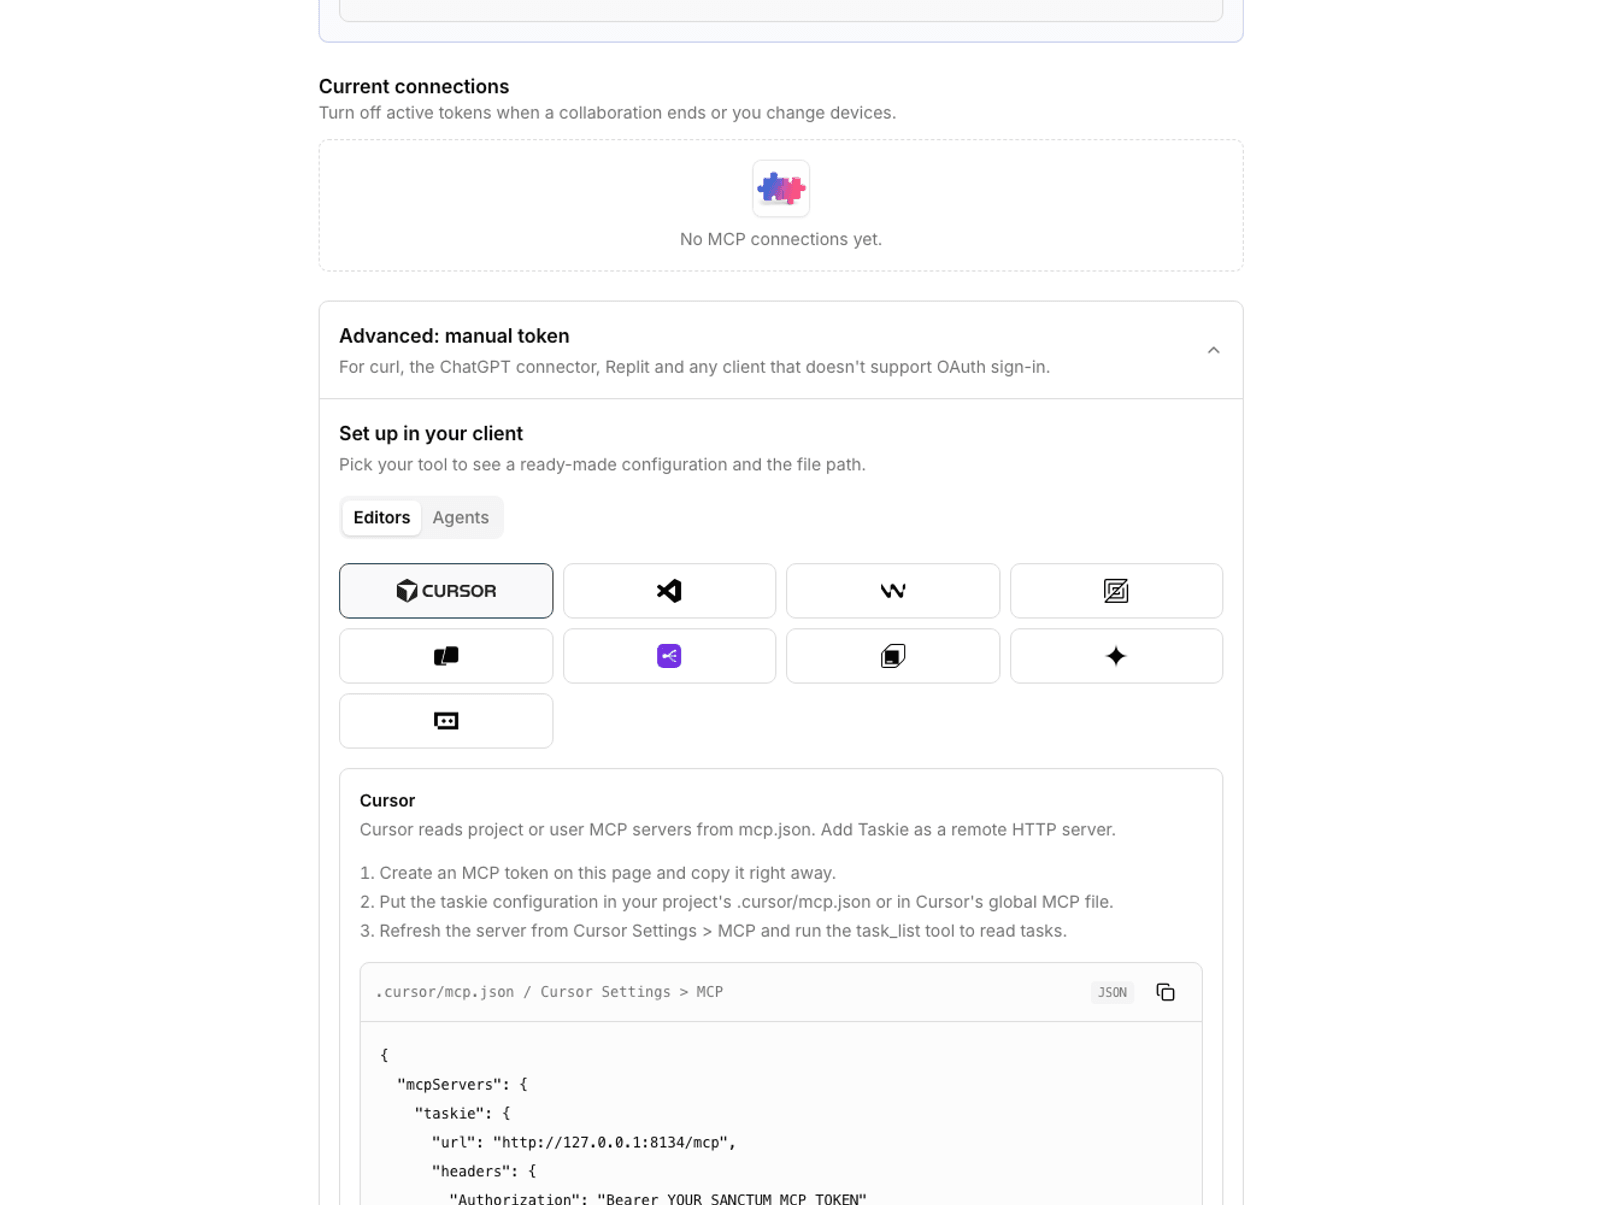
- Create an access token in settings.
- Put the token in the Authorization header of your requests.
- Find the endpoint you need in the documentation.
- Check the response. Errors come back with a clear status code and message.
Rate limits: the number of requests per minute depends on your plan: Free 10, Pro 30, Ultimate 50, Business 100 and Business Plus 500 requests per minute. If you go over the limit, you get a rate-limit response and need to wait a moment.
Webhooks
Webhooks work the other way around from the API: instead of you repeatedly asking Taskie "has anything changed?", Taskie sends a message to your address.
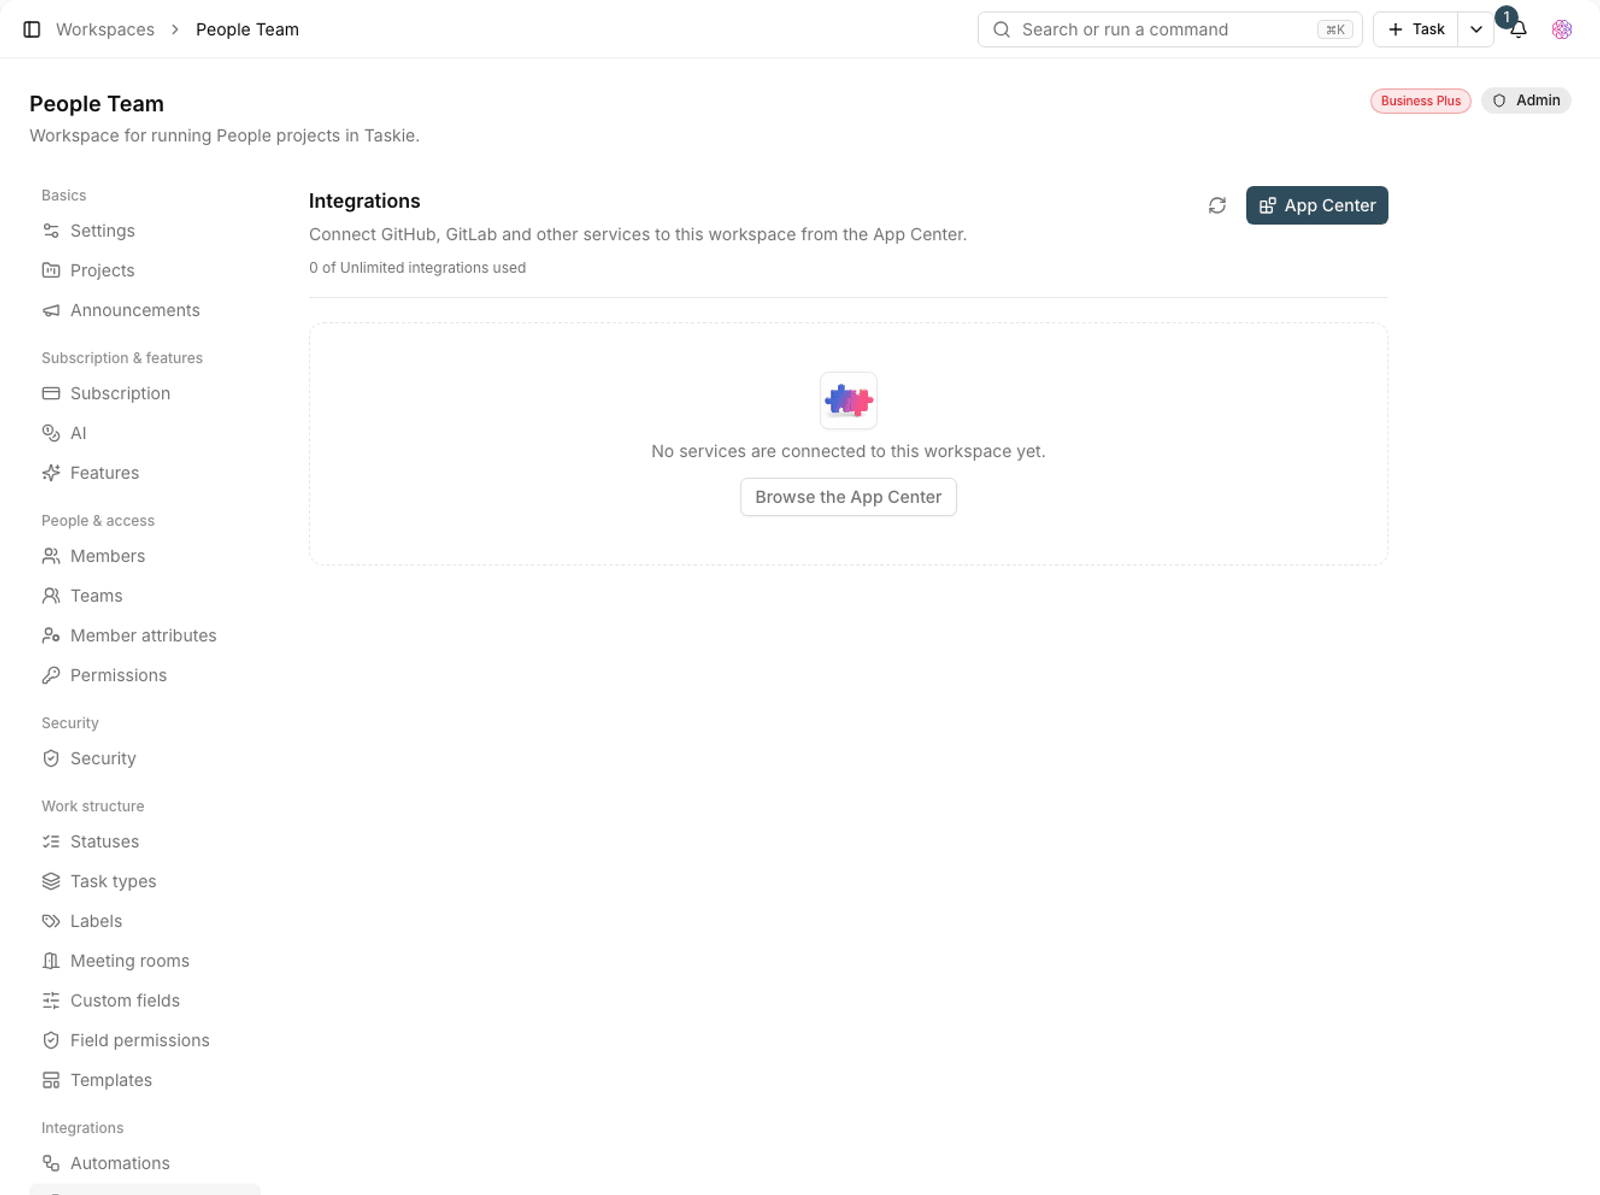
- In your workspace's integrations section, create a new webhook.
- Enter the destination address (endpoint). It must be public and reachable.
- Choose the events you want to receive.
- Test the webhook to make sure the destination responds correctly.
- Once it's active, a message is sent every time an event happens.
In automations, you can also add a webhook URL so that running a rule calls your external service. It's the simplest way to connect without writing any code on the Taskie side.
Security and maintenance
- Least privilege: create a separate token for each integration, with the minimum access it needs.
- Token rotation: revoke old and unused tokens.
- HTTPS: webhook URLs must use HTTPS.
- Destination reliability: if the destination doesn't respond, the delivery is recorded as failed. Monitor the health of the destination service.
Plan required: the number of active integrations depends on your plan: Free 1, Pro 5, Ultimate 10 and Business 20.
Errors and troubleshooting
Most integration problems come down to a few recurring causes. First, check the response's status code — it usually tells you where the problem is.
- 401: the token is invalid or expired. Create a new token.
- 403: the token is valid but doesn't have the access it needs.
- 404: the ID is wrong, or it's a resource you don't have access to.
- 422: the data you sent isn't valid. The error message names the problem field.
- 429: you've exceeded the rate limit. Space out your requests more.
Design a reliable integration
An integration that only works when everything goes right will break regularly in practice. A few simple principles keep an integration reliable.
- Retry failed requests with increasing delays.
- Store responses so data isn't lost during a temporary outage.
- Be resilient to possible changes in the response structure: ignore unknown fields instead of throwing an error.
- For webhooks, separate processing from receiving and respond quickly.
- Keep logs so that when something goes wrong, you know which request failed.
To create a token, see API access and tokens, and to connect without code, see Connect to Zapier.