
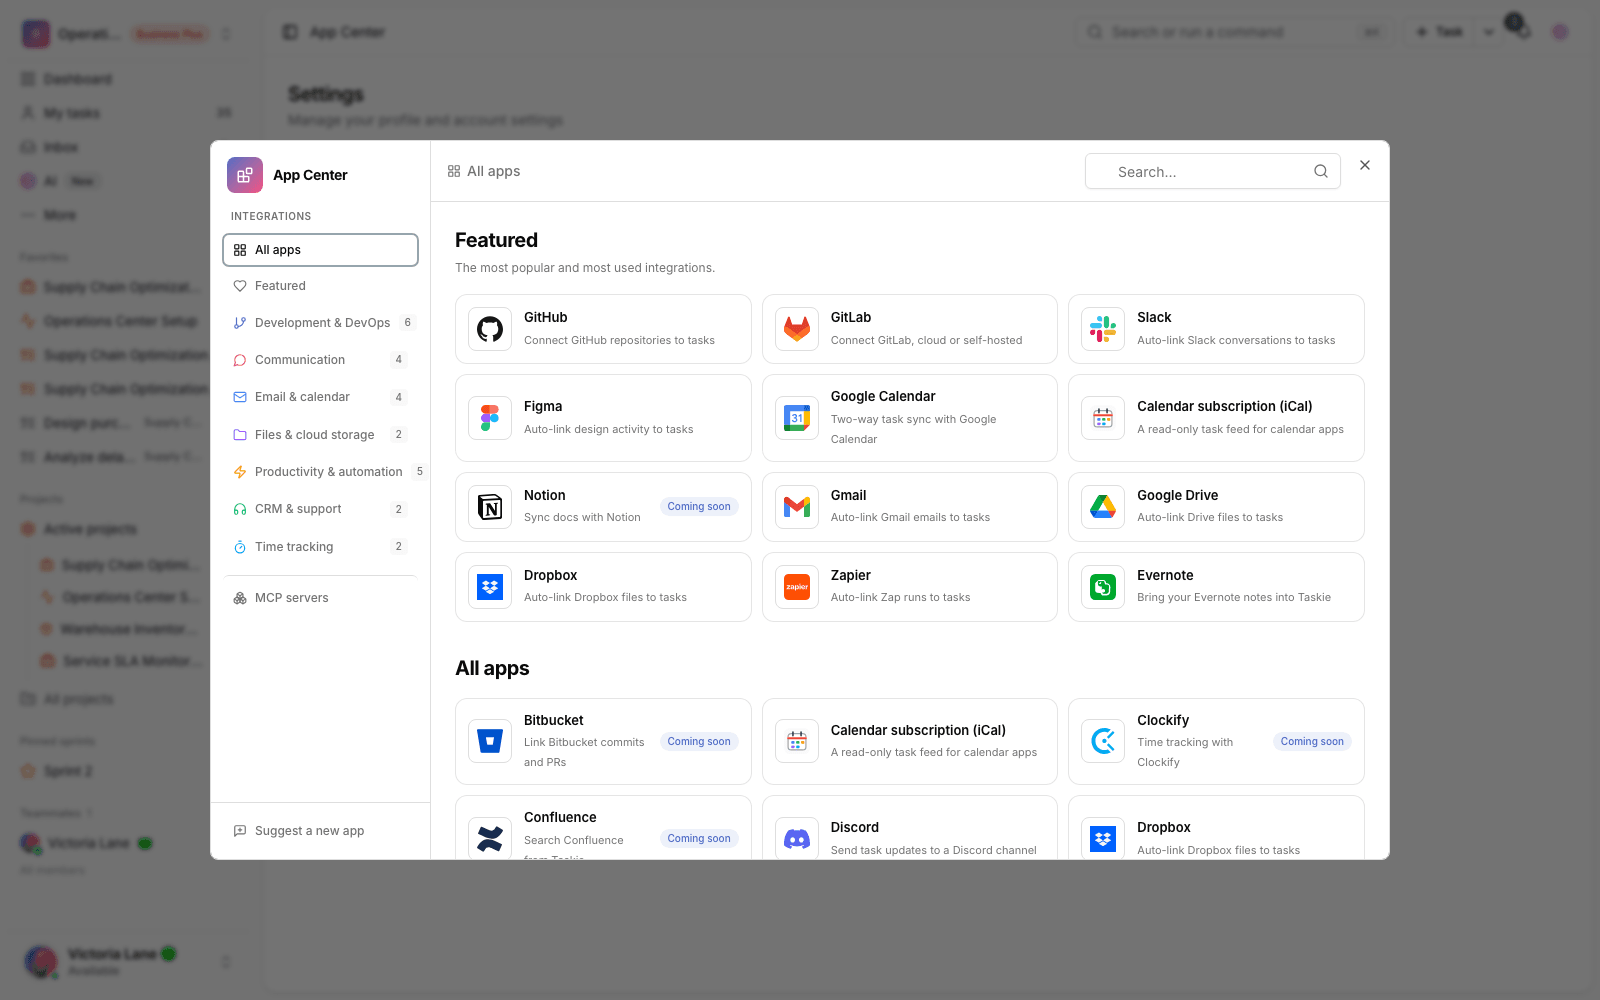
Connect to Figma
Connect Figma webhooks to Taskie so file, comment, version and Dev Mode activity that mentions a task ID is linked to that task automatically.
The Figma connection in Taskie ties design activity to work you can track. Once a Figma webhook is registered for your workspace, file, comment, version and Dev Mode events are received, and if a task ID appears in the file name, comment text or Dev Mode message, that Figma file is linked to the task.
Scope of the current version: this version focuses on receiving webhooks securely and linking Figma files to tasks automatically. Rich previews of Figma links, a dedicated Figma panel in the task view, creating files or FigJam boards from inside Taskie and personal OAuth connections are coming in a later phase.
Before you start
- Only a workspace owner or admin can create or disconnect the workspace Figma connection.
- The Figma webhook has to be created through Figma's own API. Figma doesn't currently have a separate interface for creating webhooks.
- To create the webhook, you need a Figma token with the required access and a secure passcode.
- In Taskie, the Figma webhook ID is stored in the Webhook ID field and the passcode is kept encrypted.
- Personal connections, link previews and Figma commands aren't available in the current version.
Create a workspace connection
- In the Figma API, create a webhook for the right context, such as a file, project or team, and enter Taskie's endpoint as the address that receives events.
- Keep the passcode you gave Figma when creating the webhook. Taskie verifies every event with that value.
- In the Taskie App Center, open Figma and choose the Workspace tab.
- Enter the webhook ID, passcode, optional token and a label for the connection.
- Save the connection and send a test event from Figma so the time of the latest event updates in settings.
Passcode security: Figma sends the passcode inside the event payload. Before storing the webhook delivery, Taskie strips that value from the payload, and only queues the event after securely comparing it with the encrypted value.
Automatically link designs to tasks
For automatic linking, write the task ID in the Figma file name, comment text, version description or Dev Mode message. These forms are supported:
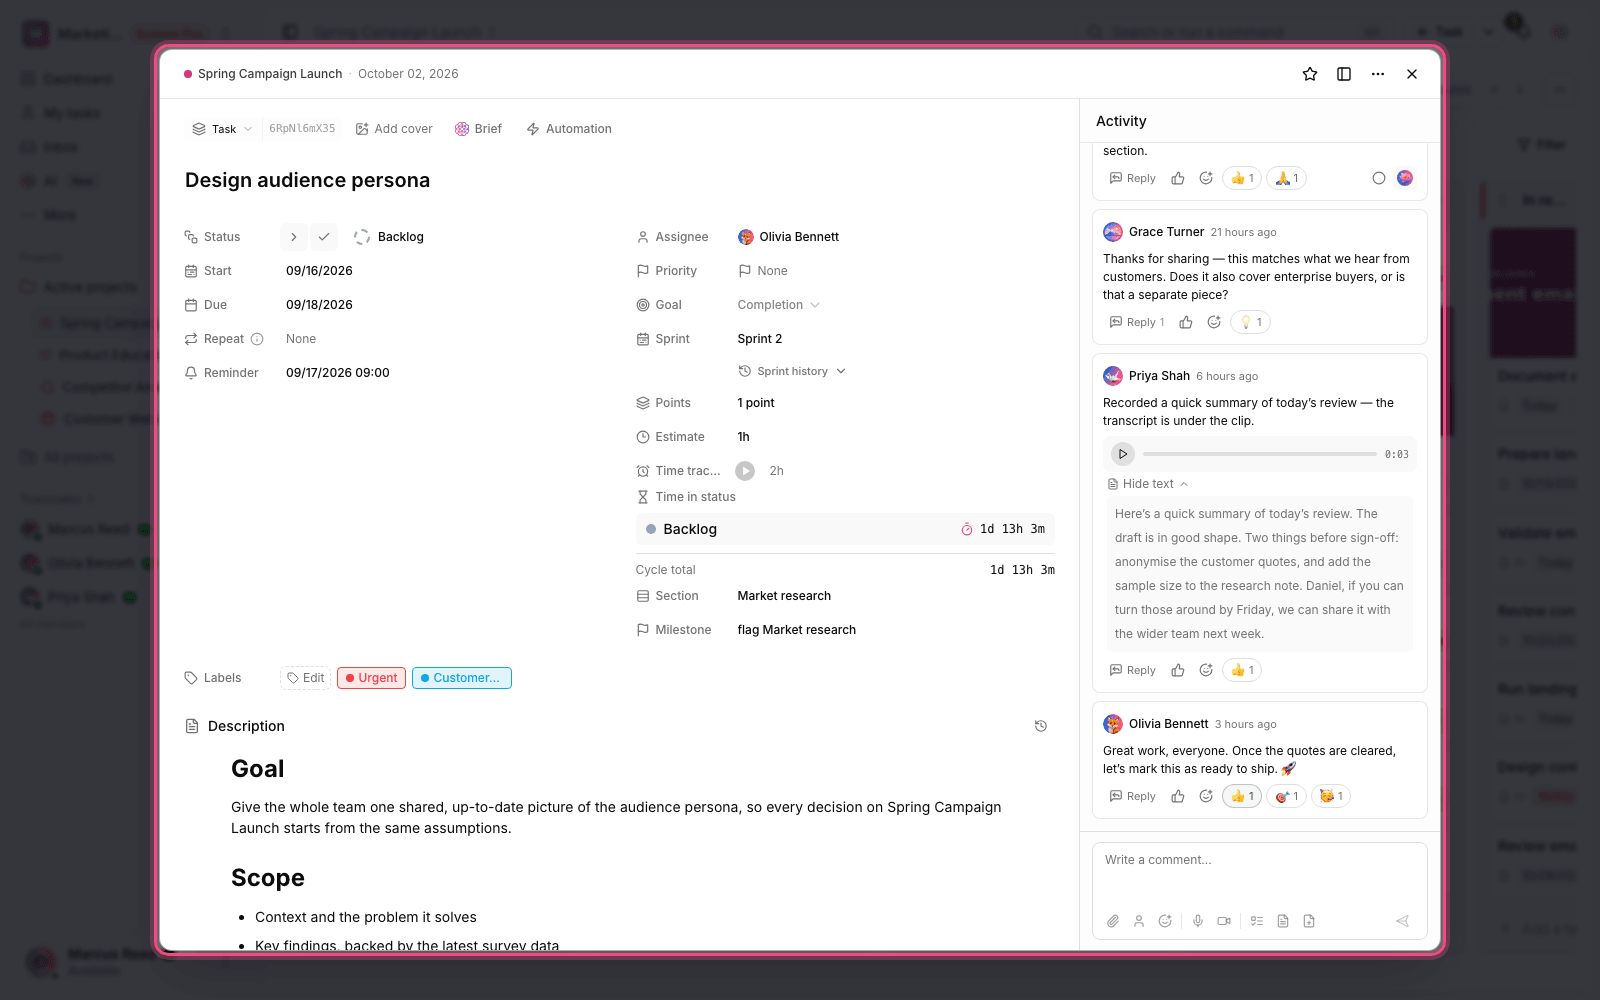
- TASK-12 — the ID on its own.
- #TASK-12 — with a # prefix.
- CU-TASK-12 — with a CU- prefix.
- #9fq2b1 — the task's hashed ID, only with a # or CU- prefix.
For example, a file named TASK-31 checkout redesign or a Dev Mode message saying Ready for TASK-32 implementation is linked to the related task.
Task status and status commands
In the current version, Figma doesn't change task status. If you write TASK-31[Done] in a file name or comment, the file is linked to the task, but the task's status doesn't change. Automatic status changes are currently available for GitHub and GitLab events.
Manage and disconnect
The connection status and the time of the latest event appear in the Integrations tab of your workspace settings. An owner or admin can disconnect it from Taskie. To stop events completely, also delete or disable the webhook in the Figma API.
Common mistakes
- Entering the wrong webhook ID. The value must match the webhook_id in the payload.
- Forgetting the passcode or entering a different value from the one in Figma. Taskie then rejects the event with a 400 response.
- Expecting a live preview or a dedicated Figma panel in the task. These features aren't available in the current version yet.
- Writing the task ID somewhere Figma doesn't include in the webhook payload. Automatic linking only reads the fields of the received event.
- Expecting a status change from status brackets. Figma only links; it doesn't change the status.
Next step: if your design files sit alongside cloud files, see Connect to Dropbox. For automatic status changes from development work, review Connect to GitHub and Connect to GitLab.