
Connect to GitHub
Connect GitHub repositories to your workspace so pull requests, commits and issues link to Taskie tasks automatically and task status stays in step with development work.
If your team keeps its code on GitHub, connecting GitHub to Taskie lets you see development work and tasks side by side. Once a repository is connected to your workspace, pull requests, branches, commits and issues that mention a task ID are linked to that task automatically, and you can even move the task's status forward from that same development work.
There are two kinds of connection: a workspace connection, which a workspace admin sets up and which works for every member, and a personal connection, which each member creates for their own account. Automatic task linking and status updates run on the workspace connection; the personal connection makes it easier to tie your own GitHub work to tasks.
Before you start
- Only a workspace owner or admin can create a workspace connection to GitHub.
- To install the app on a repository, you need admin access to that repository on GitHub.
- The number of workspace integrations may be limited depending on your plan. Personal connections don't count toward that limit and have no cap.
- Connecting a repository doesn't give Taskie users access to your code. Only related events (such as a pull request being opened or merged) are received.
Workspace connection
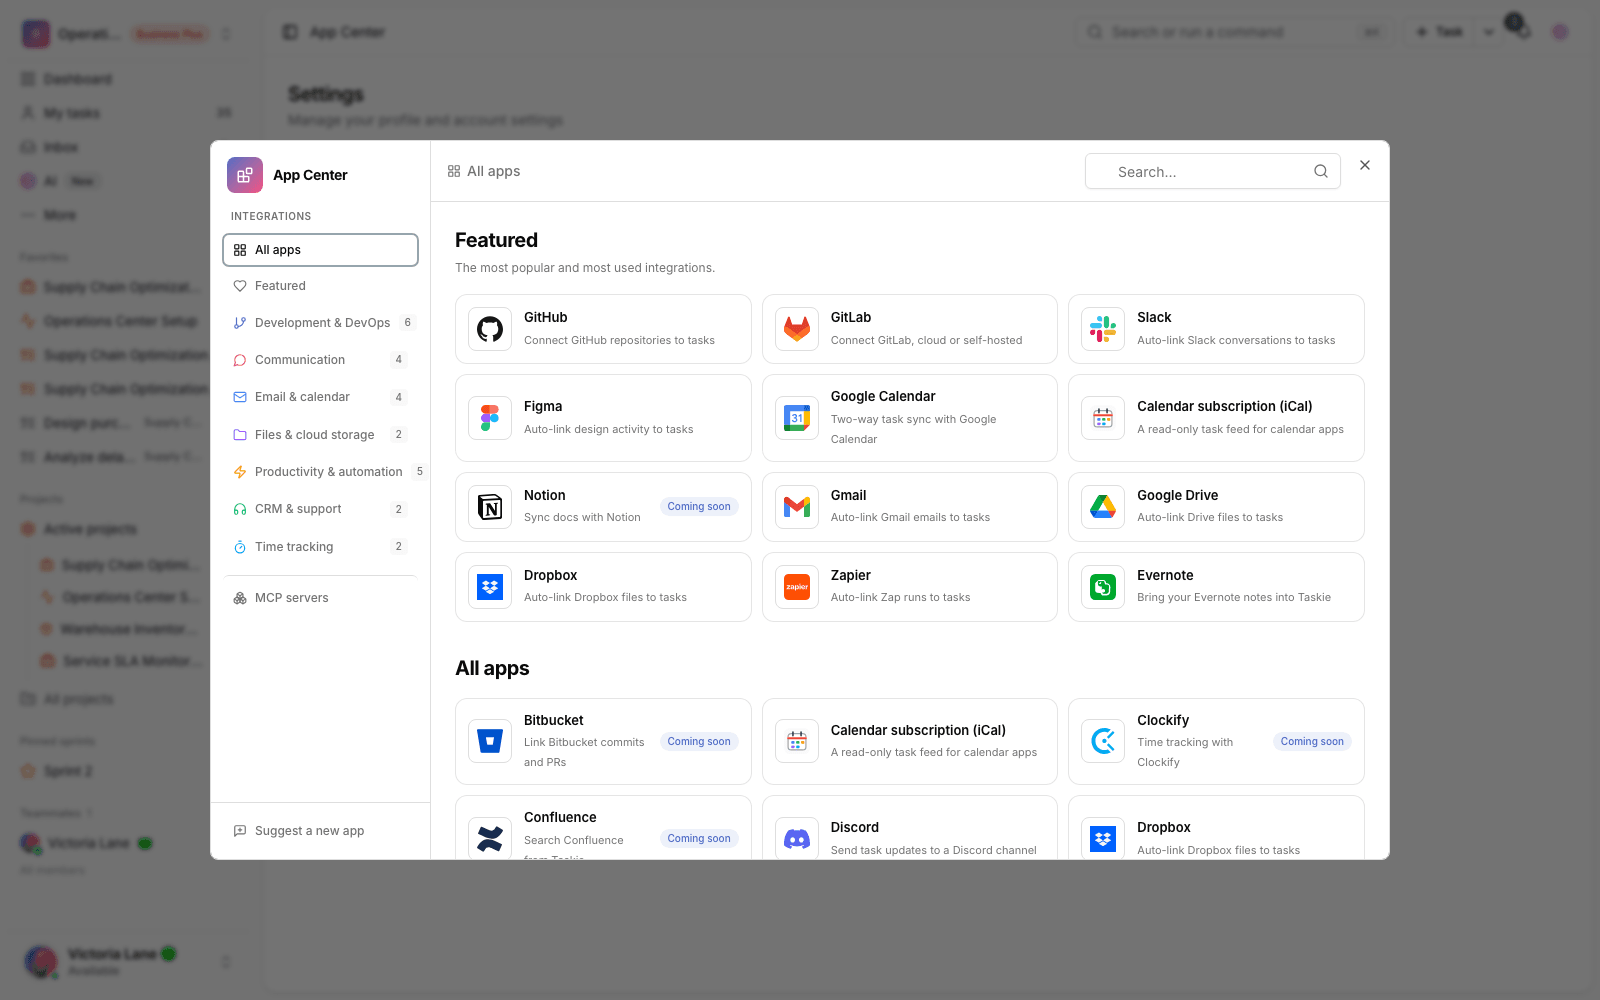
You set up a workspace connection from the App Center or from the Integrations tab in your workspace settings. Taskie uses a GitHub App for GitHub, which means you decide which repositories the app can access, and events from those repositories are sent to Taskie.
- From settings, open the App Center and choose GitHub (or go to the Integrations tab in your workspace settings).
- Choose the Workspace tab and click Connect.
- You're taken to GitHub. Install the Taskie app on your account or organization and on the repositories you want.
- After you approve, you're returned to Taskie and the selected repositories sync automatically.
- You can view and manage the connection and the repository list in that same Integrations tab.
Tip: If you don't see the repository you want, make sure the Taskie app on GitHub has access to that repository and that you signed in with the right account. You can add more repositories to the GitHub App's access in its settings and then sync again.
Personal connection
Any member (Member role and above) can create a personal GitHub connection from the App Center. A personal connection doesn't share your GitHub account data with anyone else; it's there to make it simpler to tie your own work to tasks. You can have more than one personal connection (for example, for several accounts).
Link a task to GitHub activity
There are two ways to tie a task to GitHub work: automatic linking by writing the task ID, and manual linking by pasting a URL.
Automatic linking with the task ID
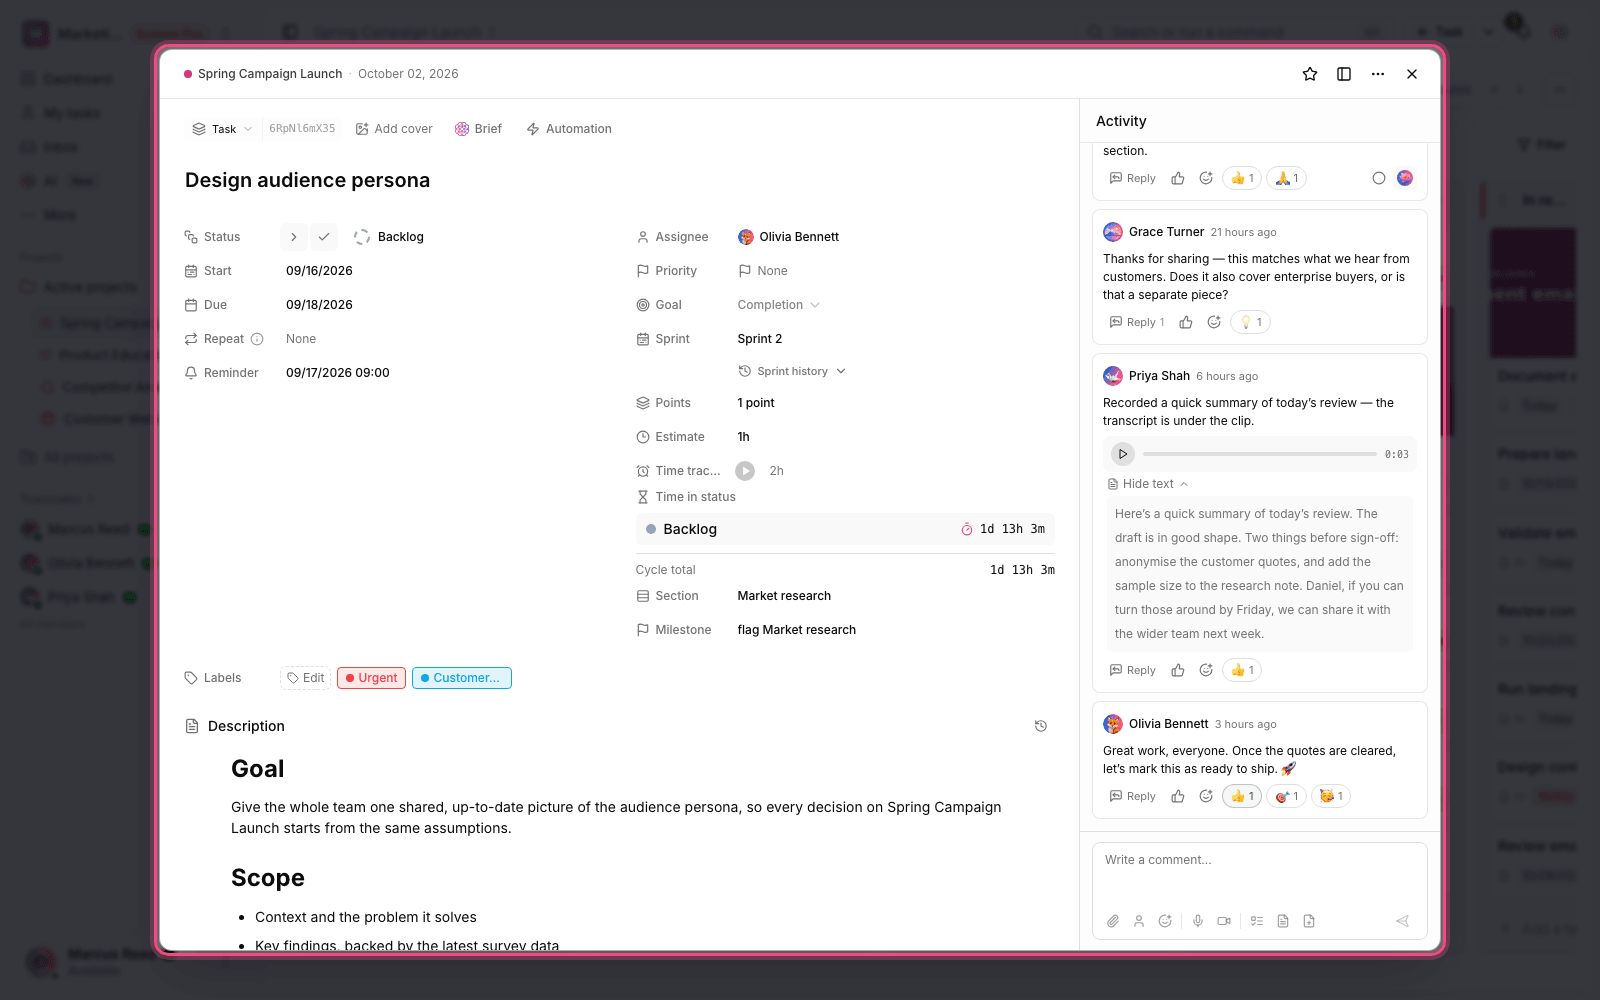
Just write the task ID somewhere in your GitHub work. Taskie picks it up and links the task to that pull request, branch, commit or issue. You can write the ID in any of these places: the branch name, the commit message, the pull request title or the pull request description.
The task ID is the task's display ID (such as TASK-12), and these three forms are accepted:
- TASK-12 — the ID on its own.
- #TASK-12 — with a # prefix.
- CU-TASK-12 — with a CU- prefix.
For example, if you create a branch named feature/TASK-12-login or title a pull request "TASK-12 Login page", that pull request is automatically linked to task TASK-12.
Manual linking by pasting a URL
If you'd rather link manually, open the Linked items section on the task page, paste the URL of a GitHub pull request, issue or commit, and click Add. The link is listed right there, and you can remove it whenever you like.
Automatic task status updates
Besides linking, you can also move a task's status forward from your GitHub work. There are two behaviors:
- Merging a pull request: when a pull request linked to a task is merged, that task is automatically marked as done.
- Setting a specific status: if you write the ID as TASK-12[status name], the task moves to that status — for example TASK-12[Done] or TASK-12[In Review].
Important: don't put a space between the ID and the status brackets (correct: TASK-12[Done]). The name in the brackets must match the name of one of that project's statuses. If no status with that name is found, the task is only linked and its status doesn't change.
Automatic status updates and automatic linking are separate features, and an admin can turn each of them on or off for this connection. If a status change didn't happen, make sure that feature is turned on for the connection.
Notifications for important events
Some events send notifications to the people involved in a task instead of changing its status. For example, when a CI/CD run (workflow) fails on linked work or a new issue is opened, the task's assignee and creator are notified. To choose how these notifications reach you, see Set up notifications and reminders.
Manage and disconnect
To see the connection status, synced repositories and the time of the latest event, go to the Integrations tab in your workspace settings. Only a workspace owner or admin can disconnect the workspace connection. When you disconnect, events stop arriving, but the git links already added to tasks stay in place.
Common mistakes
- Writing the ID with a space before the status brackets. The status isn't read that way; the correct form is TASK-12[Done].
- Using a status name that doesn't exist in the project. The name in the brackets must exactly match one of the project's statuses.
- Expecting links while the repository isn't connected to the workspace. Automatic linking only works for connected repositories.
- Not installing the app on the right repository in GitHub. If no events arrive, check the app's access to the repository.
Next step: if you also use GitLab, see Connect to GitLab. To get notified about these events the right way, review Set up notifications and reminders.