
Connect messenger bots
Link your account to the Telegram, Mattermost, Slack or Discord bot to get notifications and manage tasks with commands, buttons or voice messages right from the chat.
Teams spend a lot of their working day in messaging apps. The Taskie messenger bot puts that to work for you: instead of constantly switching between your work app and your chat, you get important notifications right where you talk with your team, and you can create and close tasks, comment, start timers or decide on approval requests without leaving the conversation.
Connecting a bot has two sides. On one side, the platform admin configures the bot for the whole system. On the other, each member links their personal account to that bot so notifications and commands run under their own name. This guide covers both, so whether you're an admin or a member, you'll know exactly what to do.
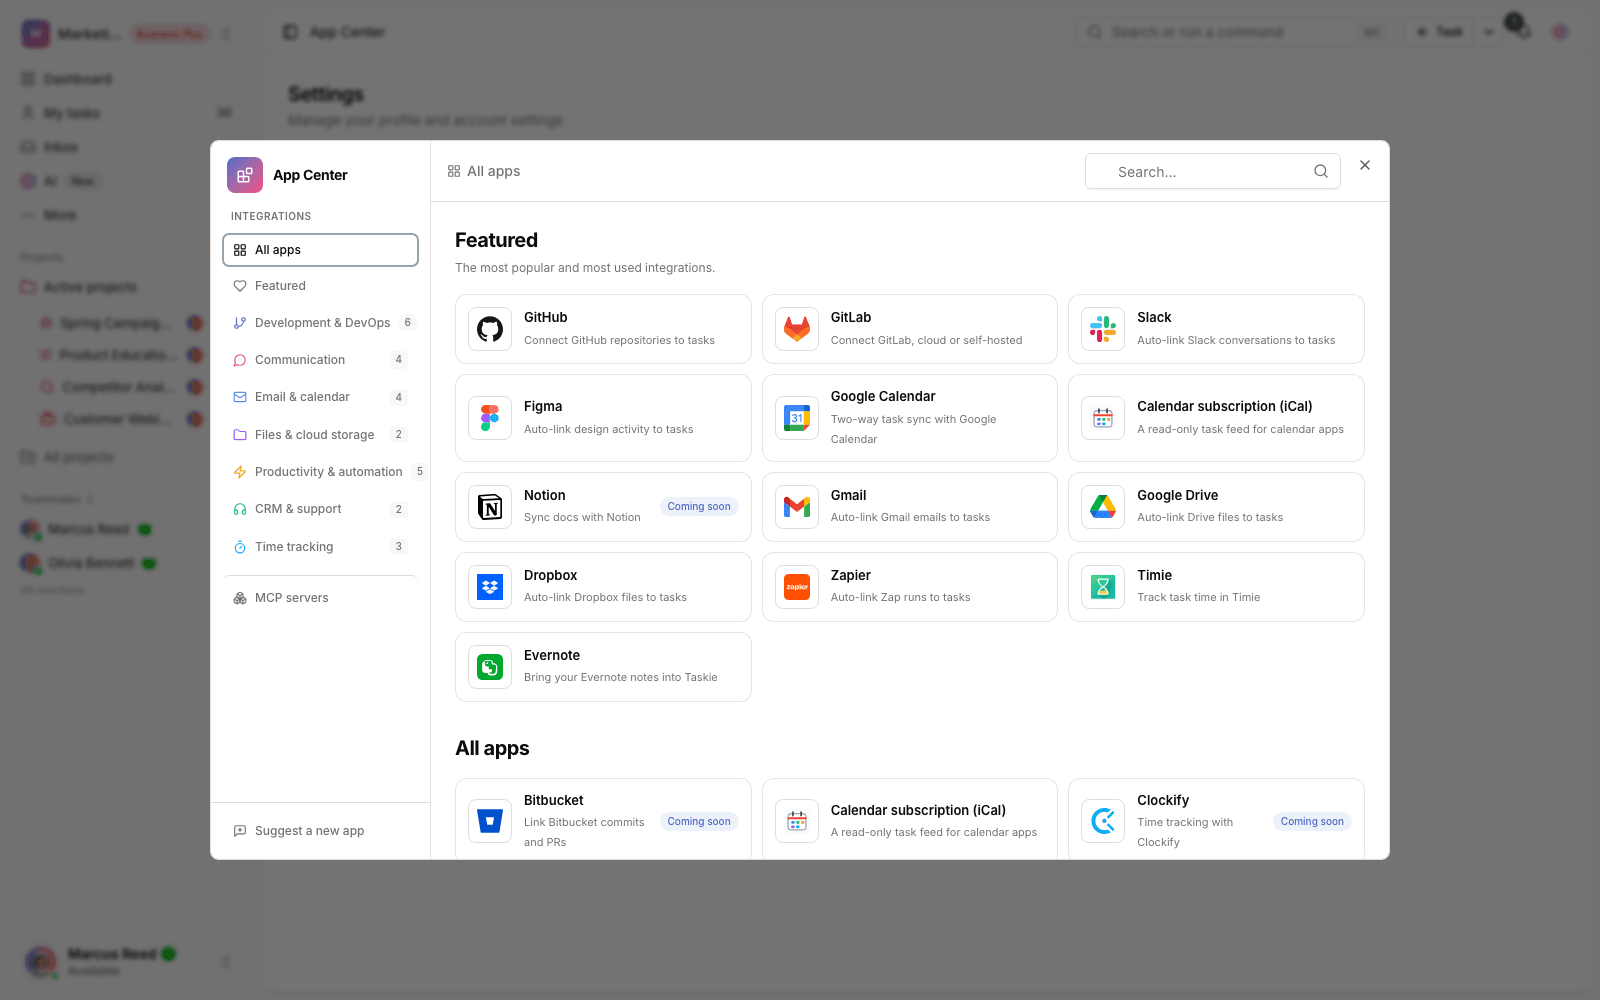
Which messengers are supported?
Taskie supports bots on four messengers: Telegram, Mattermost, Slack and Discord. Telegram suits teams that already use a public messaging app; Mattermost is the choice for organizations with a private, self-hosted chat space; and Slack and Discord are for teams whose work already happens there. Every command works on all of them, but the way things are displayed differs a little:
- Telegram: inline buttons under messages, a command menu, messages edited in place, and support for files and voice messages.
- Mattermost: commands are slash commands (such as /taskie tasks) and buttons appear as interactive message attachment buttons. Files and voice messages aren't supported on this channel.
- Slack: slash commands, buttons under messages, step-by-step modals, and an App Home tab with a summary of your work for today.
- Discord: slash commands, buttons and forms only. Regular messages, files and voice messages aren't read on this channel.
Link your personal account (for members)
If an admin has already turned on the bot, linking your personal account is simple and only needs to be done once:
- Open the official Taskie bot in your messenger (Telegram or Mattermost; Slack and Discord have their own guide).
- Start a chat with the bot. It creates a Connect account button with a link just for you.
- Tap that button to sign in to your Taskie account in the browser.
- The link is saved right away and the bot sends you a confirmation message.
- Send /start or /help to see the commands available to you.
Remember: the connect link is temporary and single-use, and it expires after a while. If it expires, just message the bot again to get a new one. You can also send /unlink at any time to disconnect this chat.
What can you do with the bot?
Commands start with a slash. Wherever a task or project ID is needed, you can write the short ID (such as ABC-12) or the project name. If you were just talking about a task a moment ago, you don't need to type the ID — the bot carries on with that same task.
Button menu and step-by-step conversations
You don't have to memorize commands. Just send /menu to open a button keyboard below the message box. It stays there until you close it. The menu is available in Telegram and only appears in a private chat with the bot; in groups, the same commands and the buttons under messages are available.
- 📋 My tasks — today's plan, overdue work, upcoming work, unassigned tasks and search.
- ➕ New task — create a task step by step.
- 🗂 Projects — the project list. Picking a project sets it as the chat's default project.
- ⏱ Time — start and stop timers and log time manually.
- 📊 Reports — summary, sprint, goals and approvals.
- ⚙️ Settings — workspace, default project, notifications, account and disconnecting.
At every step, the ⬅️ Back and 🏠 Main menu buttons take you one level up or back to the start of the menu.
Create a task without typing a command
Tap ➕ New task and the bot asks you one thing at a time: title, project, due date, priority and assignee. Wherever an answer is optional you'll see a ⏭ Skip button, and at the end the bot shows a summary of the task for you to confirm. The same pattern is used for logging time, starting a timer, searching and adding a comment.
If you change your mind in the middle of a step-by-step conversation, ✖️ Cancel or the /cancel command stops it and takes you back to the main menu. Unfinished conversations close automatically after 30 minutes without a reply. To close the keyboard completely, send /menu off.
View your work
- /myday — today's plan, along with overdue work and due dates for the coming week.
- /tasks — your own tasks; /tasks PROJECT_ID shows a project's tasks.
- /overdue and /upcoming — past-due work and work due in the next week.
- /task TASK_ID — the full card for a task, with Done, Reminder, Comment and Open in Taskie buttons.
- /projects, /summary, /digest PROJECT_ID — your project list, today's summary and a project's weekly digest.
- /search query and /docs query — search tasks and documents.
- /sprint, /goals, /approvals, /timers — the active sprint, goals, approvals waiting on you and running timers.
Change your work
- /newtask title — create a task. The date, priority and label are picked up from the text (for example tomorrow at 10am !urgent).
- /done TASK_ID — close a task. It happens right away, with an Undo button next to it.
- /comment TASK_ID text, /subtask TASK_ID title — add a comment or a subtask.
- /due, /remind, /snooze, /status, /priority, /assign, /label, /move — change the due date, reminder, status, priority, assignee, label and project.
- /start_timer, /stop_timer, /log_time TASK_ID 45 — time tracking for tasks.
- /approve and /reject — decide on approval requests.
- /newproject name, /rename_project, /delete_task — heavier actions that ask you to confirm before they run.
An important difference: reversible actions (closing a task, comments, timers, reminders) happen immediately and get an Undo button. Riskier actions, such as deleting a task or creating a project, first show Confirm / Cancel buttons and don't run until you confirm.
Free text, files and voice messages
- Anything that isn't a command goes to the AI assistant. If your request would change data, the bot shows the plan first and asks for your confirmation.
- Send a voice message to turn it into a task: it's transcribed automatically and the task title is filled in. If the bot is waiting for your comment, the voice message becomes the comment instead.
- Send a photo or file to attach it to the task you're discussing. If no task is in progress, a new task is created from the file's caption.
- Long replies are paginated, and the Next page button updates the same message. Dates are shown in your own calendar and time.
Notifications in your messenger
Messenger is a separate notification channel: the notification settings table has a Messenger column, and you can turn it on or off for each event separately. This channel only works when at least one chat is linked to your account, and your Quiet hours apply to it too.
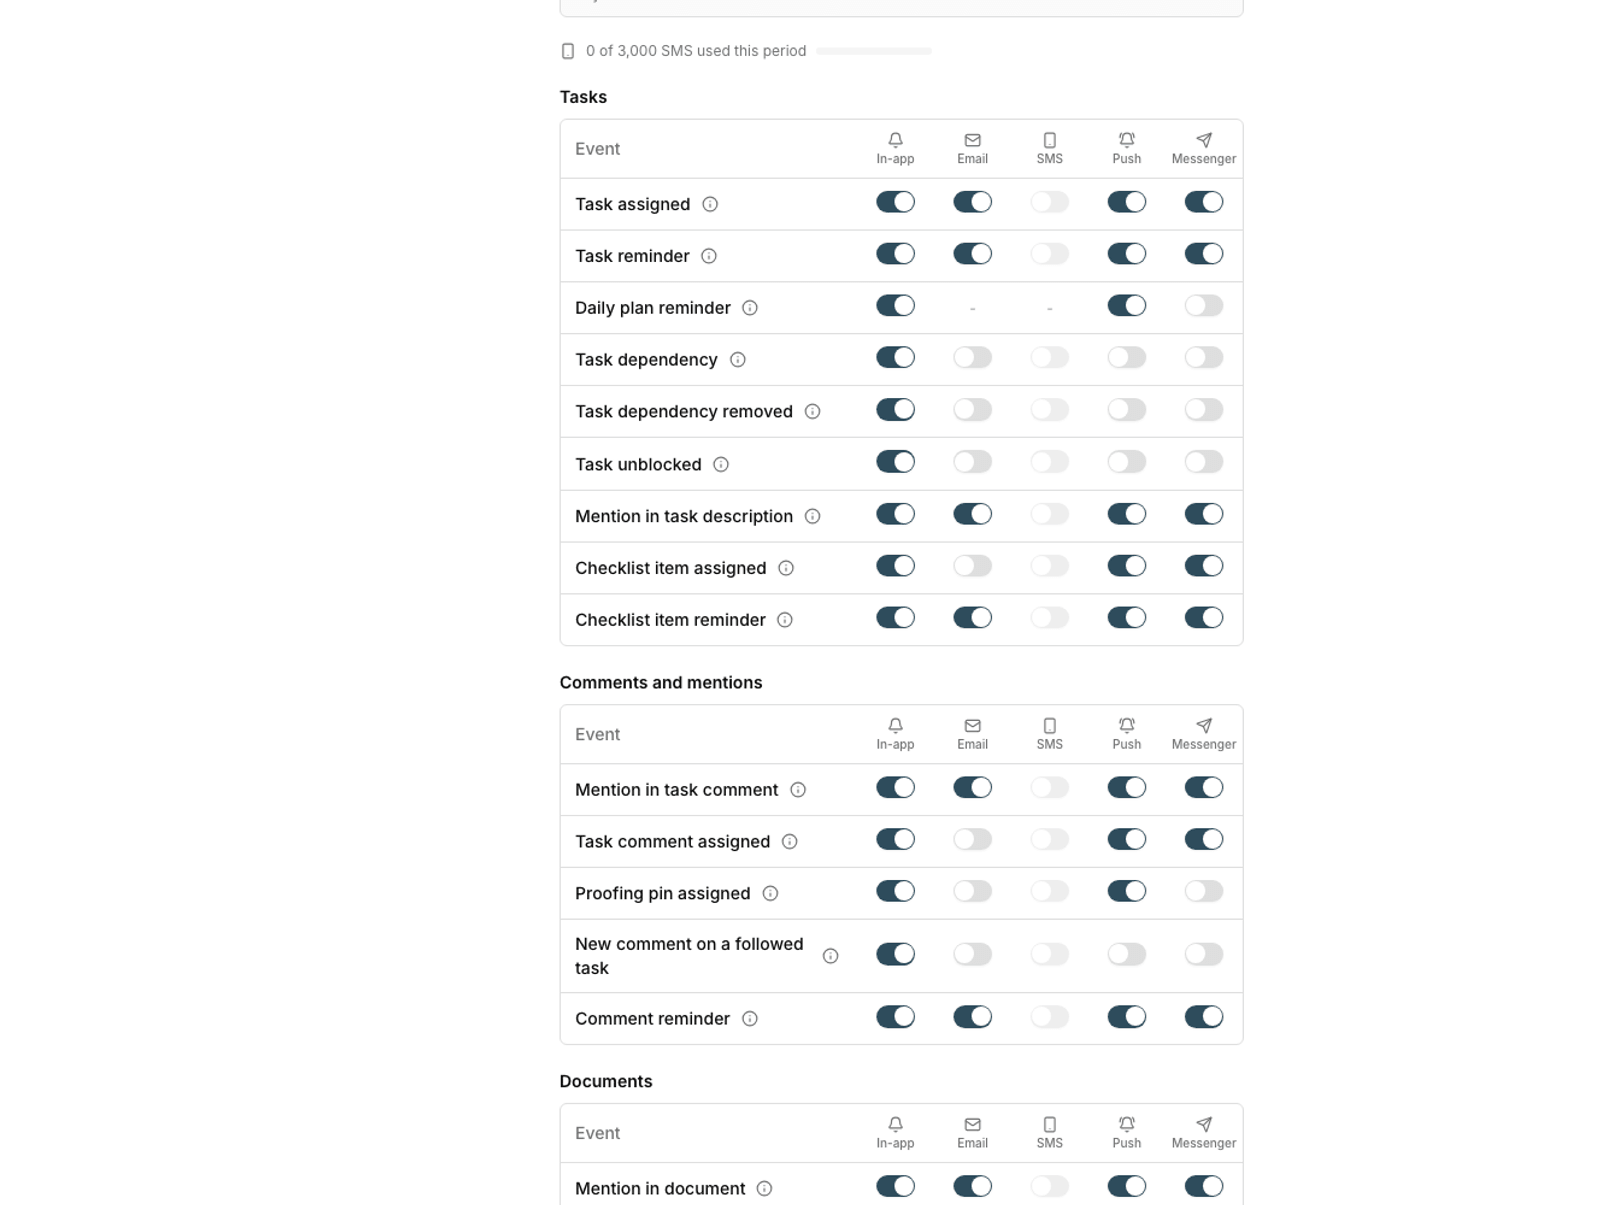
- Use /notifications off and /notifications on to turn all notifications in that chat off or on at once.
- /settings shows the link status, the active workspace and your notification status.
- Task notifications come with View task, Done and Remind in 1 hour buttons so you can move work forward without opening the app.
- If you block the bot in your messenger, Taskie automatically stops sending notifications to that chat.
Working with several workspaces? Send /workspace to switch the chat's active workspace; the commands you send after that run in that workspace. To pin a default project for the chat, send /project with the project name.
Configure the bot (for admins)
The initial bot setup is the platform admin's job and is done in the admin panel, under the messenger bots section. That section shows each bot's status, the number of linked users, the webhook URL and the latest error.
- Enter the bot token and turn the bot on.
- Use the Test connection button to make sure the server can reach the messenger's API. The result includes the response time and the outbound route (direct or through a proxy).
- Click Register webhook to register the webhook URL and sync the command list on the messengers that support it.
- Turn the bot's permission switches on or off to match your organization's policy.
The permission switches cover reading and writing tasks and projects, the AI assistant, notifications, time tracking, approvals, documents, receiving files and voice messages, and showing tutorial suggestions. When a switch is off, its commands are also removed from the user's /help list.
When the server can't reach the messenger directly (proxy)
If your server can't connect directly to the messenger's API (Telegram, for example), you don't need to change anything at the operating-system level. You can define an outbound proxy for each bot separately — for example, route Telegram through a proxy while Mattermost stays direct.
- In that bot's settings, turn on the Outbound proxy section and enter the address. http, https, socks5 and socks5h are supported (for example socks5://10.0.0.5:1080).
- Enter the username and password in their own fields, not inside the address. The password is stored encrypted and masked everywhere.
- If needed, set Exceptions (hosts that should bypass the proxy), the response timeout, the connection timeout and the number of retries.
- If the proxy uses a self-signed certificate, turn off Verify SSL certificate.
- After saving, click Test connection again. If it fails, the error message is saved along with the masked proxy address so the real cause is clear.
You can also define a default proxy at the server level (the MESSENGER_BOT_PROXY_URL environment variable and similar ones for each messenger). Settings in the admin panel always take priority over the environment value.
Webhook security notes
- For Telegram, a dedicated signature header is checked in addition to the secret URL.
- Messengers without such a header can be restricted with Allowed webhook IPs, so a leaked URL can't be abused.
- A per-minute request limit applies to each chat.
- Action confirmation tokens are stored hashed, are single-use, and only work in the same chat and for the same user.
Mattermost connection notes
Mattermost has a few more settings than Telegram, and it lets you create several separate installations. For each installation, you need to enter:
- The bot token and the Mattermost server base URL (which must be a public, reachable address).
- The bot user ID, the slash command token and the interactive key for buttons and replies.
- The trigger word (taskie by default) and, if needed, a list of allowed teams or channels.
- Permission to send direct messages, so the bot can send notifications to users privately.
The token and secret keys are stored encrypted, and for security the slash commands and interactive URLs must be set up manually in Mattermost itself. Once configuration is complete and the bot is on, members can link their personal accounts.
Common mistakes
- Trying to link an account before an admin has turned on and configured the bot.
- Expecting Telegram to work on a server that can't reach it directly, without setting up an outbound proxy.
- Putting the proxy username and password inside the address itself. That isn't accepted.
- Expecting notifications while the notifications switch is off in the bot settings, or the event's Messenger column isn't on in the user's settings.
- Entering a local or non-public address for the Mattermost server. The address must be reachable from outside.
- Forgetting to set up the slash command in Mattermost itself. That part is done separately from Taskie.
Next step: once the bot is connected, choose which events reach you this way in Set up notifications and reminders. If you're looking for other ways to connect tools to Taskie, see API access and tokens.